|
|
| Home-->F1 Rocket Project-->Wings Page 2 |
|
SITE CONTENTS
Please send your comments and suggestions to: Copyright
© 2002-2005 by
|
Links
on this page: Rivet Inboard Ribs Prep Bottom Skin Rivet Bottom Skin Attach Flaps |
|
|
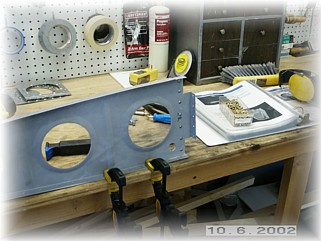
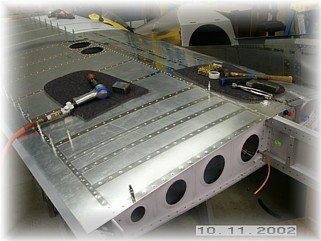
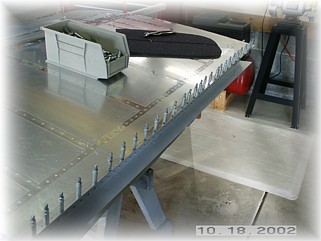
At this point I am almost ready to close up the right wing. The only thing left is to prep and install the inboard ribs.
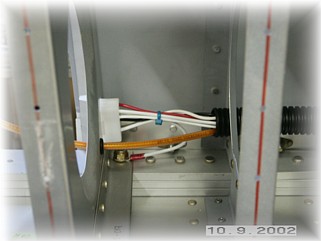
Before the ribs are inserted into the wing, you must first rivet the angle to the face of the rib. This is done over on the bench. I also prepped rib number 1 to accept a 12-pin Mate-n-Lok connector. I will run all my wing wires through this connector so that I can easily connect and disconnect the wiring harness. I also installed a rubber grommet for the coax. At this point, I installed and riveted the next two ribs into the wing. I first riveted the rivets between the ribs that attach to the wing walk doubler and then I inserted the rib. First, I set the rivets between the ribs that attach the wing walk doubler to the skin. I then inserted the rib and loosely attached the nuts and bolts. Be sure to replace the nuts. Those pesky insert nuts are only good once, so they have to be replaced each time they are removed. I pop riveted the rib web and then tightened down the nuts. Finally I riveted the skin to the ribs.
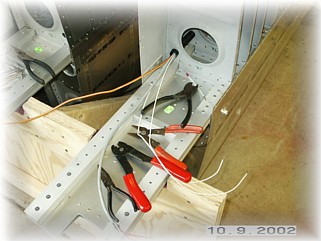
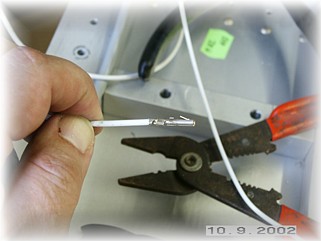
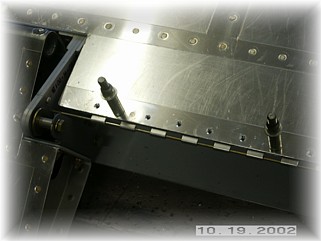
Before the final rib is installed, I finished up my wiring. I installed female pins on to the ends of my wires. When using a wire connector like a Mate-n-Loc, it is important to use the gold plated pins since they resist corrosion and provide the best electrical contact. It is also important to use the proper crimping tool as well. Don't try to get by on the cheap here. Nothing will diminish the fun of your new airplane than a bunch of electrical gremlins. Loose wires cause intermittent problems that just drive me nuts so I'm very careful to double check every connection for strength.
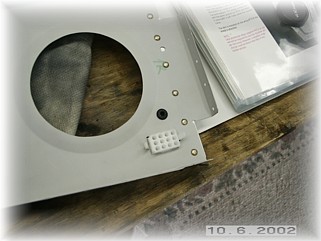
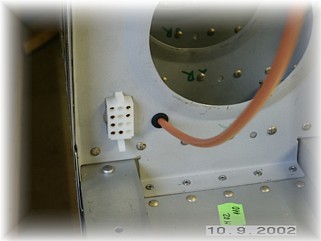
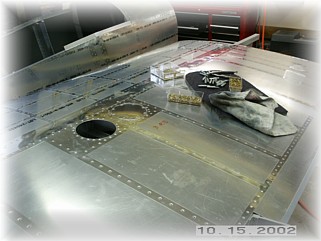
This is what the backside of the inboard rib looks like once the wires have been installed. You will notice a ground wire underneath the rib attach nut. Since I am using the spar as a ground for the landing and position lights, I will run a ground wire from the spar to my ground block to ensure that I don't have any intermittent grounding problem. I ground off the anodizing from the angle and from the spar underneath it just to make sure that I had good contact. Later on, I will terminate the coax with a disconnect fitting. At this point the wing internals are completed and I am ready to prep and install the bottom skin.
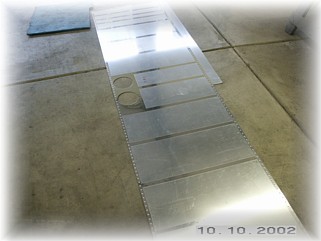
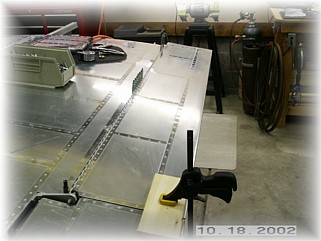
The skin was prepped by stripping off the plastic coating around the rivet holes and from the backside of the skin. I then laid out the skin on my garage floor where I dimpled everything. Using my hand dimpler, I dimpled all the ribs in the wing as well. That's about it. Time for riveting fun.
I started at the root end of the wing. First step is to set the rivets along the rear spar. These are the hardest to reach and are nearly impossible to set unless you go at them from the main spar. I couldn't reach them through the lightening holes. Once the bottom rivets were set, I did a row at a time by reaching in through the lightening holes. I did the first four ribs that way. After that, I peeled the skin back and reached in to set the rib rivets. When you get to the reinforcing rings for the inspection plates, make sure you position them correctly INSIDE the wing before you rivet the skin to the ribs.
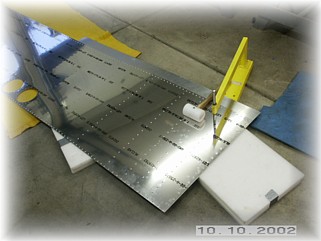
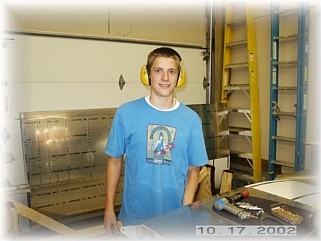
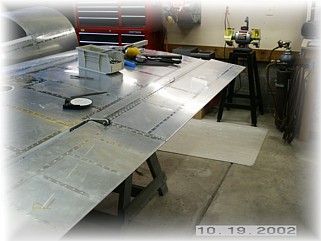
It helps if you have a helper with a skinny arm. No matter how hard I tried, I just could not reach the rear spar rivets. The lightening hole was just not large enough for my forearm. My youngest son, Ross, agreed to be my bucker for a trip out to California once the Rocket is finished. After about a week of on again, off again riveting, we finished the bottom skin.
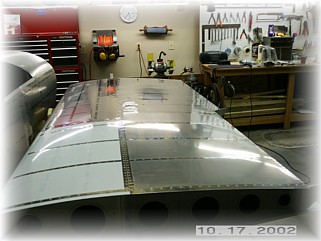
Attaching the flaps was pretty straightforward. I first drilled the attach holes through the skin and the flap brace. After cleaning up the holes, I clamped the flap in position. The two things to look out for are 1) make sure the gap is even between the flap and the aileron, and 2) make sure the trailing edge of the flap lines up in a straight line with the aileron. Once I was satisfied with the fit, I drilled the hinge through the holes starting in the middle and working my way out to each end.
After removing all the clamps and such, I countersunk the skin. When doing so, it helps to have the hinge installed in order to provide some depth for the pilot bit of the countersink tool. I then riveted the hinge on and cut the center eyes out per the plans. I originally tried to keep the pin in one piece and install it through a hole in the aileron brace. However, the pin is too long and the resistance too great so I went ahead and split it. That finished up the flap install, but it was at this point that I discovered a little bug-a-boo to fix. That's on the next page. |
||
|
"It
is better to be hated for what you are than to be loved for something you
are not." |