|
|
| Home-->F1 Rocket Project-->Flight Testing Page 1 |
|
SITE CONTENTS
Please send your comments and suggestions to:
Copyright © 2008 by
|
Links
on this page: First Flight Flight Testing Injector Balancing |
||||||||||||||||||||||||||||||||||||||||||||||||||||||||||||||||||||||||||||||||||||||||||||||||||||||||||||||||||||||||||||||||||||||||||||||||||||||||||||||||
|
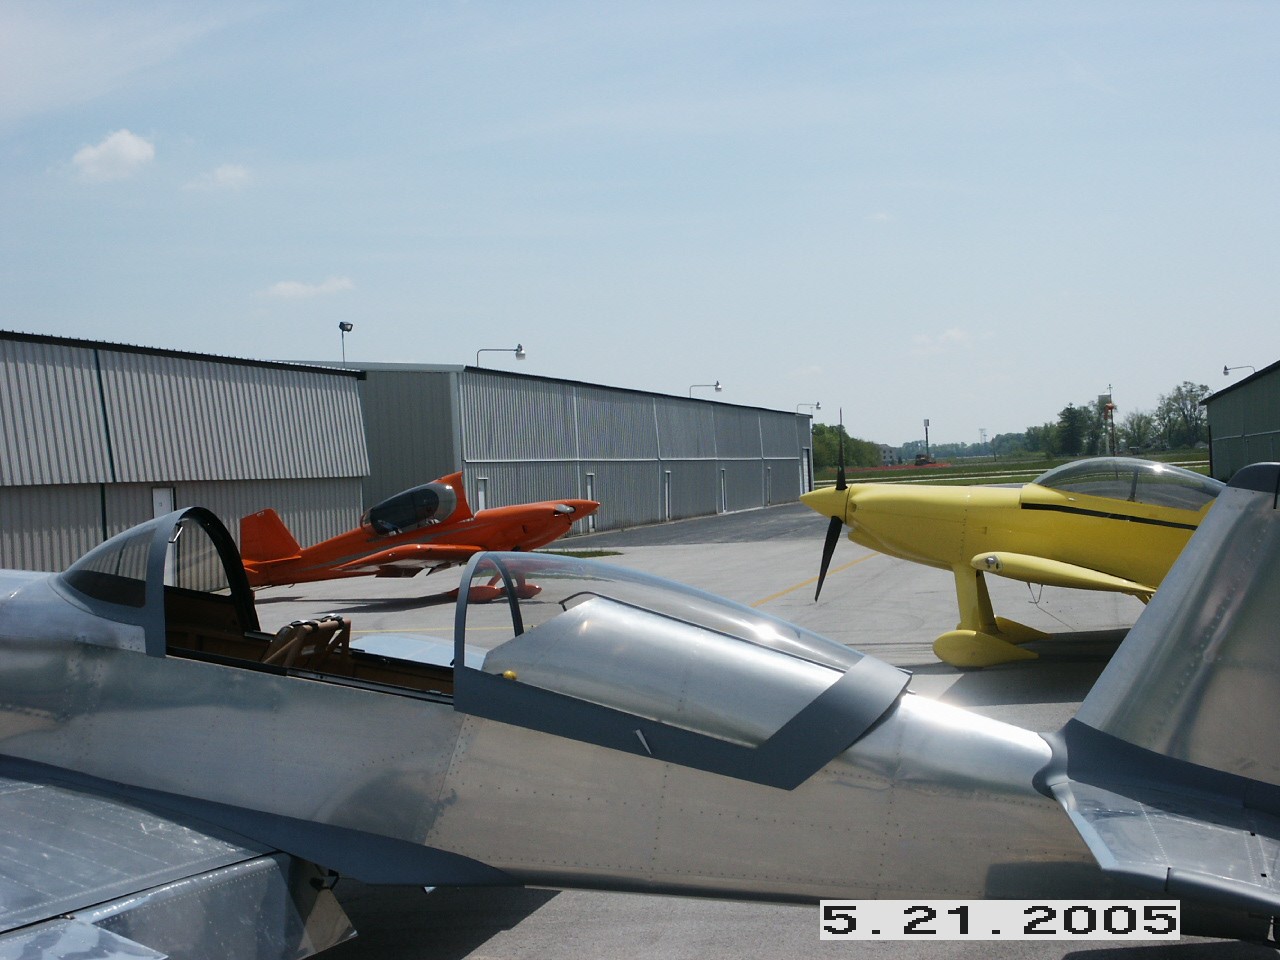
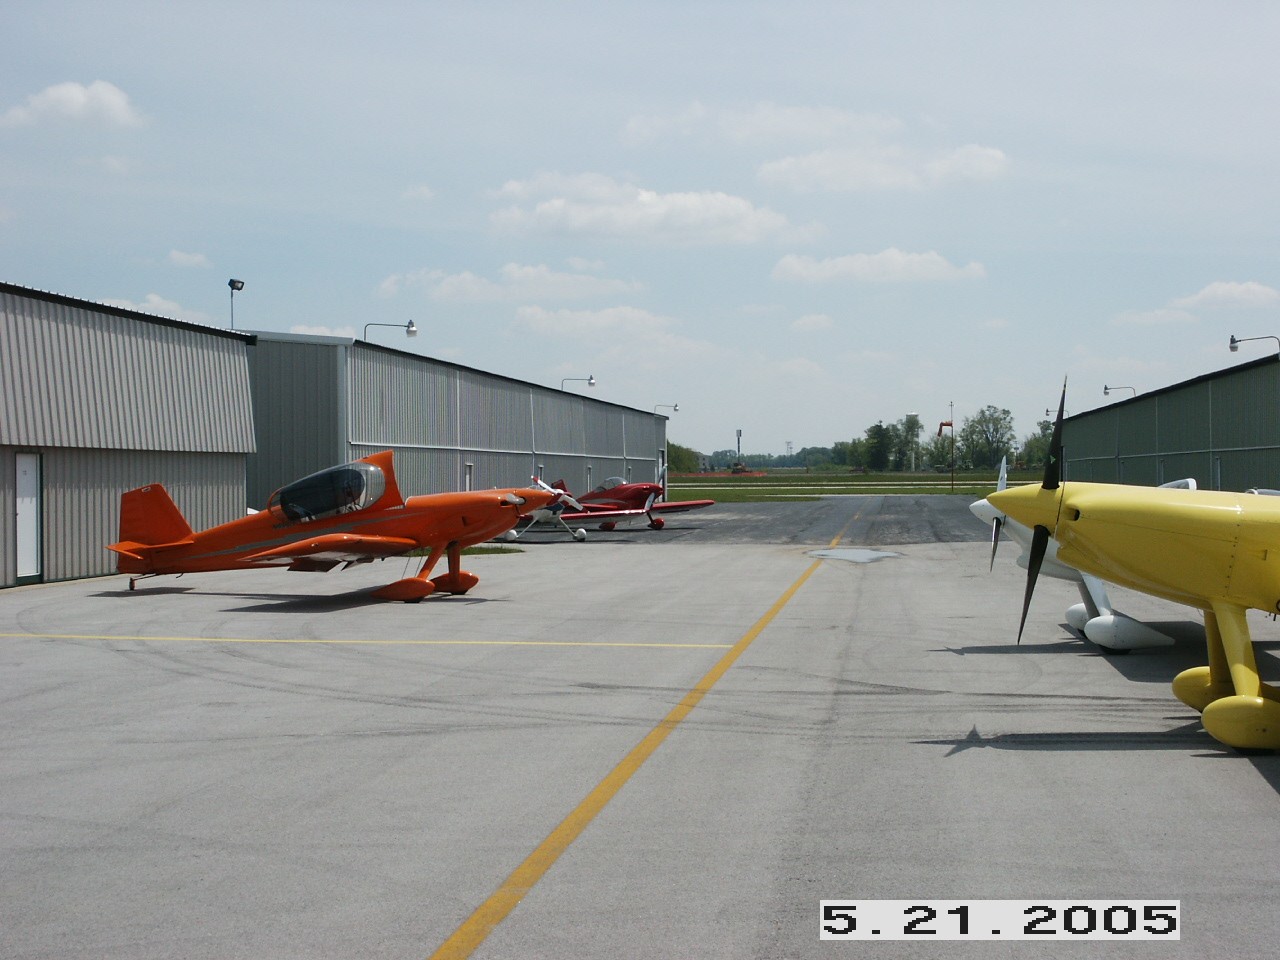
I was at the airport early Saturday to finish up the weight and balance stuff. Back at the hangar, I was updating my paperwork and waiting for Docthrock (Matt Throckmorton) to show up when two of my fellow Rocket flyers, Tom Utterback and Jim Winings stopped by. They knew I was getting close to flying and they wanted to check out the airplane. Pretty soon, four additional RVs stopped by as well, on their way back from breakfast. After chatting for awhile, they all left about 15 minutes before Matt stopped by in his Decathlon. Matt volunteered to allow me to fly his airplane from the front seat in order to get my motor skills tuned up for my first flight. I showed him how not to fly for the first two or three landings, but eventually, it all came together and I greased one on. We stopped at my hangar and I thanked Matt. After a few minutes, I looked at the great weather and decided "It's not going to get much better than this!" So I strapped into the Rocket and taxied out, Matt following in the Decathlon. After a low speed taxi run down the runway to ensure the Rocket tracked straight (it did), I taxied back to the end of the runway to wait for Matt to come around. Once he turned on final, I pulled onto the runway and eased the throttle forward. After a very brief rollout, I eased back on the stick and I was airborne. My flight plan was to stay in a circling pattern above the airport the entire time to ensure the engine and fuel systems were operating properly. I leveled off at 2,100' to stay under the Indy class C airspace and started turning left. I played with different power levels but I ran mostly wide open per the engine break in instructions. I don't remember much about the flight other than the airspeed was indicating 198 knots and all the engine temperatures remained in the green. I only spent about 20 minutes circling. I was anxious about making the landing so I eased the throttle back and slowed down. I pegged the airspeed indicator at 80 knots and turned final. The airplane felt extremely stable and solid and that MT prop was smooth as can be. I flew her down to the runway and eased the throttle back as well as the stick. She settled onto the runway with just a couple of squeaks from the tires. I even made the first turn off. YEAHAW! I'll share a little secret with you. All week, I'd been telling my friends and my wife that I planned to make my first flight Tuesday. I did that knowing that I would probably fly it sooner. You know why? To take the pressure off of me. I really didn't want the added pressure of an audience the first time up. The only one who knew I was flying was Matt. If I had to do it over again, I would do exactly the same thing. I didn't want to disappoint my friends but I had to do what I thought was right for me and I'm glad I did. Now I feel a little better taking it up with others around. Another note on the first flight. I am way behind this airplane. It is moving faster than I can think at the moment. I need to get more out in front of this thing and I'm sure that will happen over time, but as Jim Winings warned me, "When things happen in this airplane, they happen fast!" and he was right. I was at altitude before I even knew it. The airspeed build up is very quick, and the airplane left the runway in just a couple of hundred feet. The nice thing is that she's rock steady in the pattern and easy to slow down. Next step is to begin following a documented, step by step, process of checking out the airplane. I'll start posting my flight plan cards as I produce them and update you on the results. That info should be forthcoming as the weather allows. Stay tuned. Below you will find my flight test cards. Each card is organized to outline the goal and objectives of that particular flight. They contain the step-by-step plan for completing the flight and they also contain pertinent flight data on engine parameters, squawks, and other notes. There is a general structure to these plans. At first, the goals are to ensure engine and fuel systems work properly. Then the flight envelope is expanded to include more maneuvers to ensure the flight controls work as expected. Then the systems are checked out like GPS, EFIS, and autopilot. Interspersed throughout are test plans just for the purpose of verifying squawk corrections. I began my flight testing by first staying close to the airport to make sure that the engine was going to stay running. After a couple of flights that confirmed that all was well firewall forward, I began to focus on the flight characteristics of the airplane. After the first three flights, I found two problems that required some immediate attention.
1)
Correct Elevator Feel
2) Correct A/P Wiring I then conducted another series of flights to verify the two changes that I made and to look for additional flight characteristics that might need tweaking. I’m happy to report that the elevator change worked well and I highly recommend it. The elevators have a much softer feel in the flair. Also, the A/P now works so I can focus on flight and engine parameters, write down notes, etc, without worrying about flailing all over the sky. After two more flights, it became obvious that I have two rigging problems. The easy problem is that I have a heavy right wing. This is easily fixed by tweaking the ailerons. The more difficult and troubling problem is that the airplane flies in a left slip at cruise speed. The ball is about two balls out of center to the left.
3) Correct Heavy Right Wing
4) Correct Left Slip The next set of flight tests were to confirm these two changes. Regarding the heavy wing, I apparently got over zealous on the squeezing and now I have a heavy LEFT wing. So after a few more adjustments and a few more flights, I was able to get them reasonably balanced. If you do this on your airplane, make sure you even out the fuel load. An unbalanced fuel load will shoot all your efforts to hell. I did manage to correct most of the slip. At least the A/P can fly the airplane mostly straight at this point. In slow flight, I’m a half ball out to the right, at mid-speed the ball is centered, and at high speed cruise, the ball is half out to the left. The fix for this is a trim tab added to the rear edge of the rudder to give it a little kick at higher airspeeds.
5)
Add Rudder Trim Tab So after the first 8 to 10 flight tests, I feel like I have the flying characteristics of the airplane sorted out to my liking. Did I mention how happy I am that I didn’t paint the airplane first? I’ve had to yank the interior out twice, I had to cut up and re-fiberglass the empennage fairing, and I’ve had the engine cowlings off four times in the first 15 hours. I’d really hate to think what I would have done to the paint job while fixing these quirks.
6) Correct Interface between
EFIS/A/P, and Garmin A few more test flights have confirmed that the EFIS is talking to the A/P and the transponder, that the transponder is talking to the Garmin, and that the Garmin is talking to the EFIS. I can control the A/P from the EFIS and the flight plan and course info is being fed to the EFIS from the Garmin. I actually like the map feature of the EFIS better than the Garmin, but the Garmin gives me a certified GPS. Once the new terrain map for the EFIS is released, I think I’ll have it all. I have been practicing my landings a lot. It seems that either I am a horrible pilot or I just haven’t gotten the visual cues down for making a smooth landing. In fact a couple of landings have been borderline ground loops. After asking a bunch of advice, I finally got around to checking my wheel alignment. Well no wonder I’m having problems. I checked the toe-in of my wheels both in the three-point and level configuration and what I found astounded me. First off, the two wheels have different amounts of toe-in. That problem is on me. My left gear has about ½ degree of toe in while the right gear has about 2 degrees of toe-in. These are in the three-point configuration. When you raise the tail, the left gear goes to toe out while the right gear remains toe-in. No wonder this things wants to dive off the runway when landing.
7)
Correct the Wheel Alignment
8)
Fix Rudder Pedal Interference
9)
Replace the Steering Arm
10)
Replace/Rework Lower Gear Fairings and Wheel Pants One of the big benefits of having fuel injection on your engine, is the ability to tune your injectors so that you can run your engine on the lean side of peak EGT. At that point, your engine is running cooler, has less engine deposits, and uses much less fuel while still delivering the same power as running rich of peak. In order to run LOP, your injectors must be sized correctly such that each cylinder reaches LOP at the same fuel flow. Right out of the box, you will probably find that your cylinders peak at different FF due to differences in the intake flows to the cylinders. In order to find out, you will need an engine monitor that accurately records CHT and EGT on each cylinder and can accurately record fuel flow. For me, my GRT EFIS does all that and more. First step is to go fly and record the information contained in the following chart. (Blank Injector Test Run Table). I have an Airflow Performance injection system. It is typically shipped with .028 restrictor fittings in each injector. On my baseline run, I leveled off at 7,500' at 2100 RPM and 23" MAP, and engaged the autopilot. I then started at about 14.5 GPH and recorded a line in the table. After doing so, I leaned the engine about .3 to .5 GPH, waited about 5 minutes for the temps to stabilize, and recorded another line of data. I continued doing this until every cylinder reached peak EGT and started to decline. Now, the first couple of times you do this the engine will run rough because you'll likely have 1 or 2 cylinders reach peak before the others. This causes them to eventually misfire as they get too lean. Don't worry, this process will fix that so continue to lean until you have all the data. After my initial test, this is what I found.
The data indicates that cylinder 1 is reaching peak far before any other cylinder. I faxed this data to Don Rivera at AFP and he made the following restrictor recommendations: Cylinder 1 - .029; Cylinder 2 - no change; Cylinder 3 - .0275; Cylinder 4 - .027; Cylinder 5 - .0275; Cylinder 6 - .0275. After a couple of days, the new restrictor fittings came in the mail. I pulled the cowling and plenum and installed the new fittings. After the second test flight, flown at the same altitude and engine settings, this is what I found.
Now, the FF spread is much closer, but not quite as close as it needs to be. After another round with Don, he made the following restrictor recommendations: Cylinder 1 - no change; Cylinder 2 - no change; Cylinder 3 - .027; Cylinder 4 - .0275; Cylinder 5 - .027; Cylinder 6 - no change. I thought these changes were a little strange since there was no change to cylinder 1 and we were messing with cylinders that were all peaking together. Don explained to me that he is trying to get the cylinders to peak around 11 GPH. Below that, the flow divider starts moving fuel around in a less predictable way. He's not changing number 1 at this point because changing the others will drive this one down as the fuel is redistributed. Here are the results of the third test.
Now that I've got the cylinders peaking within .5 GPH of one another, I'm going to declare victory. That completes my Flight Testing phase. Now, the fun begins. |
|||||||||||||||||||||||||||||||||||||||||||||||||||||||||||||||||||||||||||||||||||||||||||||||||||||||||||||||||||||||||||||||||||||||||||||||||||||||||||||||||
|
"The ultimate responsibility of the pilot is to fulfill the dreams of the
countless millions earthbound ancestors who could only stare skyward and
dream." |