|
|
| Home-->F1 Rocket Project-->Vertical Stabilizer Page 1 |
|
SITE CONTENTS
Please send your comments and suggestions to: Copyright
© 2002-2005 by |
Links
on this page: Assemble Rear Spar Assemble Front Spar Attach Ribs Rivet Skeleton Jig Skeleton |
|
|
While I was at work, the postman left me a surprise on my front porch, my empennage kit. I spent the evening unpacking the parts, checking them off of the inventory list, and packing them away on my storage shelves. I won't be ready to begin construction for about a week or two.
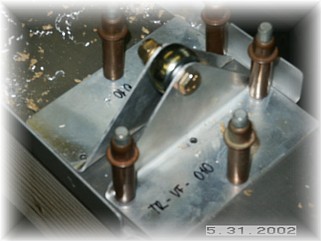
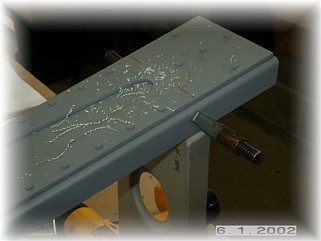
First step is to complete the rear spar by drilling the reinforcement plate and hinge brackets to the spar. Care must be taken to ensure that the eyes of the hinges are in alignment with one another. Since two of the three hinge locations are pre-drilled, aligning the third hinge is just a matter of stringing a line from the bottom hinge, through the second one and then through the third, adjusting its location until the string is straight. You also need to make sure that you use the right size bearing when drilling the other half of the hinge. The lower bearing is larger and more beefier than the other two.
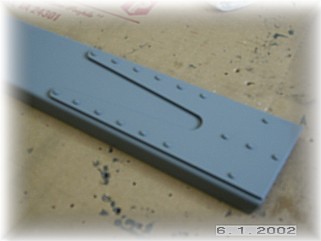
The rear spar is ready to rivet together. Be sure to mark the location of the holes that will be used later to attach the vertical stabilizer to the fuselage and DO NOT put a rivet in these holes. I chose to prime the rear spar because it is out in the weather and the reinforcing plate and hinge brackets are not Alclad.
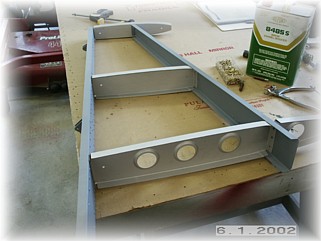
The front spar is now assembled. This spar has a reinforcing plate on the forward face to provide additional strength to the forward attach point. Again, you need to avoid attachment rivets in the area where attach bolts will later get drilled together with the fuselage.
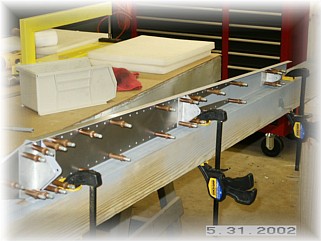
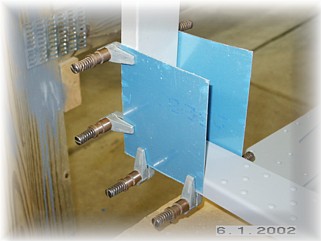
The ribs are now fit to the rear spar. The first rib is the tip rib. I use .025 scrap plates and side clamps to align the rib with the spar. These thicker plates are less flexible and help to ensure that the alignment is centered. This alignment is critical and will become apparent when the skin is riveted on to the skeleton. I use a 12" long #40 drill bit to drill the two attachment holes. Later, I will enlarge these to #30 once all the paraphernalia is removed. Attach the other two ribs in the same manner using the dimensions from the plans.
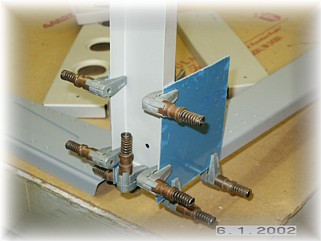
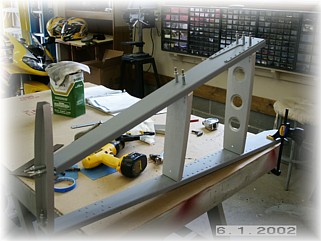
The front spar is now attached to the ribs. This needs to be completed in a very specific sequence in order to get all the dimensions to come out correct. First, attach the front spar to the tip rib at the distance noted in the plans again using the plates to ensure proper alignment.
Now attach the center rib at whatever location it matches up to the front spar. It should be very close to square with the rear spar but if it isn't, don't sweat it. It doesn't really matter that much. Once the attach holes are drilled out to the proper size, the skeleton is ready to be riveted together.
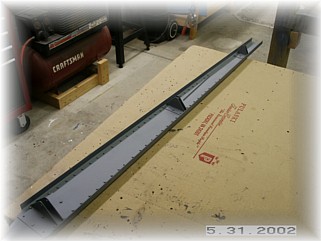
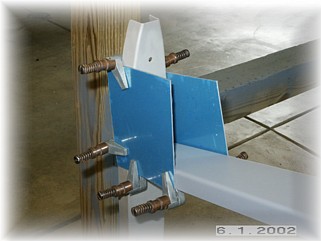
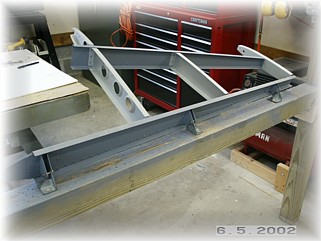
Rivet the ribs to the rear spar first and then to the front spar. Make sure to rivet the small forward rib onto the front spar using the same holes as the lower rib. The skeleton is now ready for mounting into the jig for alignment and attachment of the skin.
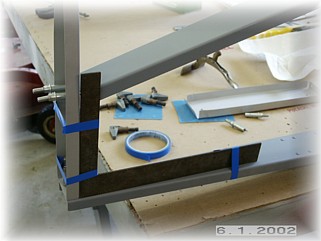
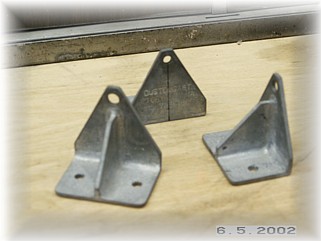
The
first step is to mount attach clips to the jig cross member.
I bought these from Avery but you can make your own without much
difficulty. There are three
important factors that determine where to mount these clips.
One, they need to be in alignment with one another so that there's
no lateral bow in the rear spar. Two,
they need to be level relative to one another so that there's no fore/aft
bow in the rear spar. And
three, the clips should be mounted so that the spar will not shift back or
forth on the bolts.
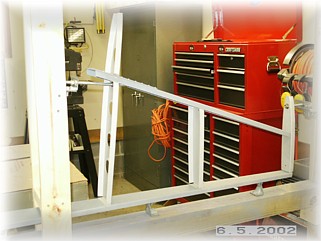
Mount the skeleton to the clips using some AN3 bolts. Square up the top rib to the rear spar and secure it to the jig. I used a couple of lengths of garage door hanger that I cut, bent, and screwed to the jig with lag screws.
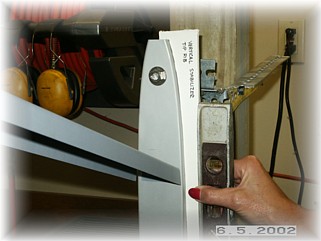
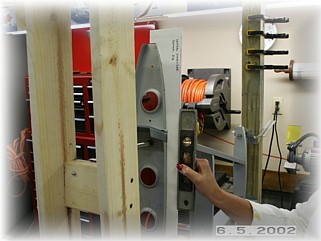
The
most critical measurement at this point is to ensure that the top rib and
the bottom rib are in the same vertical plane.
If not, your vertical stabilizer will have a twist in it.
I'm not an aeronautical engineer, but it will at a minimum increase
your drag. At worst, it will
adversely affect your flying qualities so take time to get this right.
Unfortunately, there's no convenient way to set the vertical
alignment of the ribs.
Since the ribs are symmetrical around their centerline, I traced the
outline of the top and bottom ribs on some cardboard.
I marked the centerline and then marked a parallel line along the
edge. Now, I can hold the
template up to the rib and level each rib, thus ensuring that they are in
the same vertical plane relative to one another.
In order to hold the bottom rib in plane, I added a temporary
upright to my jig fixture and secured the rib with some threaded rod,
nuts, and washers.
With all the measurements verified, the tip rib square to the rear spar, and the two ribs in vertical alignment with one another, I'm ready to begin fitting the skin. |
||
|
"Fear
not that thy life shall come to an end, but rather that it shall ever have
a beginning." |