Plating and Cleaning
While the body is at
the painter, and the frame is at the powder coater, I took the time clean up
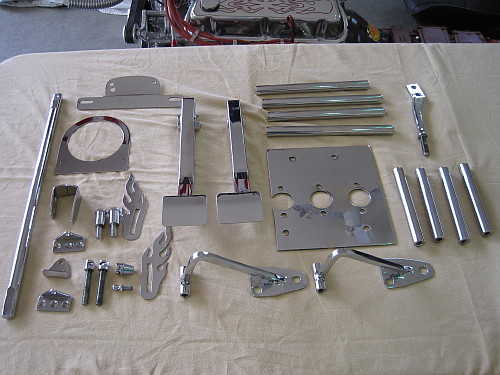
and either polish, paint, or chrome all the parts that I had previously
removed. This way when everything re-converges back in my hangar, I
can go to town on the assembly. This is a shot of the parts that I had
chrome plated.
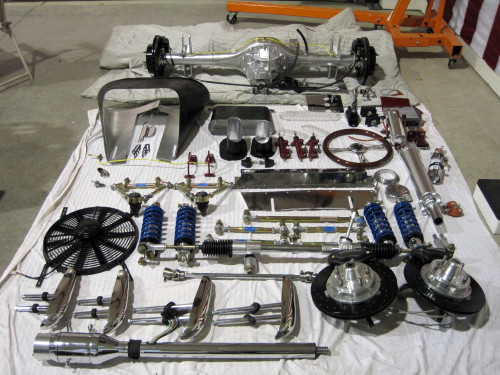
Here's my collection
of cleaned and painted parts laid out on the floor and ready to be bolted
on.
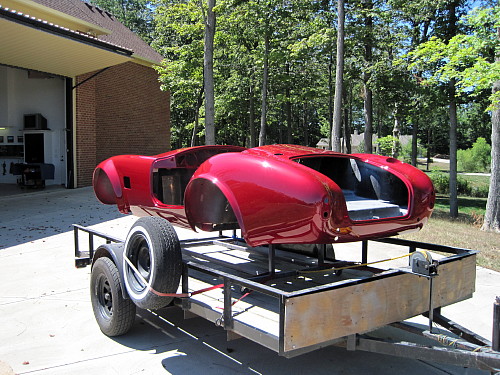
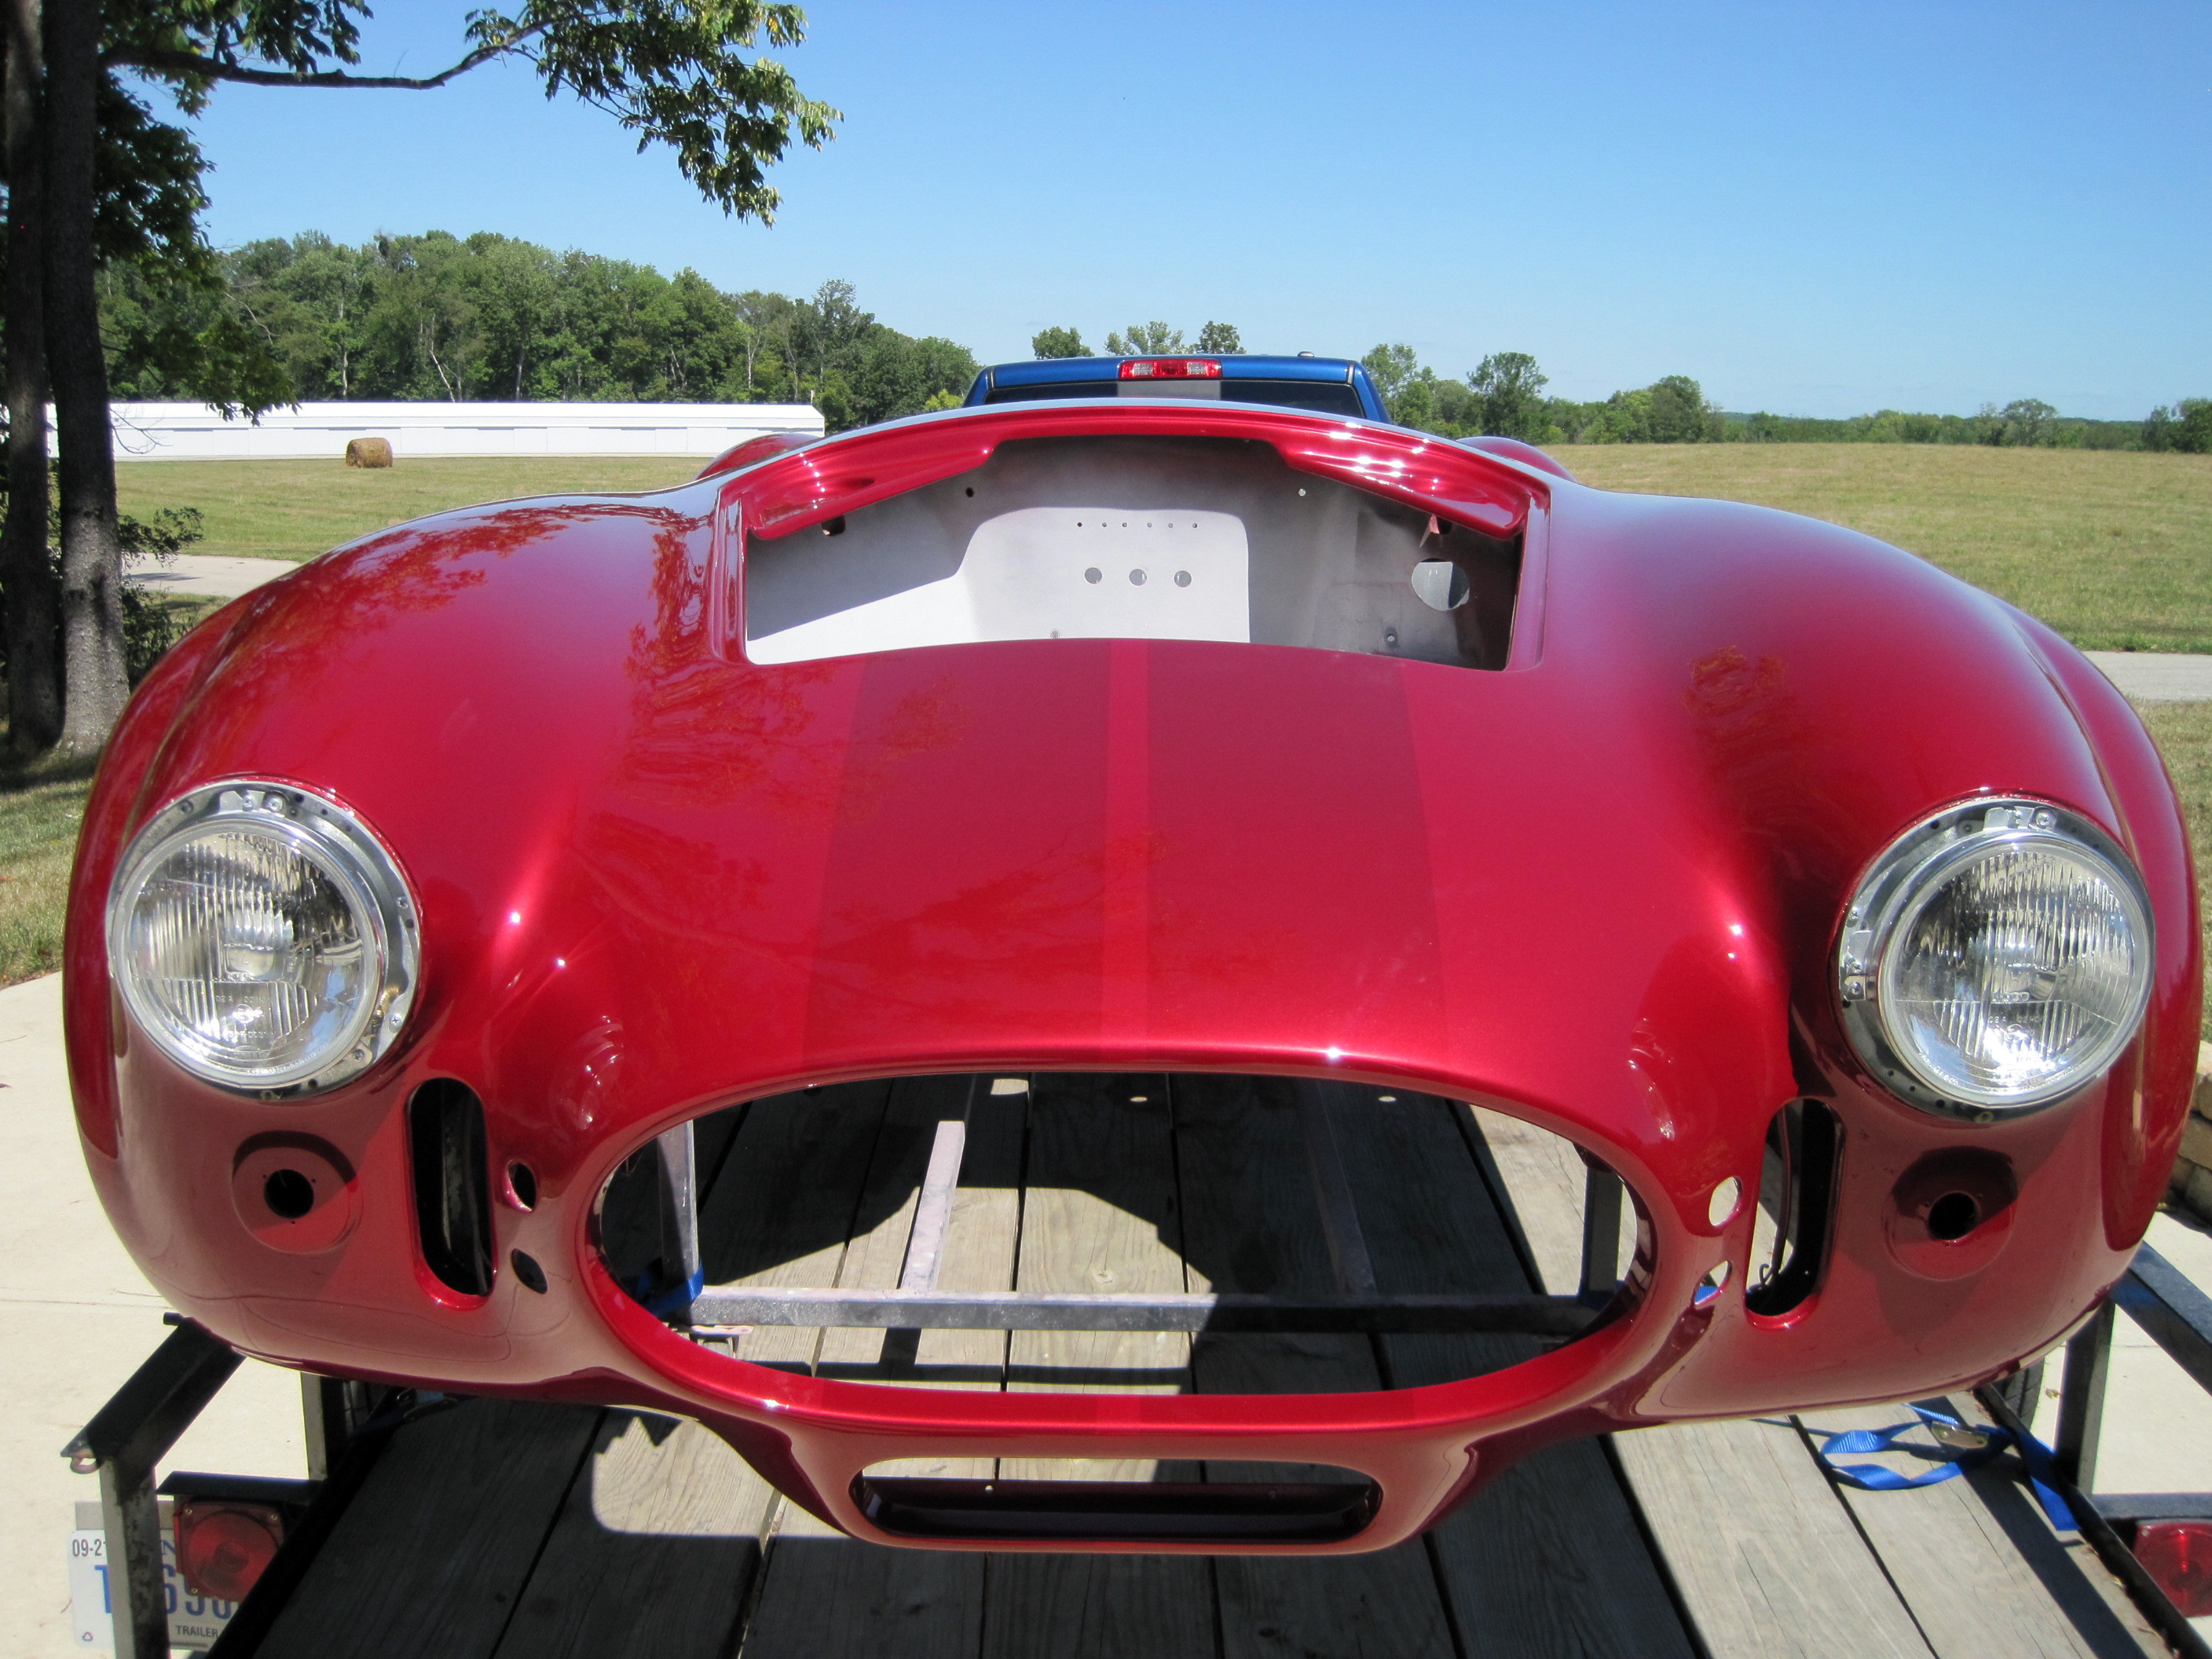
I picked up the body
from the painter and carefully brought it home on the body buck. It
turned out very nice and I am quite happy with the way it turned out.
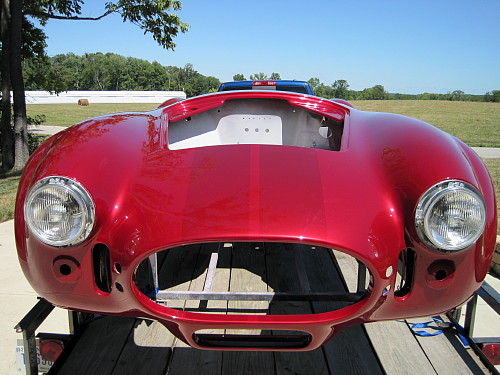
Here's a nose on shot
in the sun so you can see the ghost stripes.

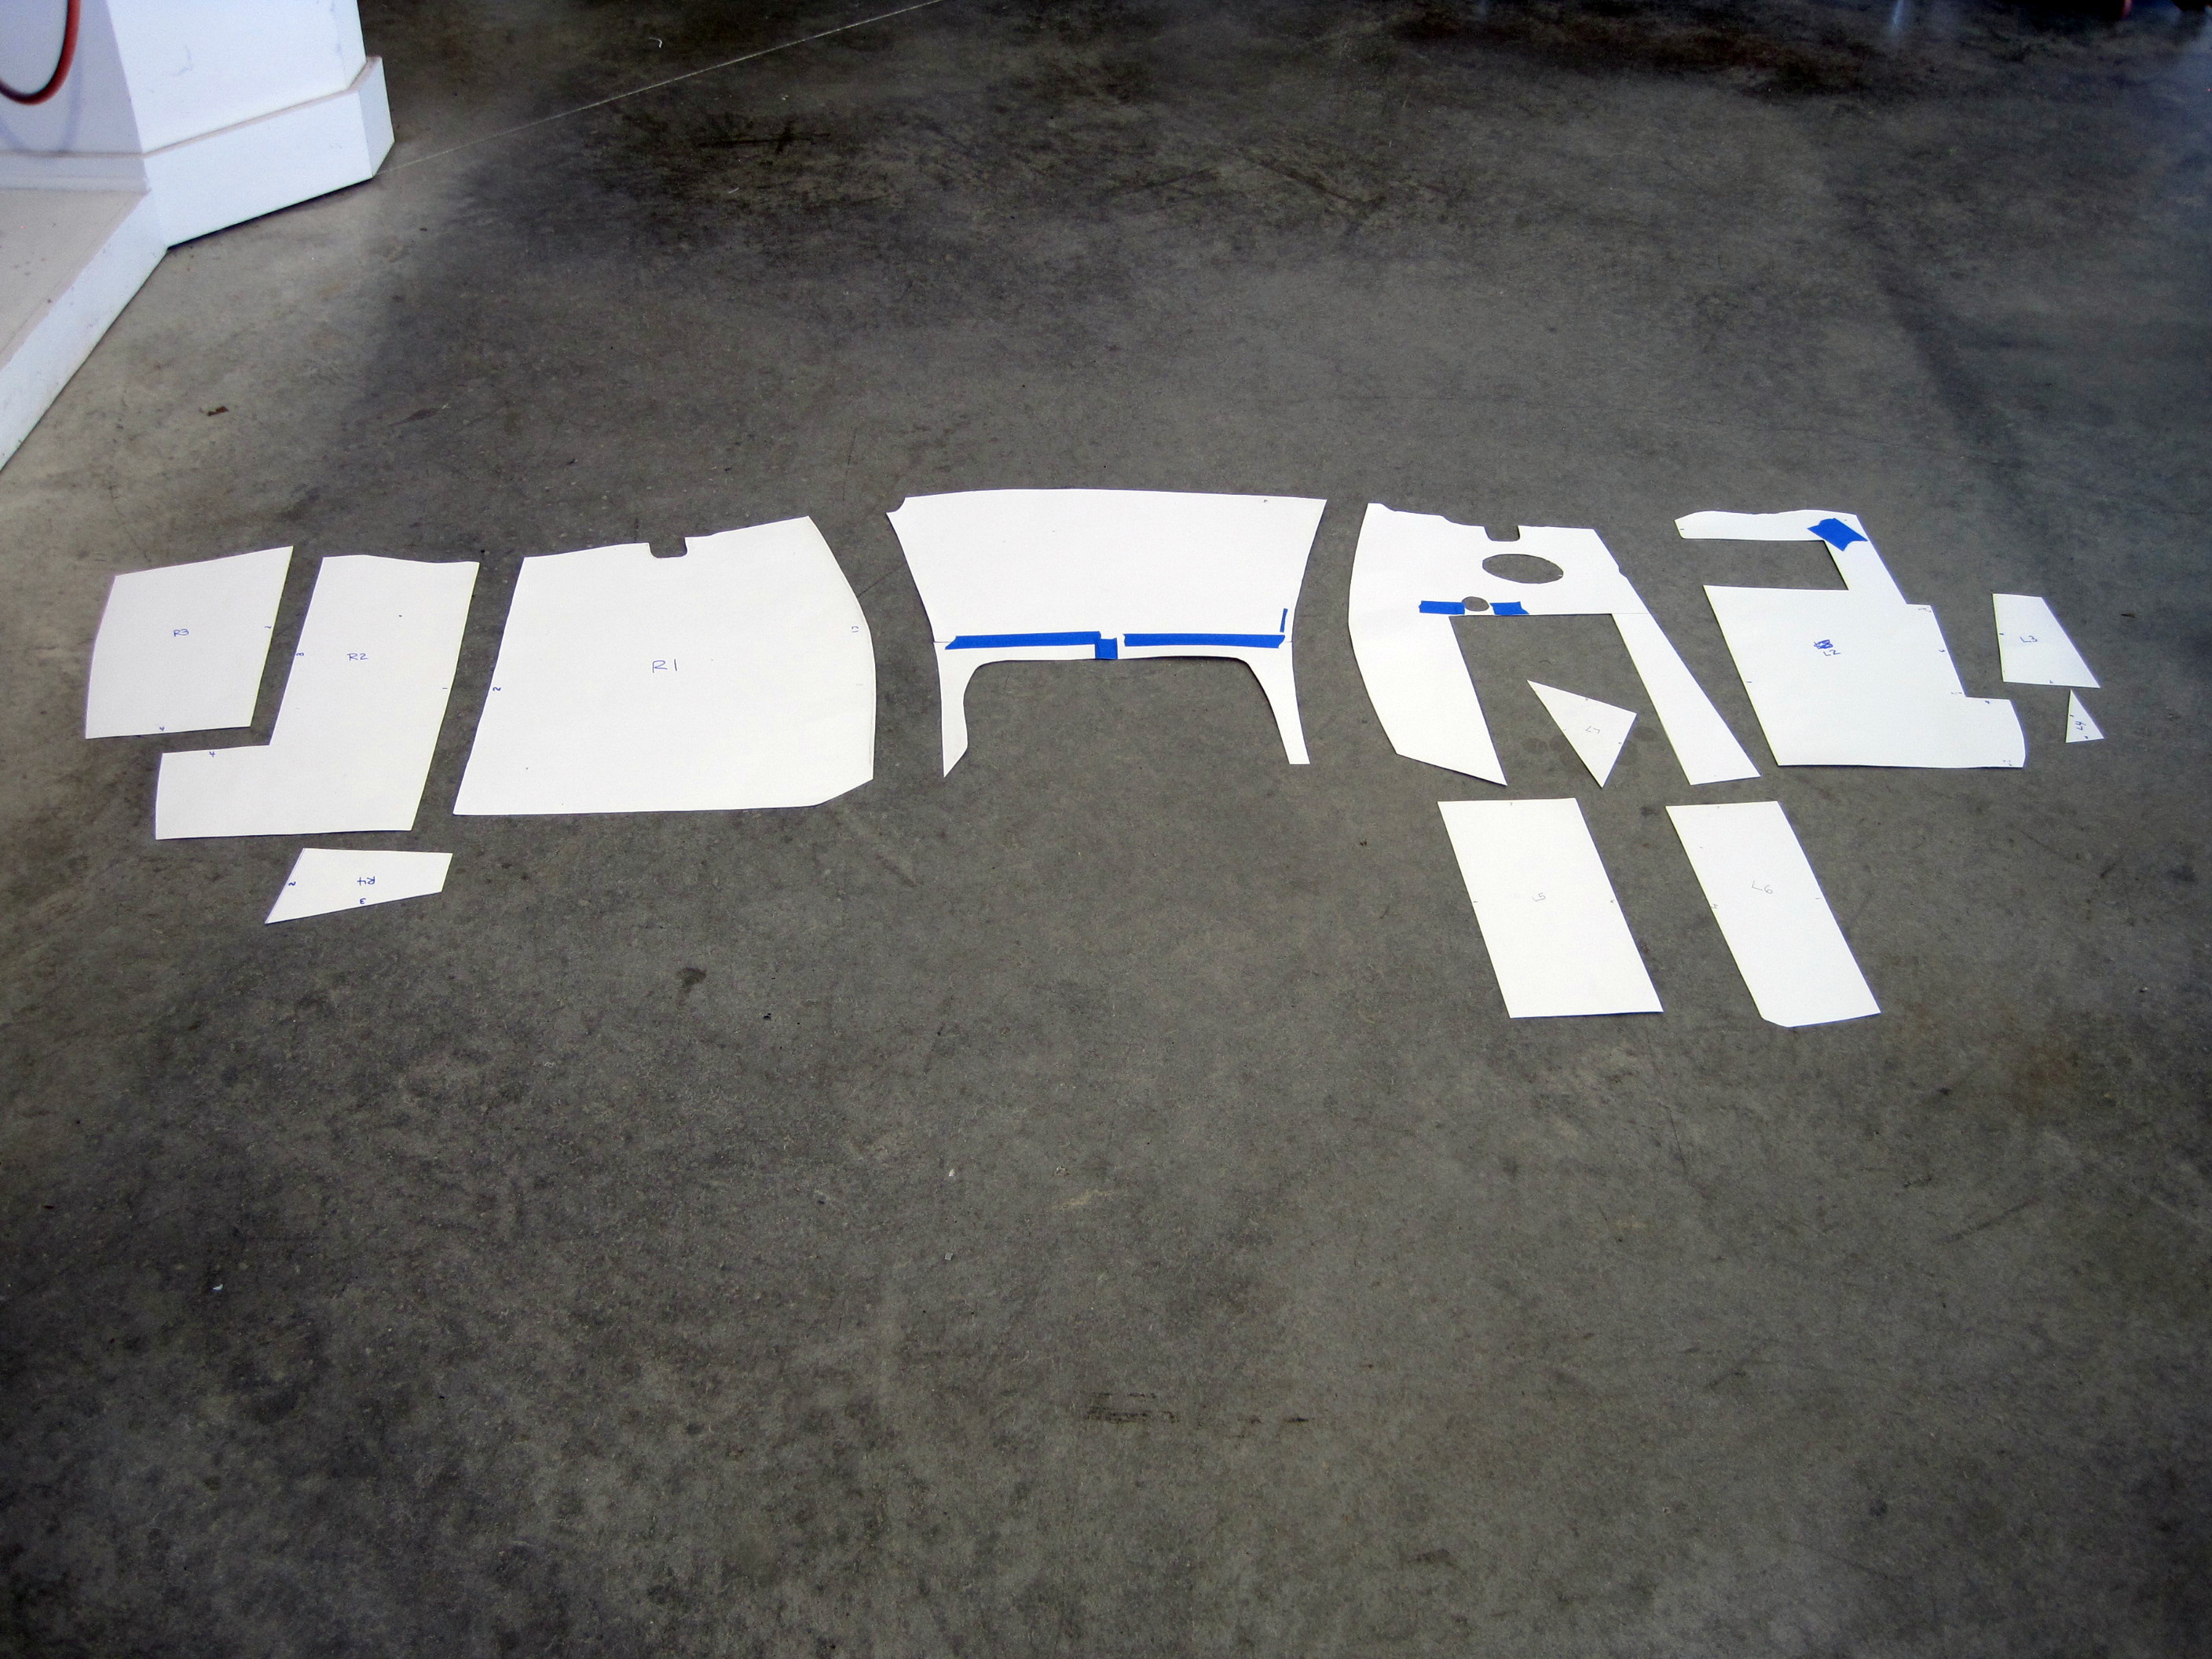
The first step on the
body is to install a stainless steel firewall over the fiberglass firewall.
I'm doing this because I like the look of it and it will provide better
protection. It's not really necessary, but hey, I'm not going to get
on the road until Spring anyway so why not do it. Above are all the
cardboard templates for the various pieces that make up the entire firewall.
It will take 12 pieces riveted together to complete it.
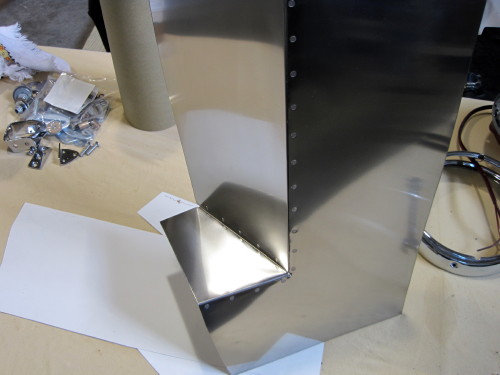
Here's a shot of the
passenger side firewall components. What I did was build on one part
at a time, fit it to the firewall, and drill the mounting holes. I
went around from each side until they met in the middle.

Here's the final
version installed. This took me about three weeks of solid work to get
it finished.

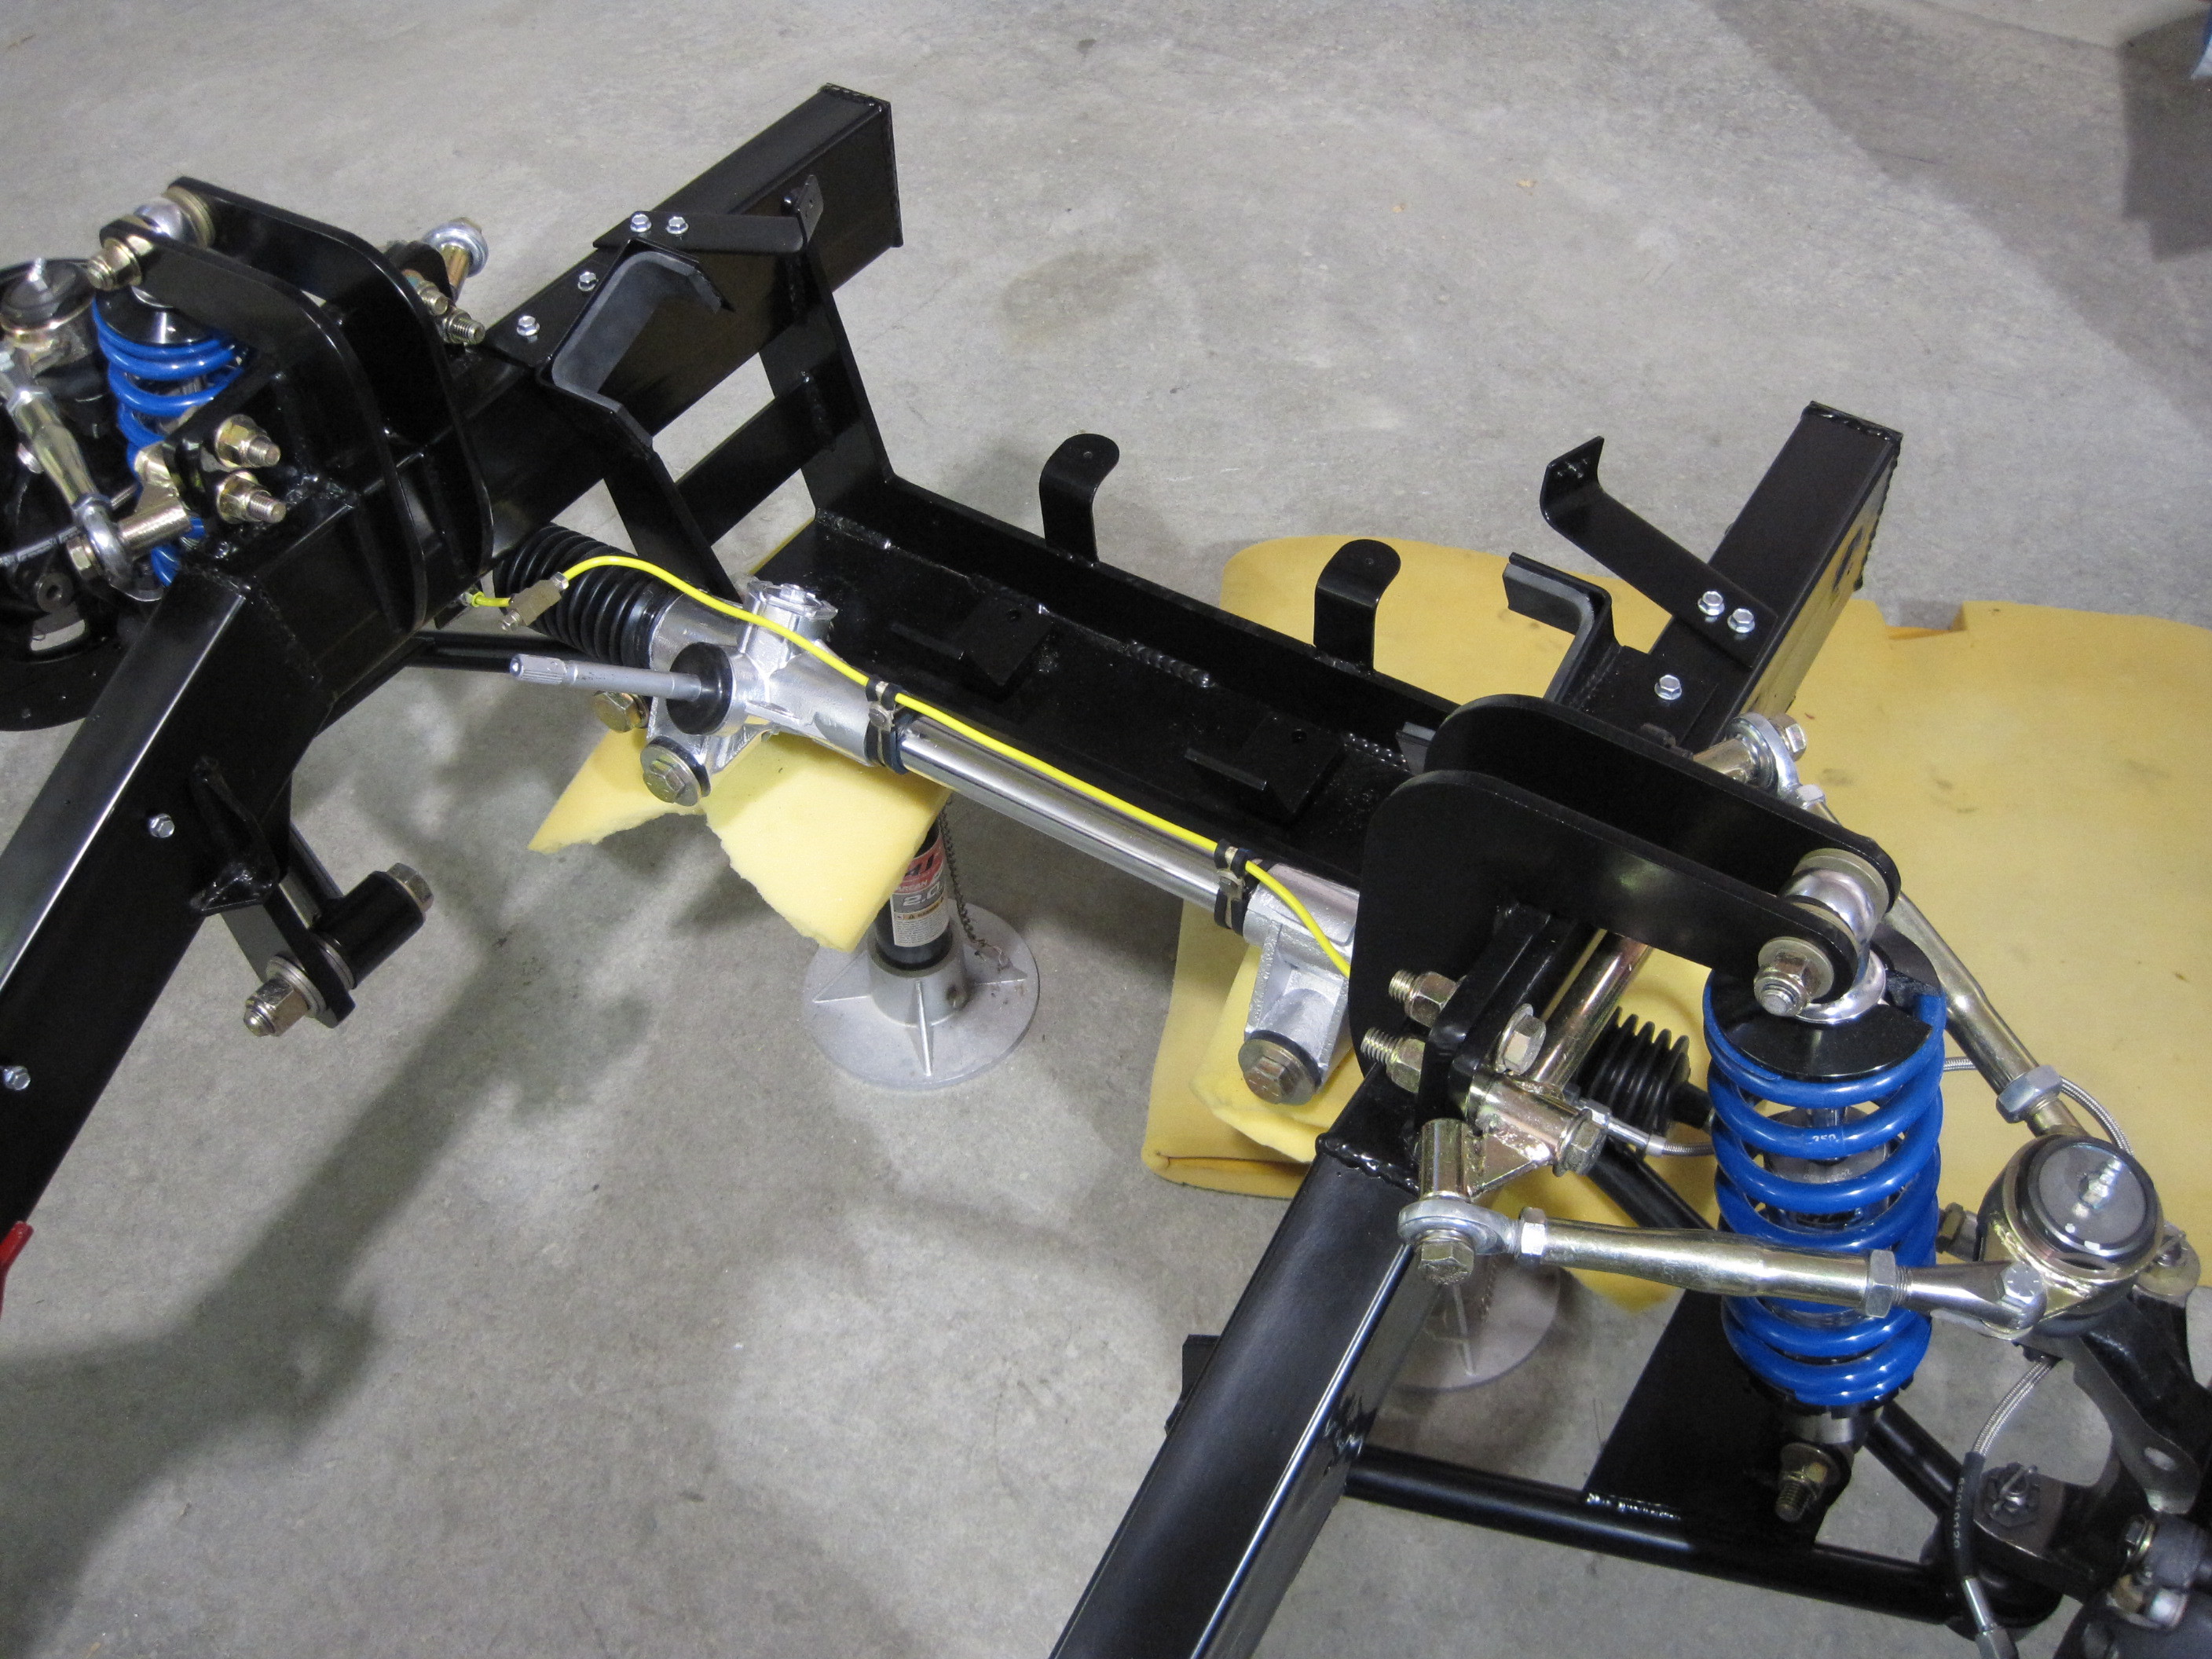
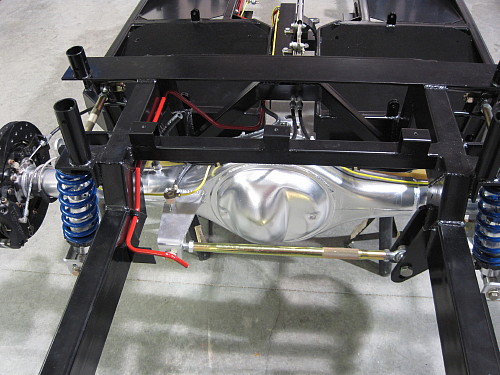
While I am working on
the body, I've also been re-assembling the frame components. Here's a
shot of the front-end all bolted up and ready for the engine.
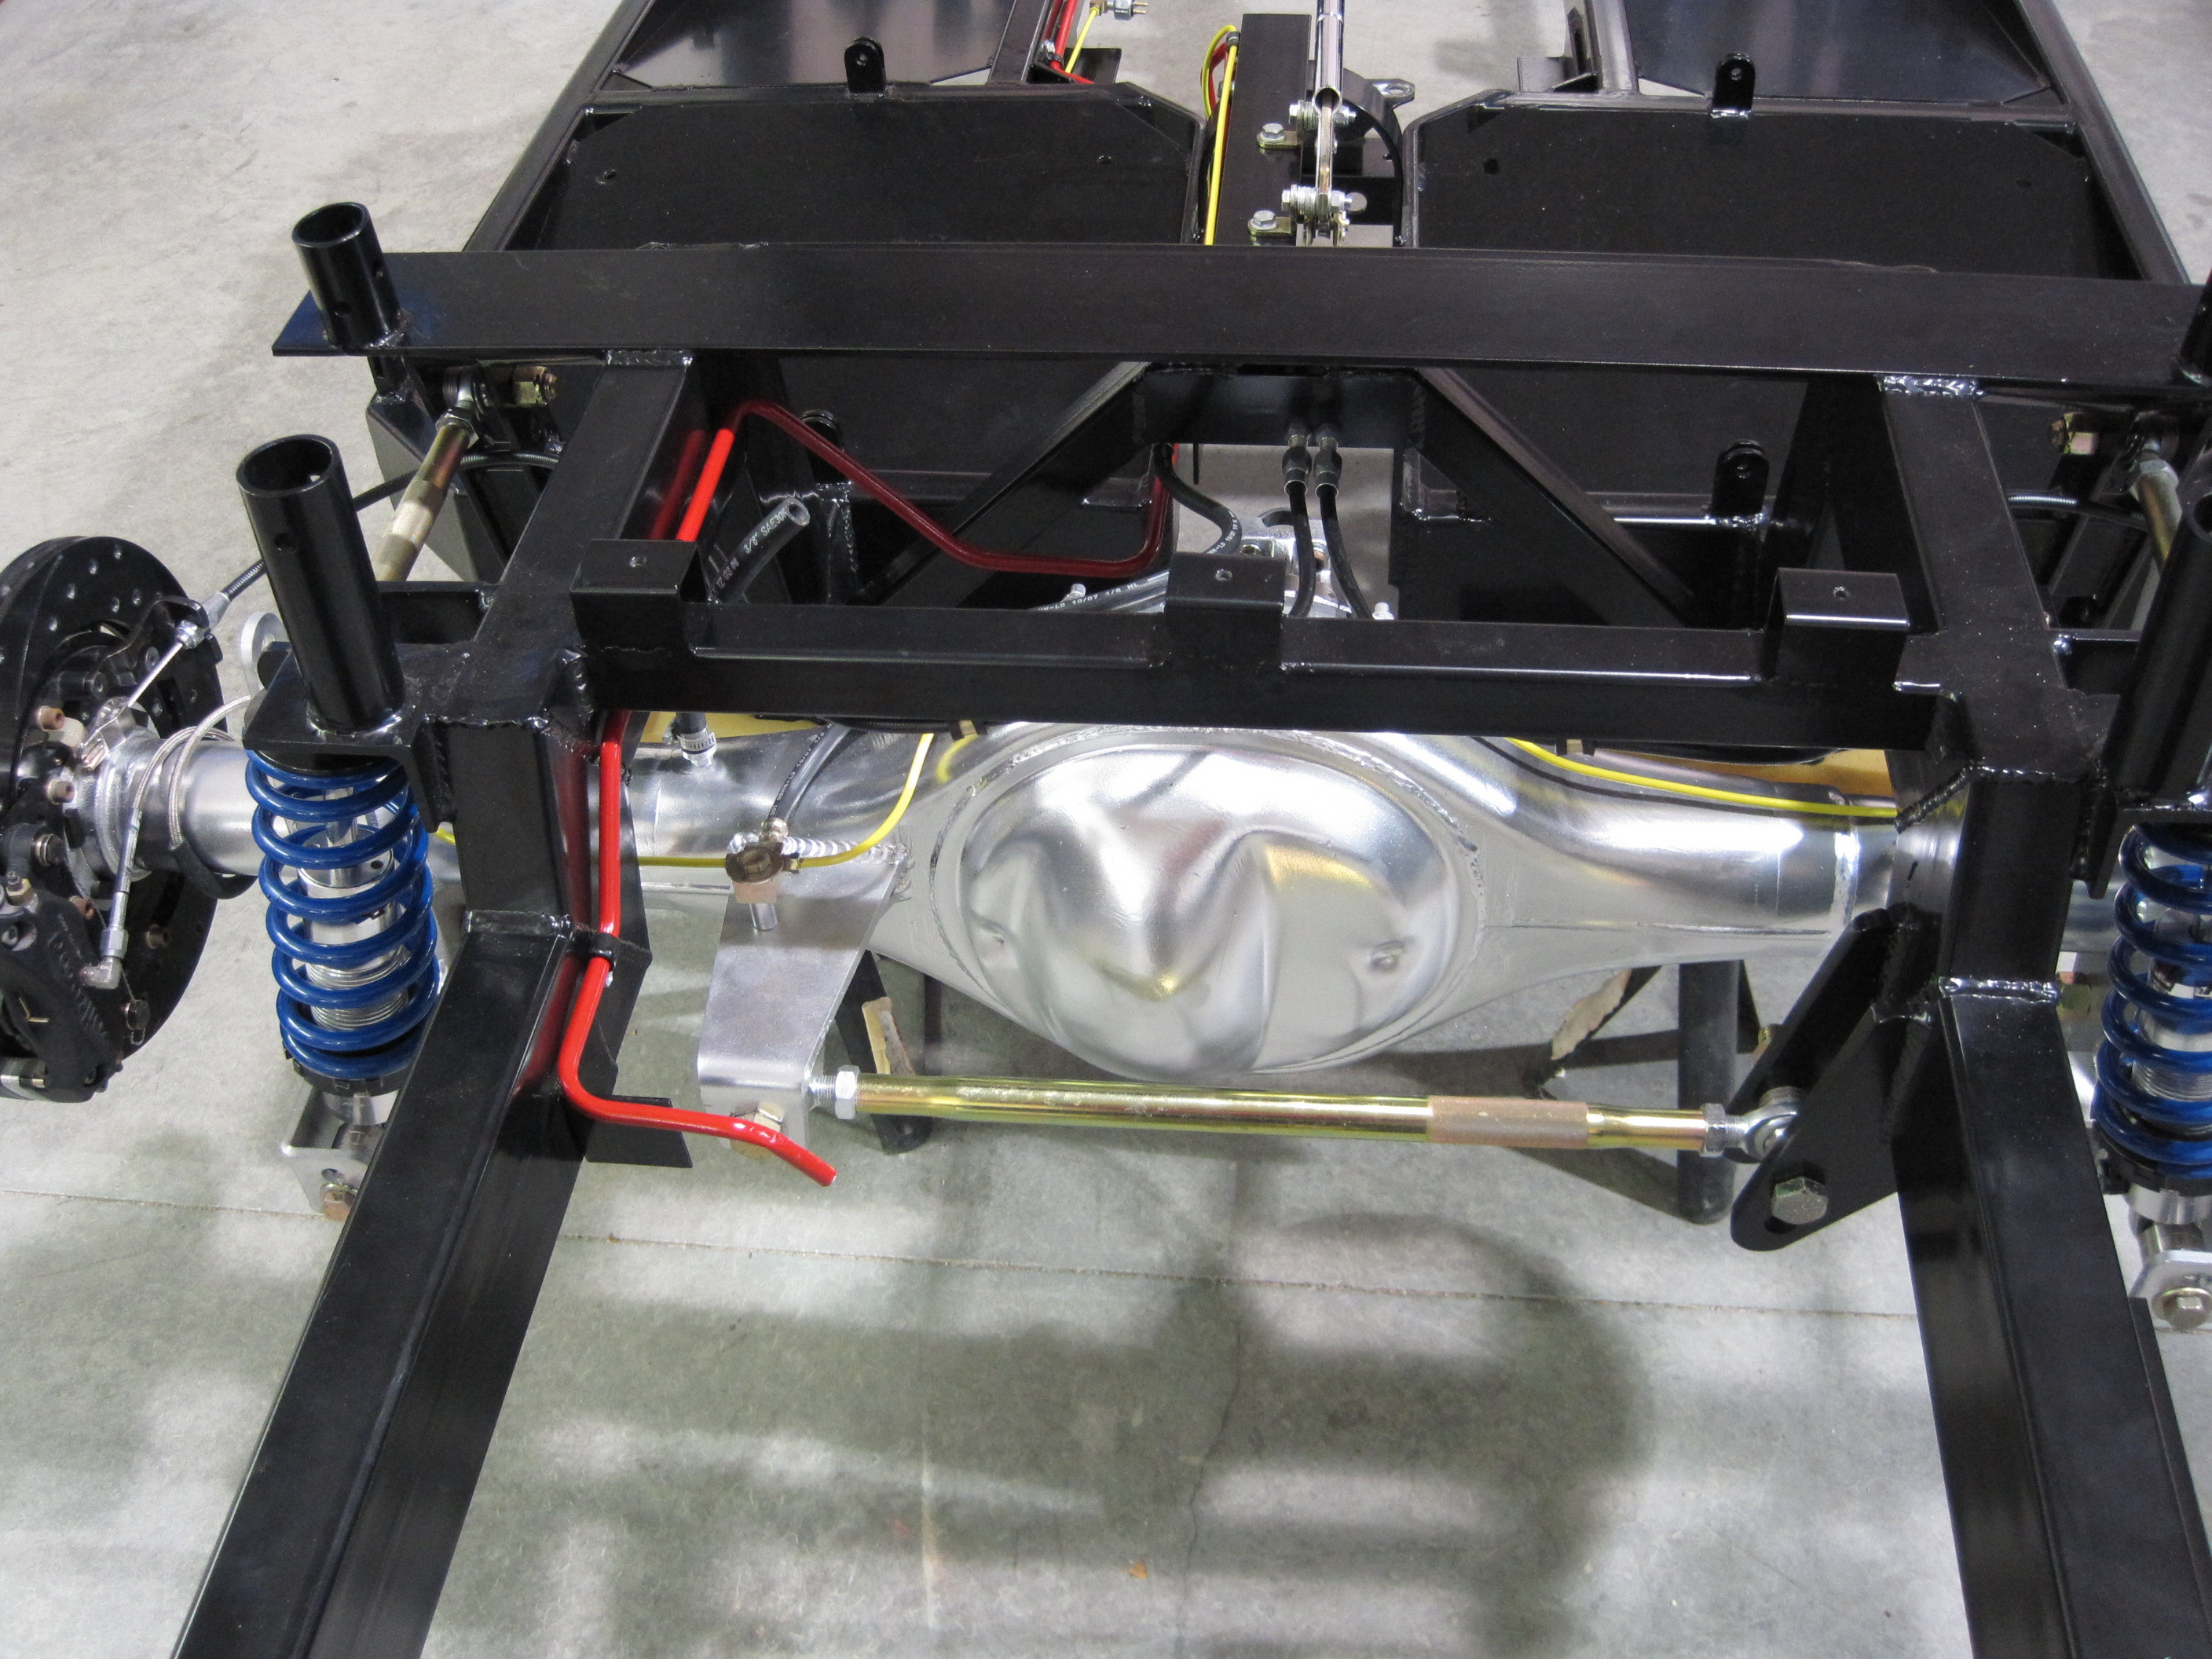
The rear of the car is
almost done as well. All that's needed in the fuel tank and it is
ready for the body.
Wiring
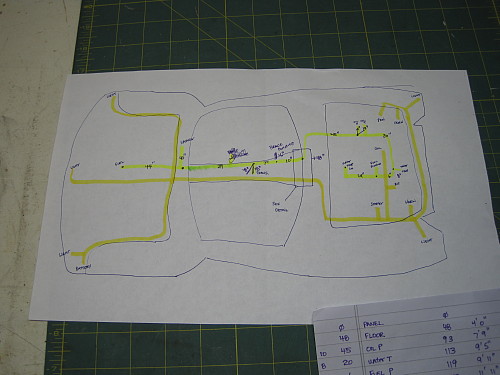
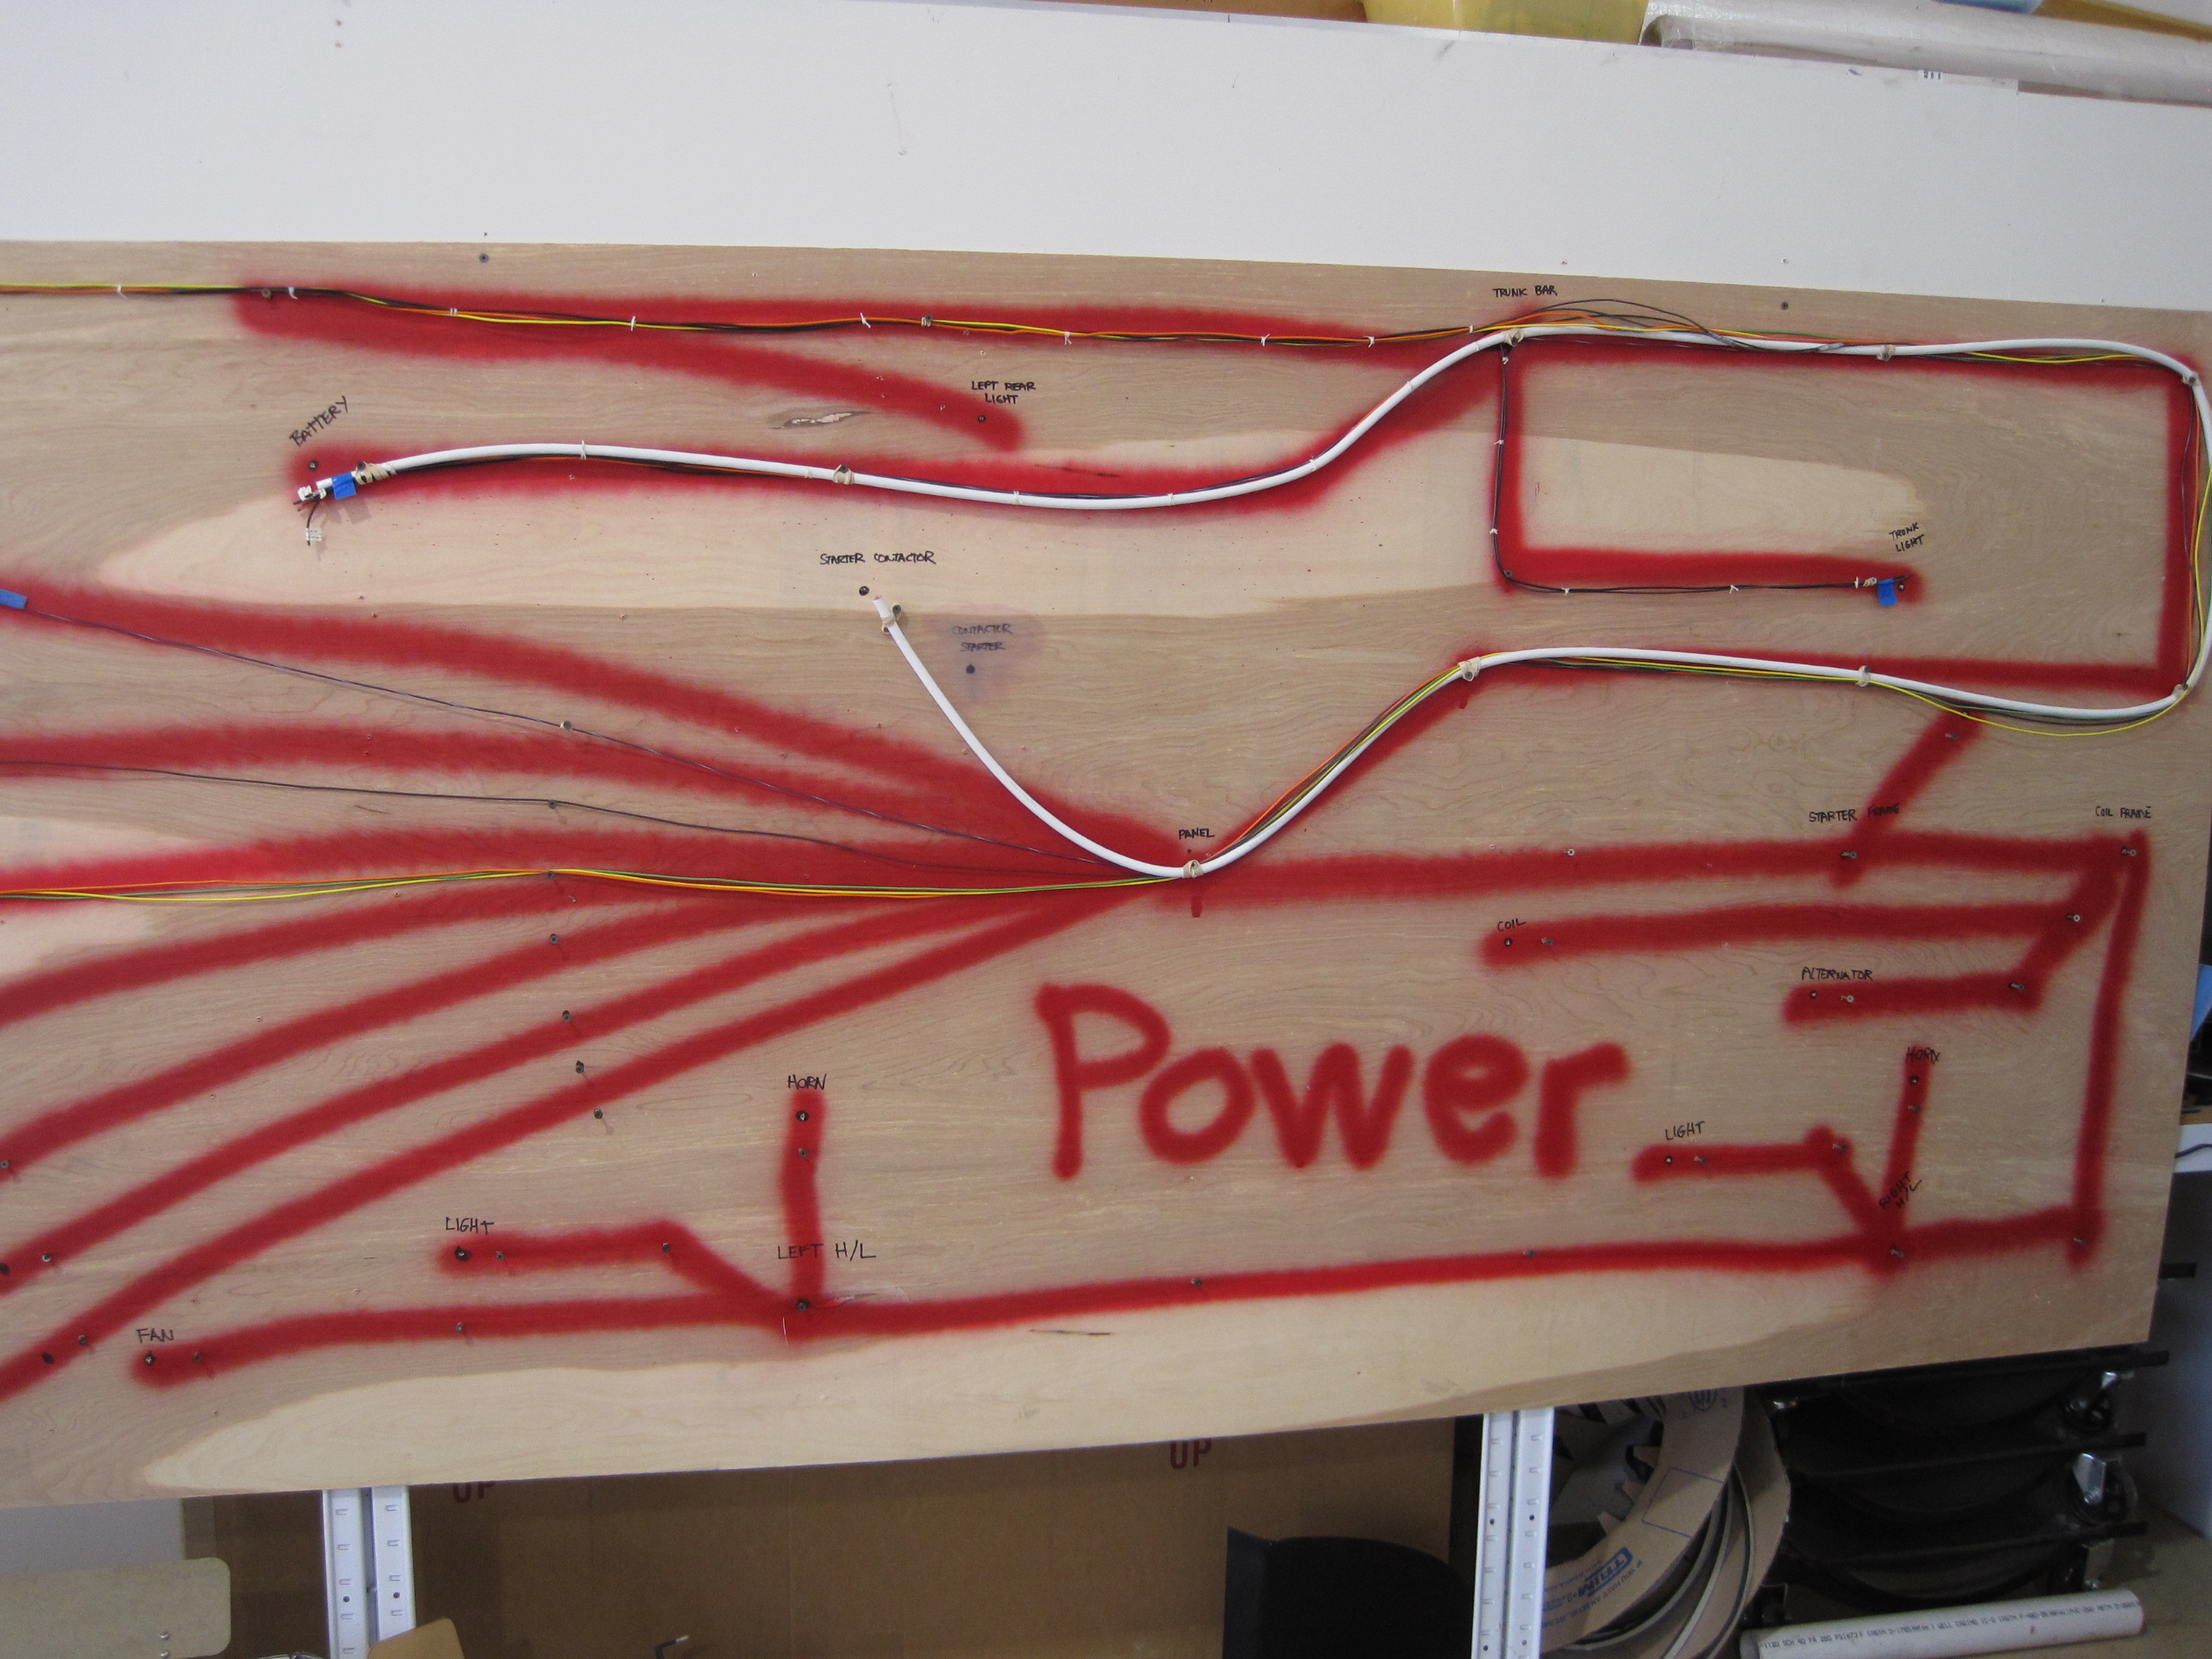
Before the body can be
put back on the frame, I need to install the wiring harnesses. My plan
is to build my own harnesses that are customized for my specific car.
The first step is to figure out where the runs will be attached to the body
and the frame. After looking things over, I decided on the routes that
are outlined above. Next step is to go over the the frame and the body
and measure the exact distances between all the branches in the wiring.
I then write these numbers down in a table and it gives me all the
dimensions I need to construct a wiring tree. Also depicted on the
picture are two major wiring runs. One contains wires for sensors and
other sensitive wires that I want to keep away from the power wires.
The other run is for all the power wires.
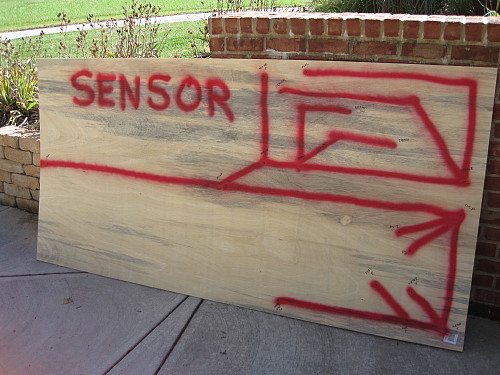
Using the dimensions
from my wire table, I outlined the tree structure on a sheet of plywood.
At each junction and along long wire runs, I installed drywall screws.
I will use these screws to attach the wires to the tree with rubber bands.
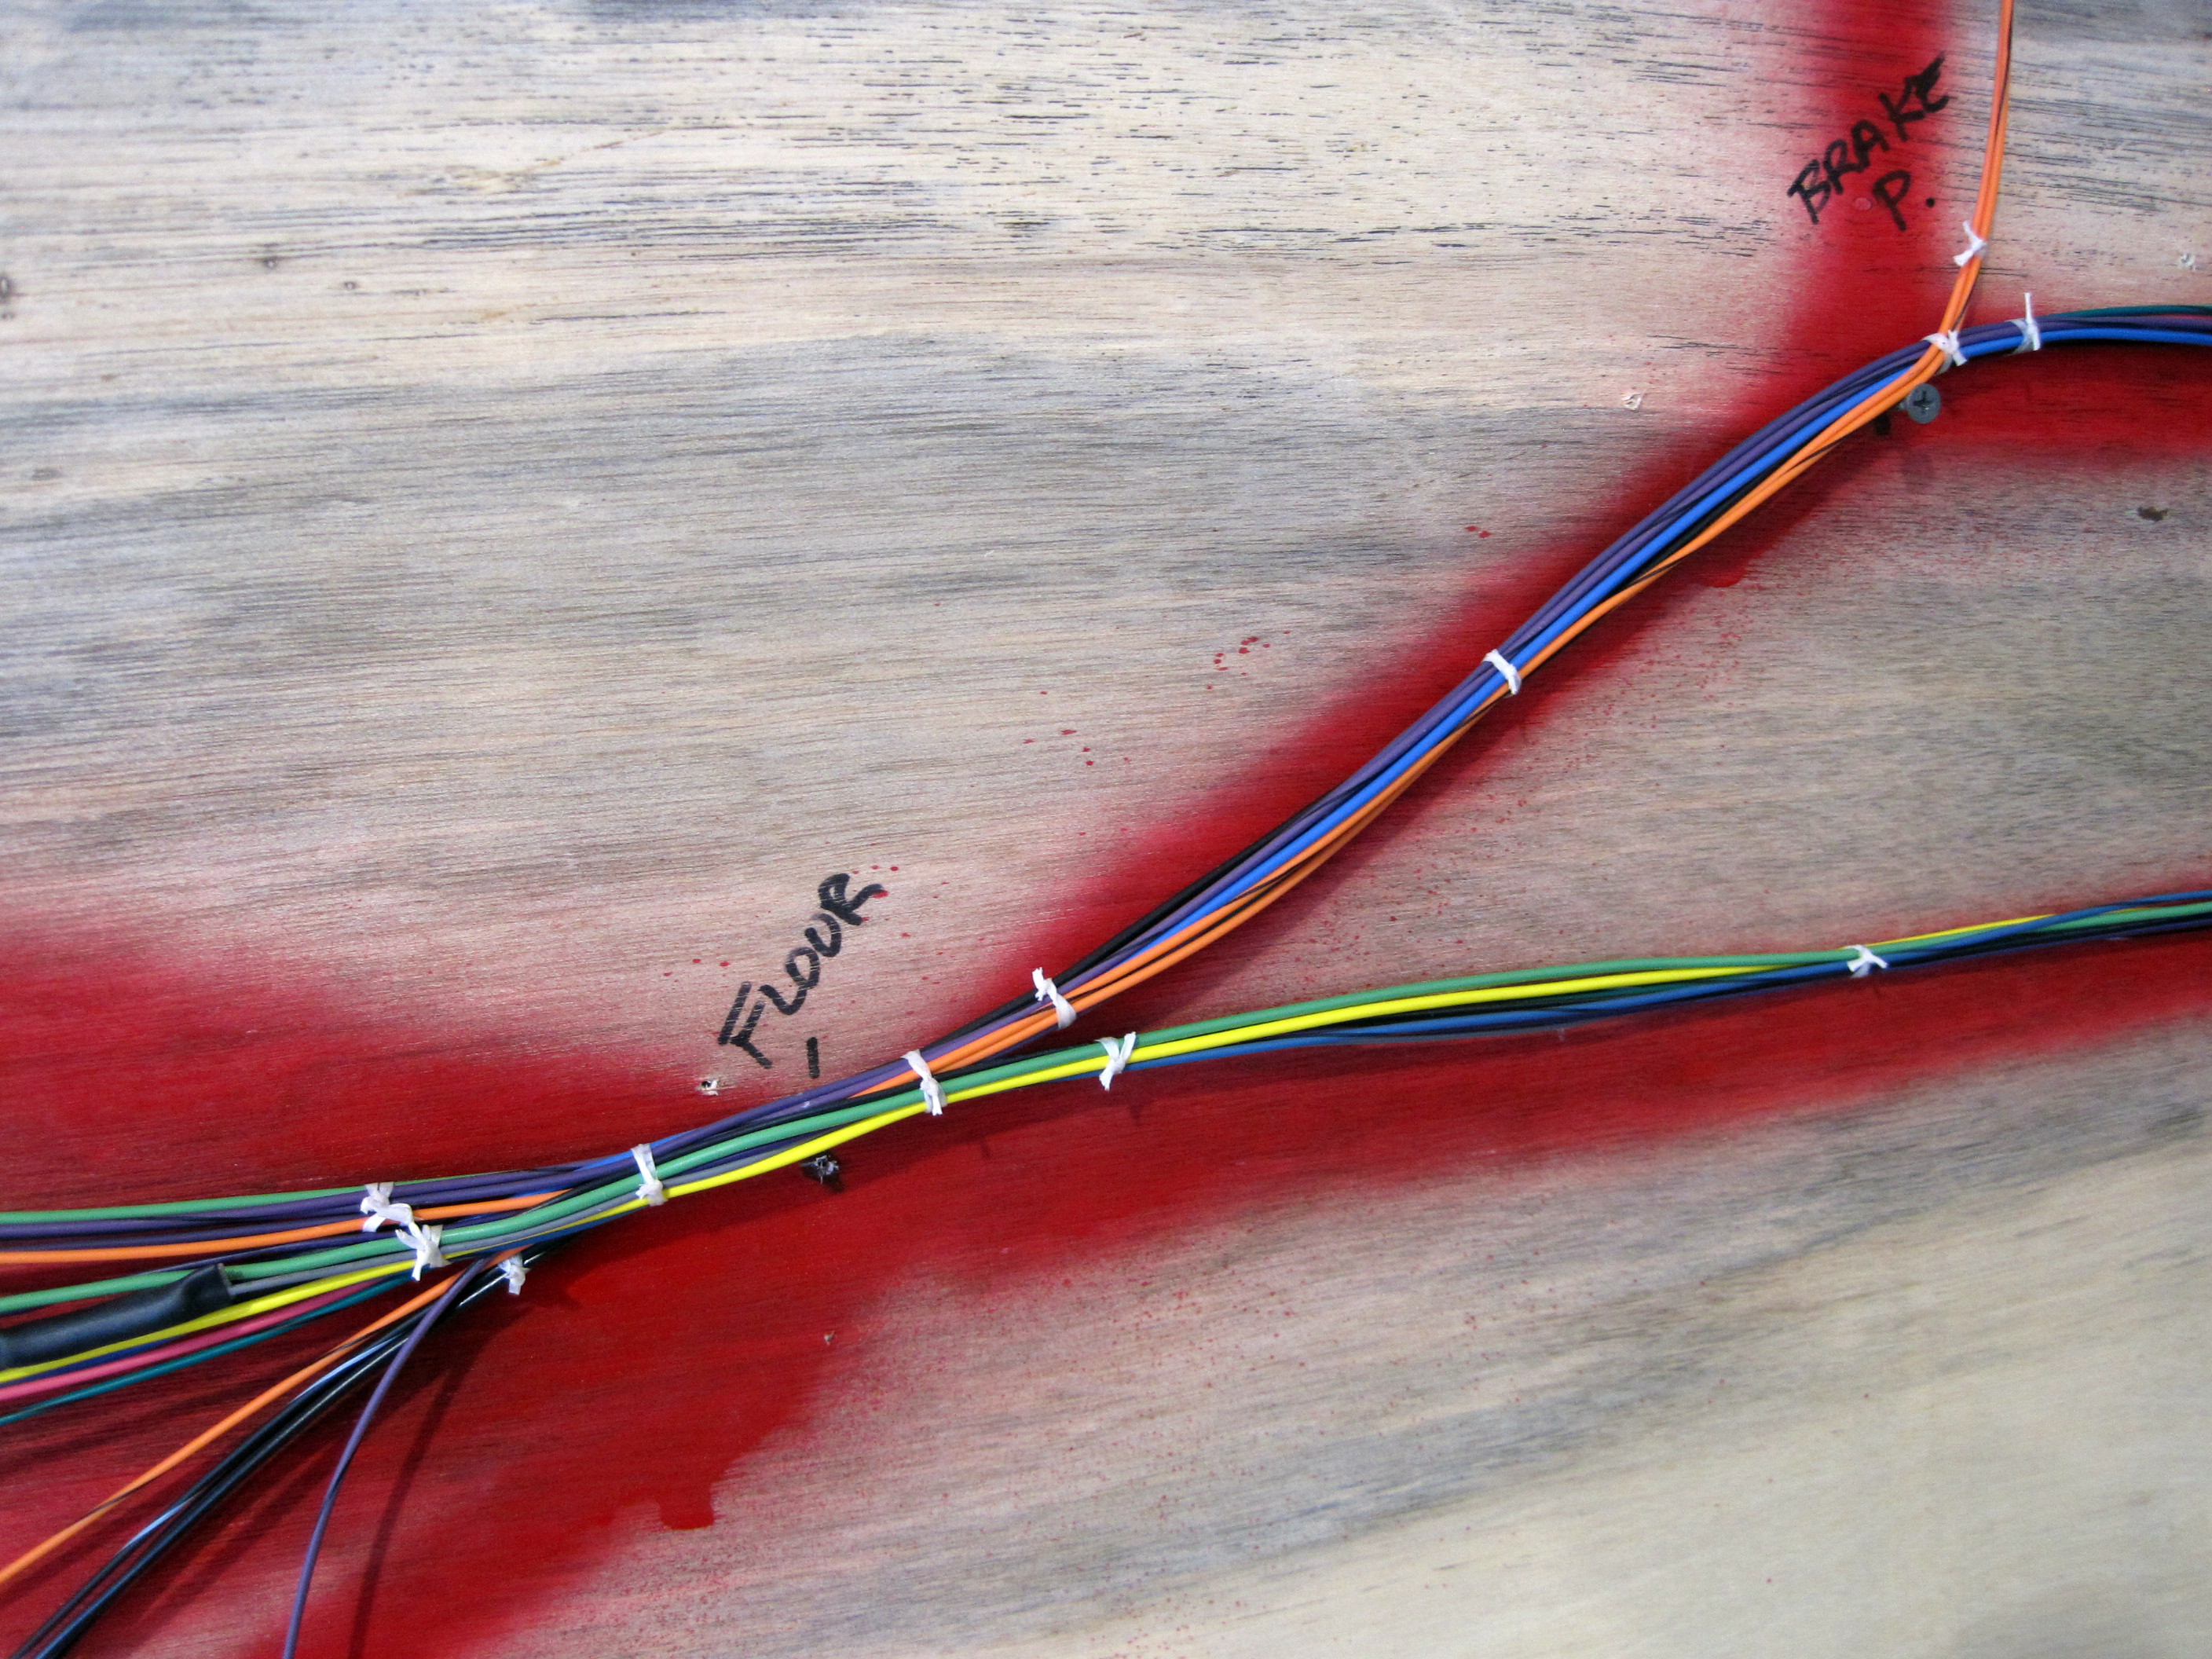
I then string each wire using my wiring diagram as my guide. As I
string the wires, I slip them through the rubber bands. Once they are
all run, I tie the wires together using wax cord and then cover the bundles
with Red plastic sheathing.

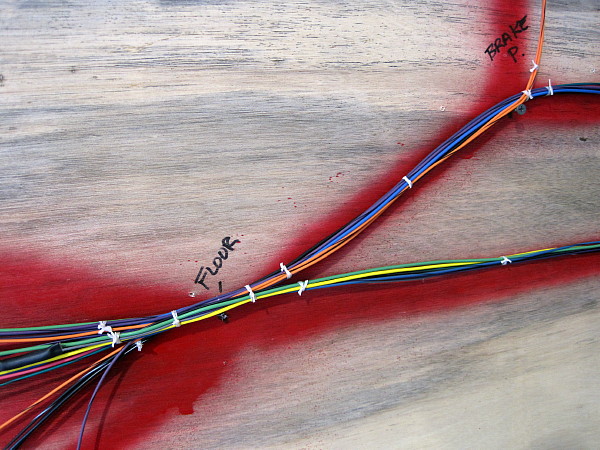
Here's the tree for
the power wires with a few of the wires attached. There's a lot of
heavy wires on this tree and it will be a challenge to get them all grouped
and covered.
Next, I will finish up
the wire harnesses and get ready to mount them in the car.
On the next page I'll
start assembling the interior of the car.
|