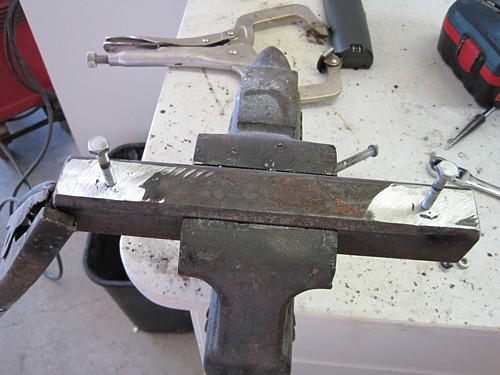
Front Bumpers
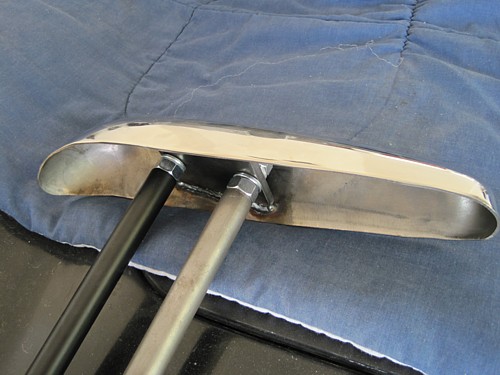
The first step is to
assemble the bumpers. The instructions are pretty thin so I
experimented with the hardware. The longer extensions go to the front
bumpers and the shorter to the rear bumpers. Also, the front bumpers
have the attach plate welded to the inside at an angle, where the rear
bumper plate is more upright. Once all that was sorted out, I trimmed
the threaded rod. The picture above shows a nut on the extension side.
After I installed them I found that you could see this nut so I decided to
install the extensions without this nut. The nut and lock washer on
the backside should hold the threaded rod from unscrewing.
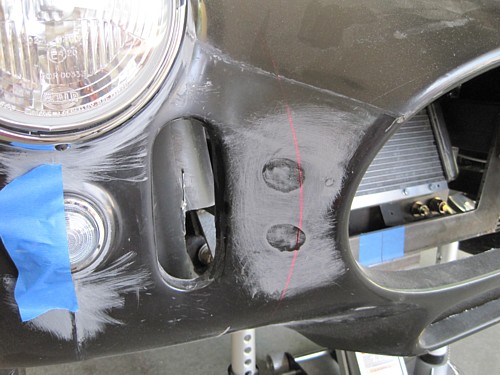
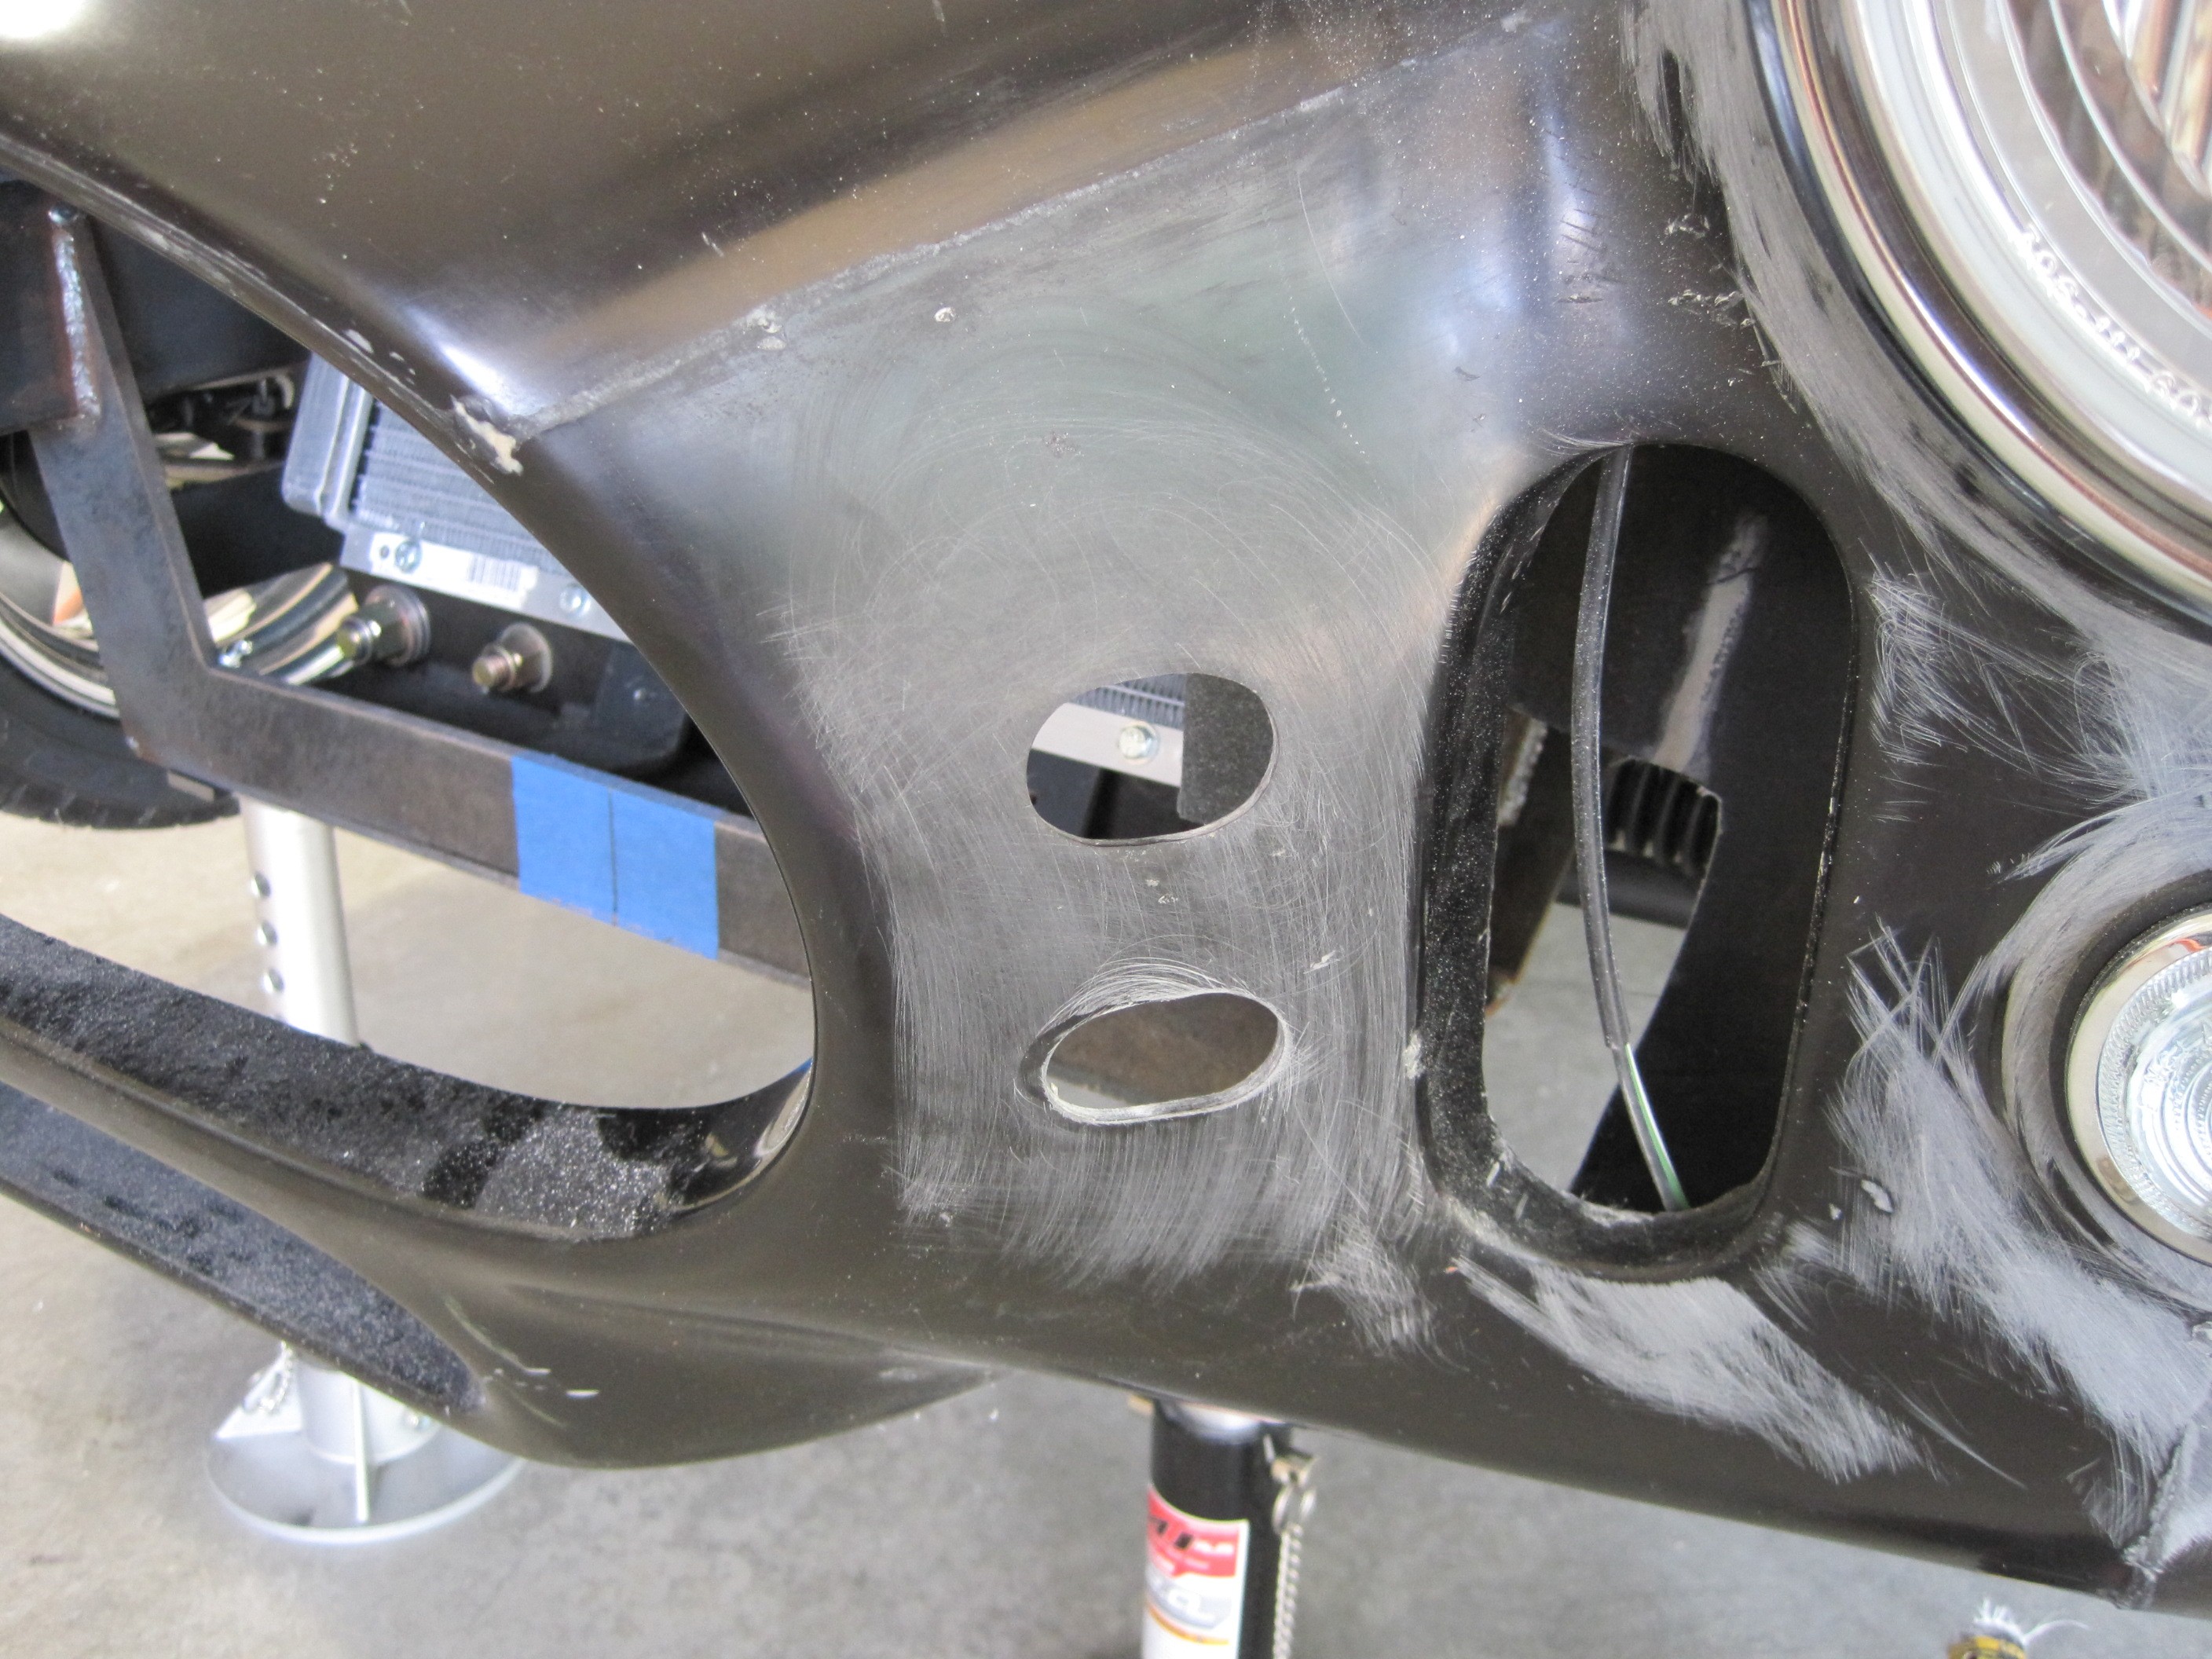
Where the holes are
drilled in the body is critical to having the bumpers vertical and even on
both sides. The last thing you want is the bumpers leaning to one
side. I measured the grommets and used some cardboard to make a trim
outline. Using my laser level, I established the proper vertical
plane. I did this after leveling the front of the body using the
parking lights and radiator opening as guides. I then drew the outline
of the cutout on the body.
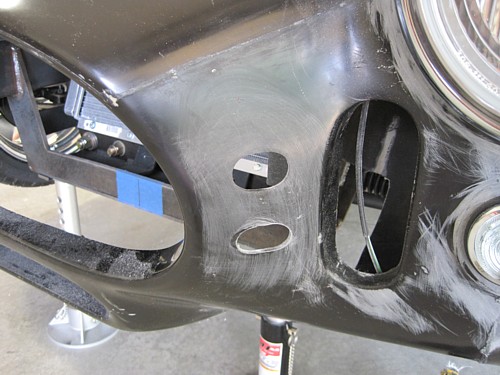
Using a Dremel and a
1" hole saw, I created the openings. Notice that they do not follow
exactly the outlines in the body. I also used the laser level to level
the openings side-to-side so they were the same for both bumpers. I
then inserted the grommets and the extensions, and began measuring up the
location of the attach plates.
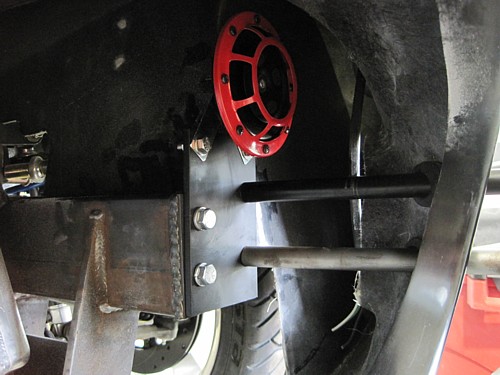
The critical
measurement is to ensure that the extension rods are level with the body,
and that they are aligned with the centerline of the body. I then
marked the location of the bolt holes and drilled up the attach plate.
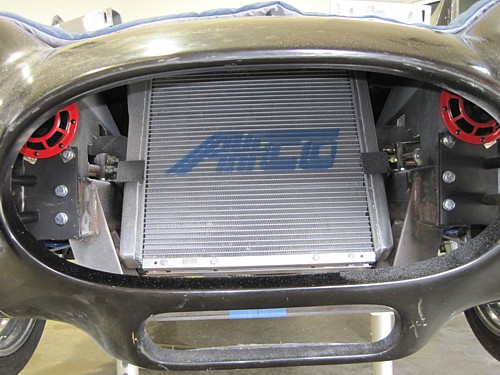
I also decided to mount my new horns to the top of these plates as it seemed
as good a place as any. After tapping the ends of the frame, I bolted
everything together.
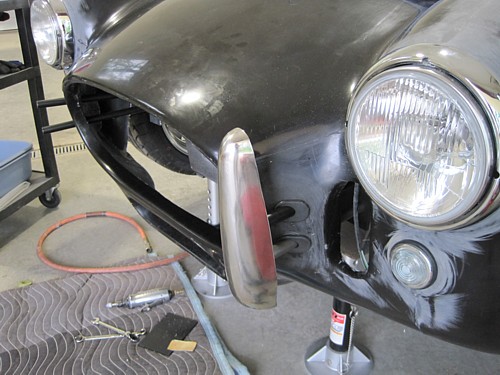
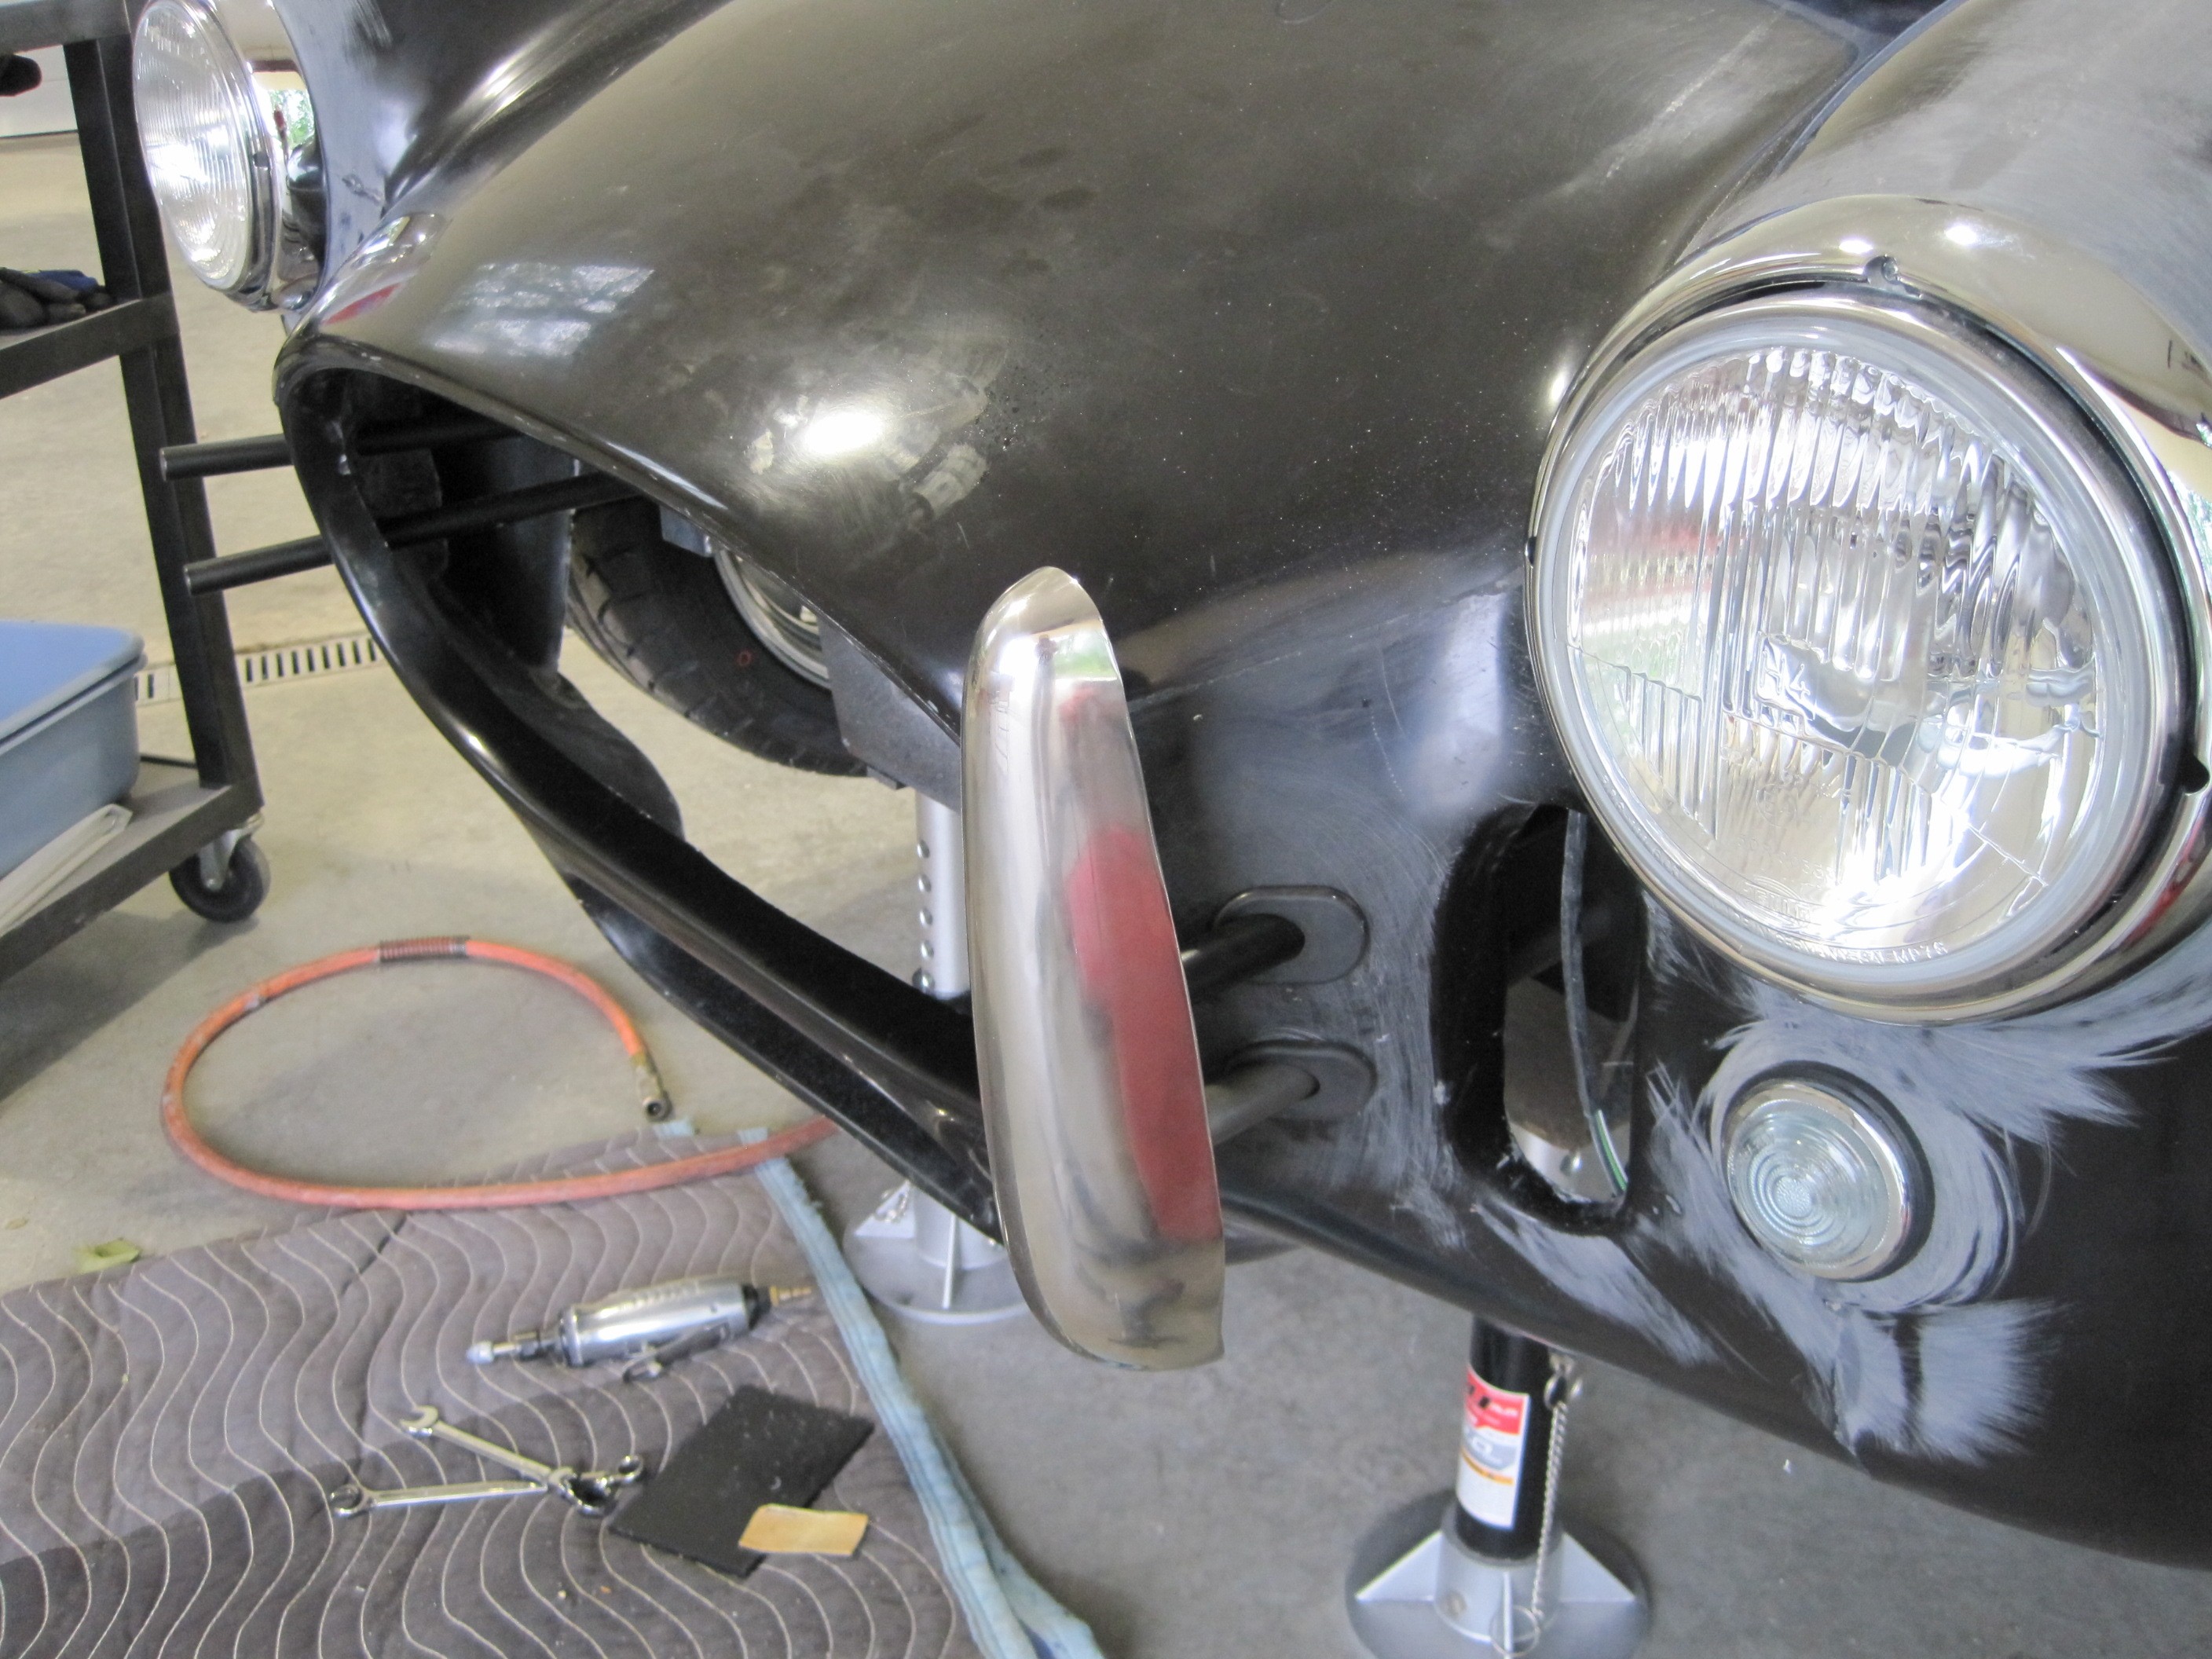
Once I had the bumper
mounted, I thought that it stuck out too far from the body. I took
everything apart one more time and cut a total of an inch off the length of
each. This also required me to shorten up the threaded inserts a
second time as well. This is what it looks like re-installed.
Here is a final
picture of the mountings.
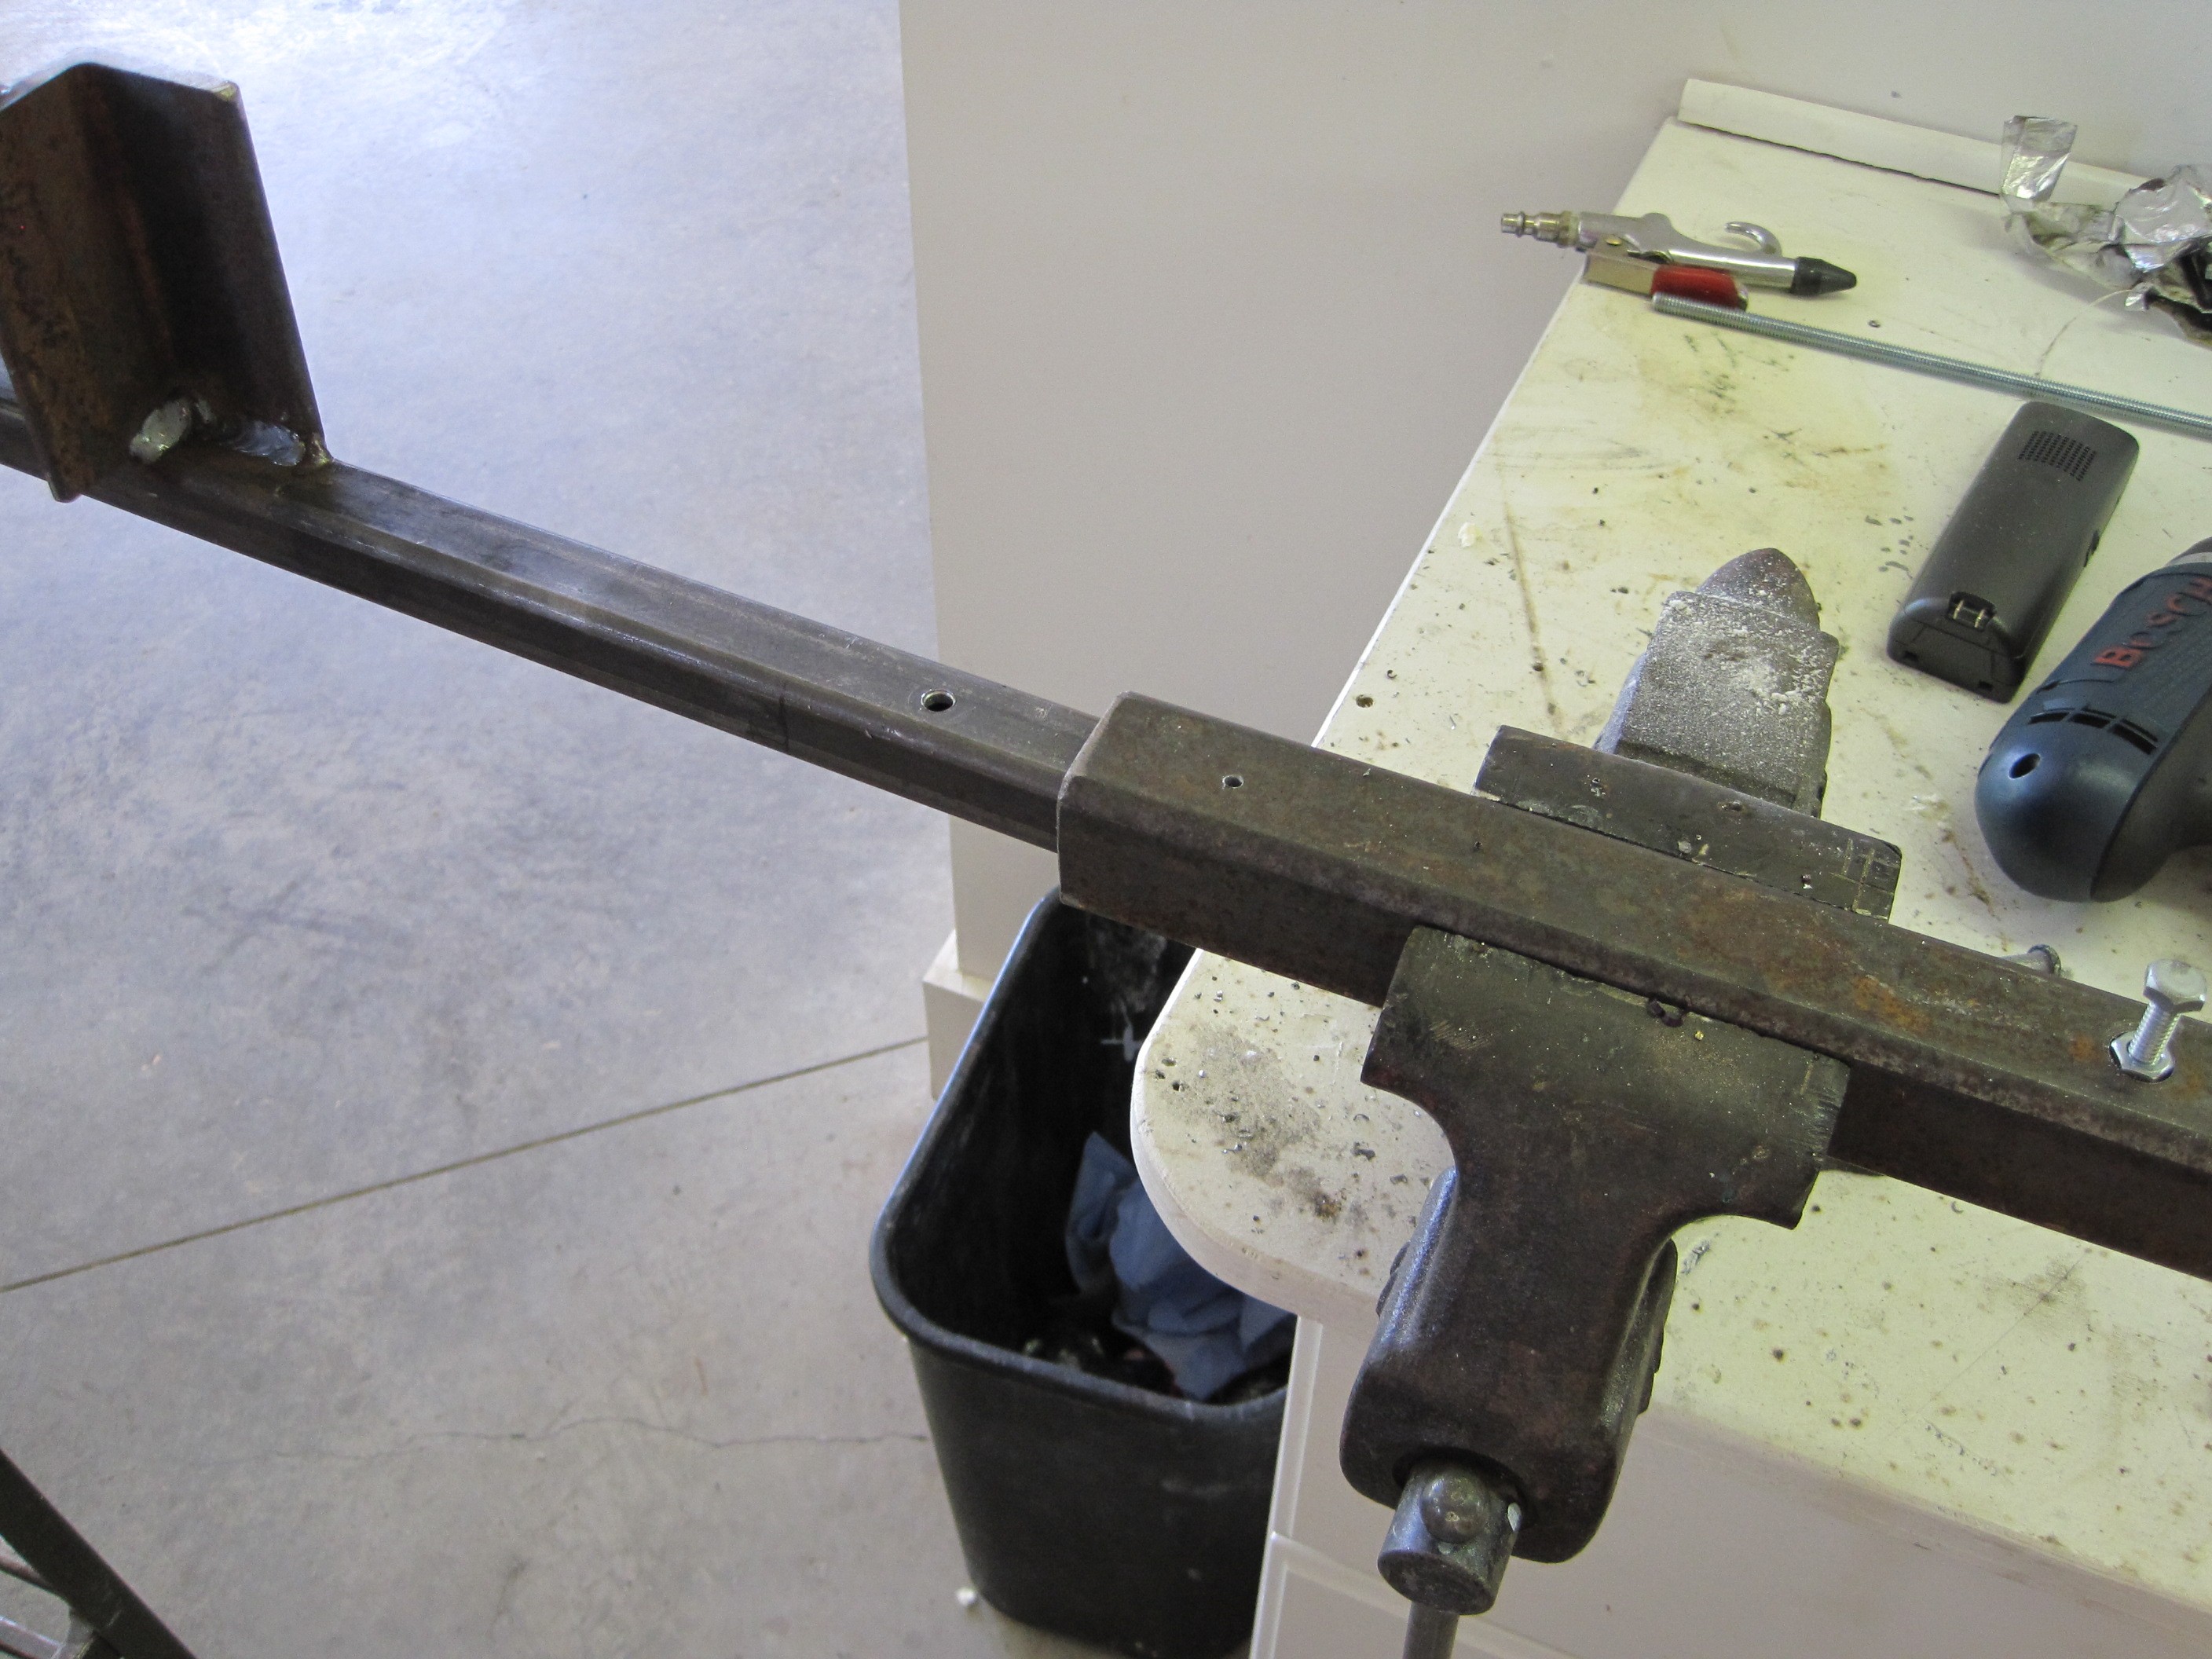
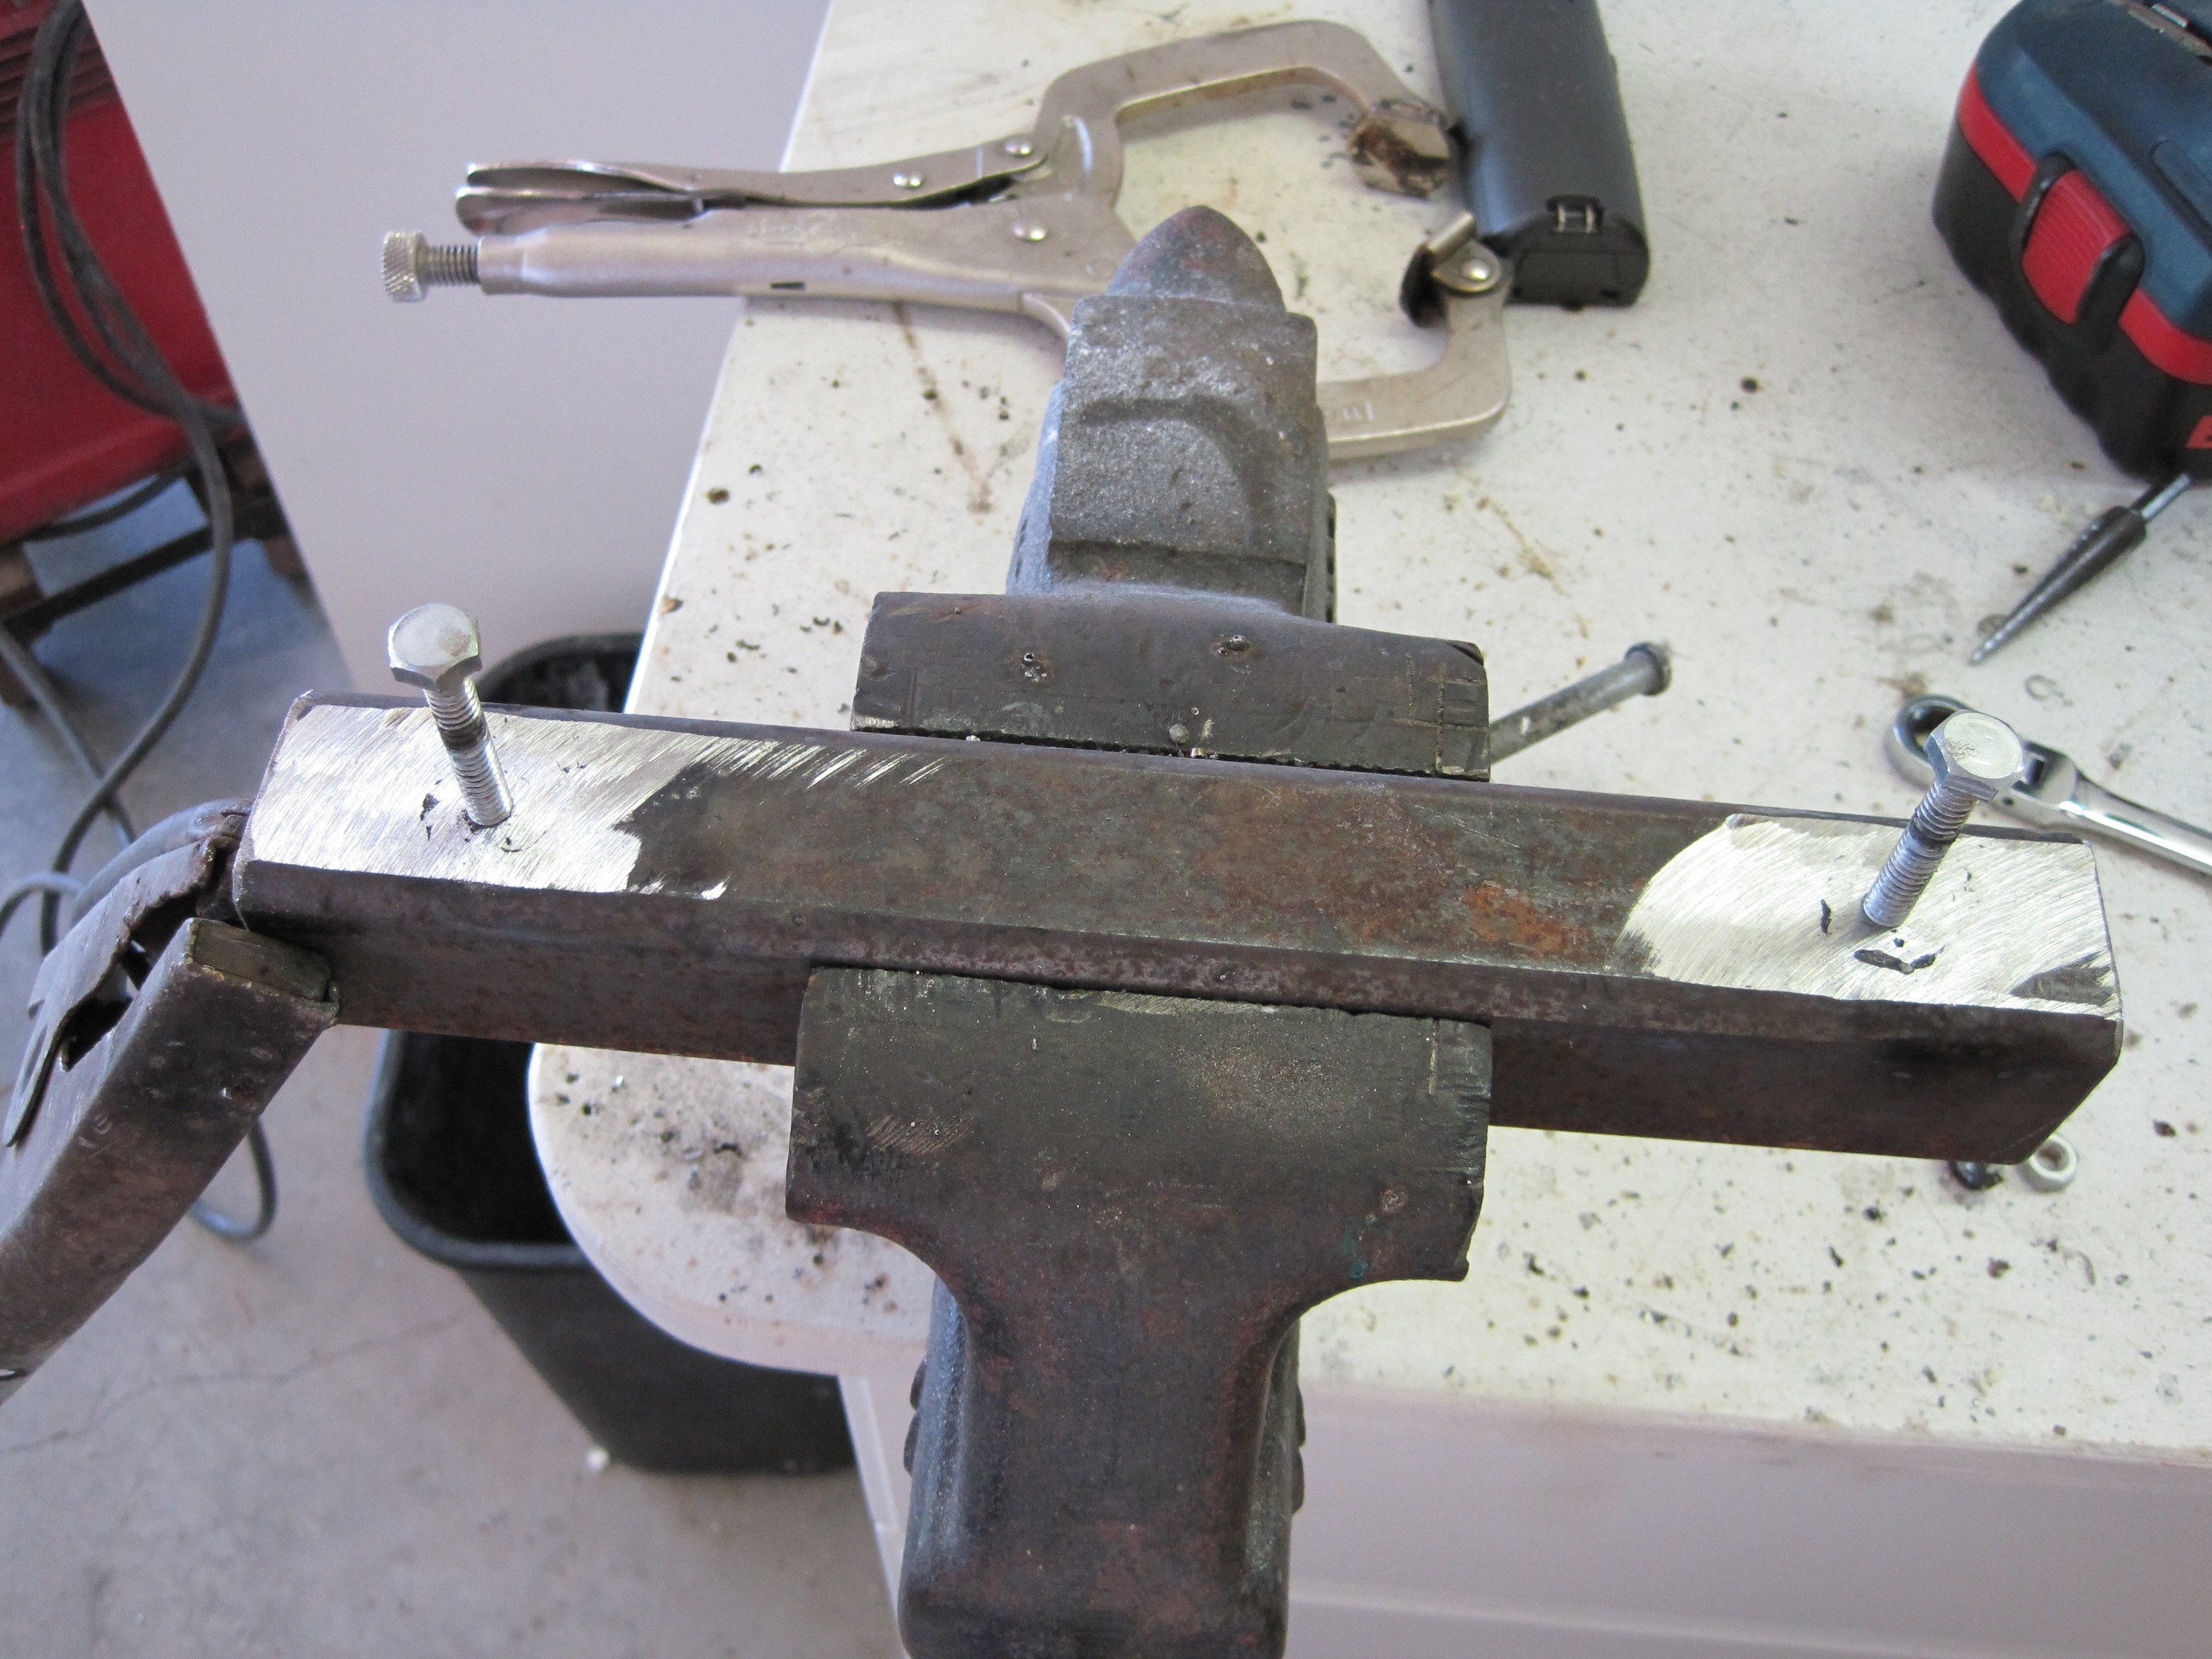
Cowl Bar

The new cowl bar
doesn't look anything like the one in the instructions so again, I had to
wing it. I decided to drill out enough room to weld in nuts to the
sleeve in two places. On the right you can see the nut prior to
welding. I also drilled the holes in each cowl bar half large enough
so the bolt will pass through one side and wedge up against the other side.
Prior to doing all this, I placed the cowl bars inside the car and marked
the location where they intersected at the top and I trimmed one of the bars
off so the ends touch inside the sleeve.
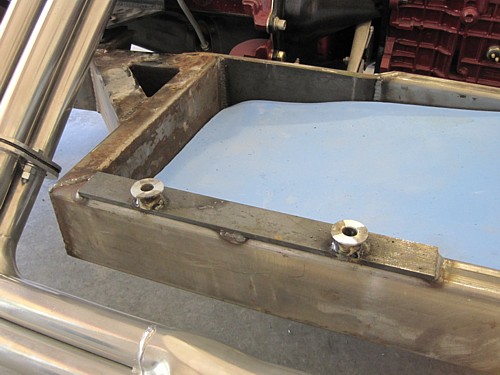
Here is the sleeve
with the nuts welded in and the surface ground smooth.

This is what it will
look like installed in the car. The bolt screws down to press the
inside tube against the sleeve and the nut on the bolt then tightens down to
the sleeve to keep the bolt from backing out.
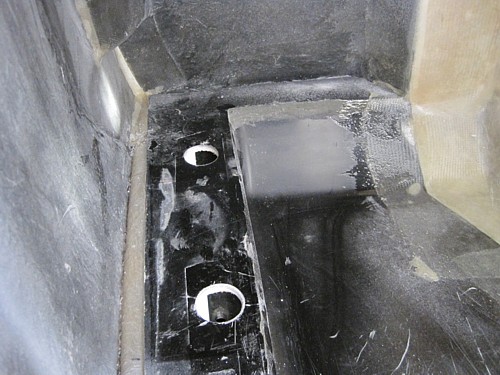
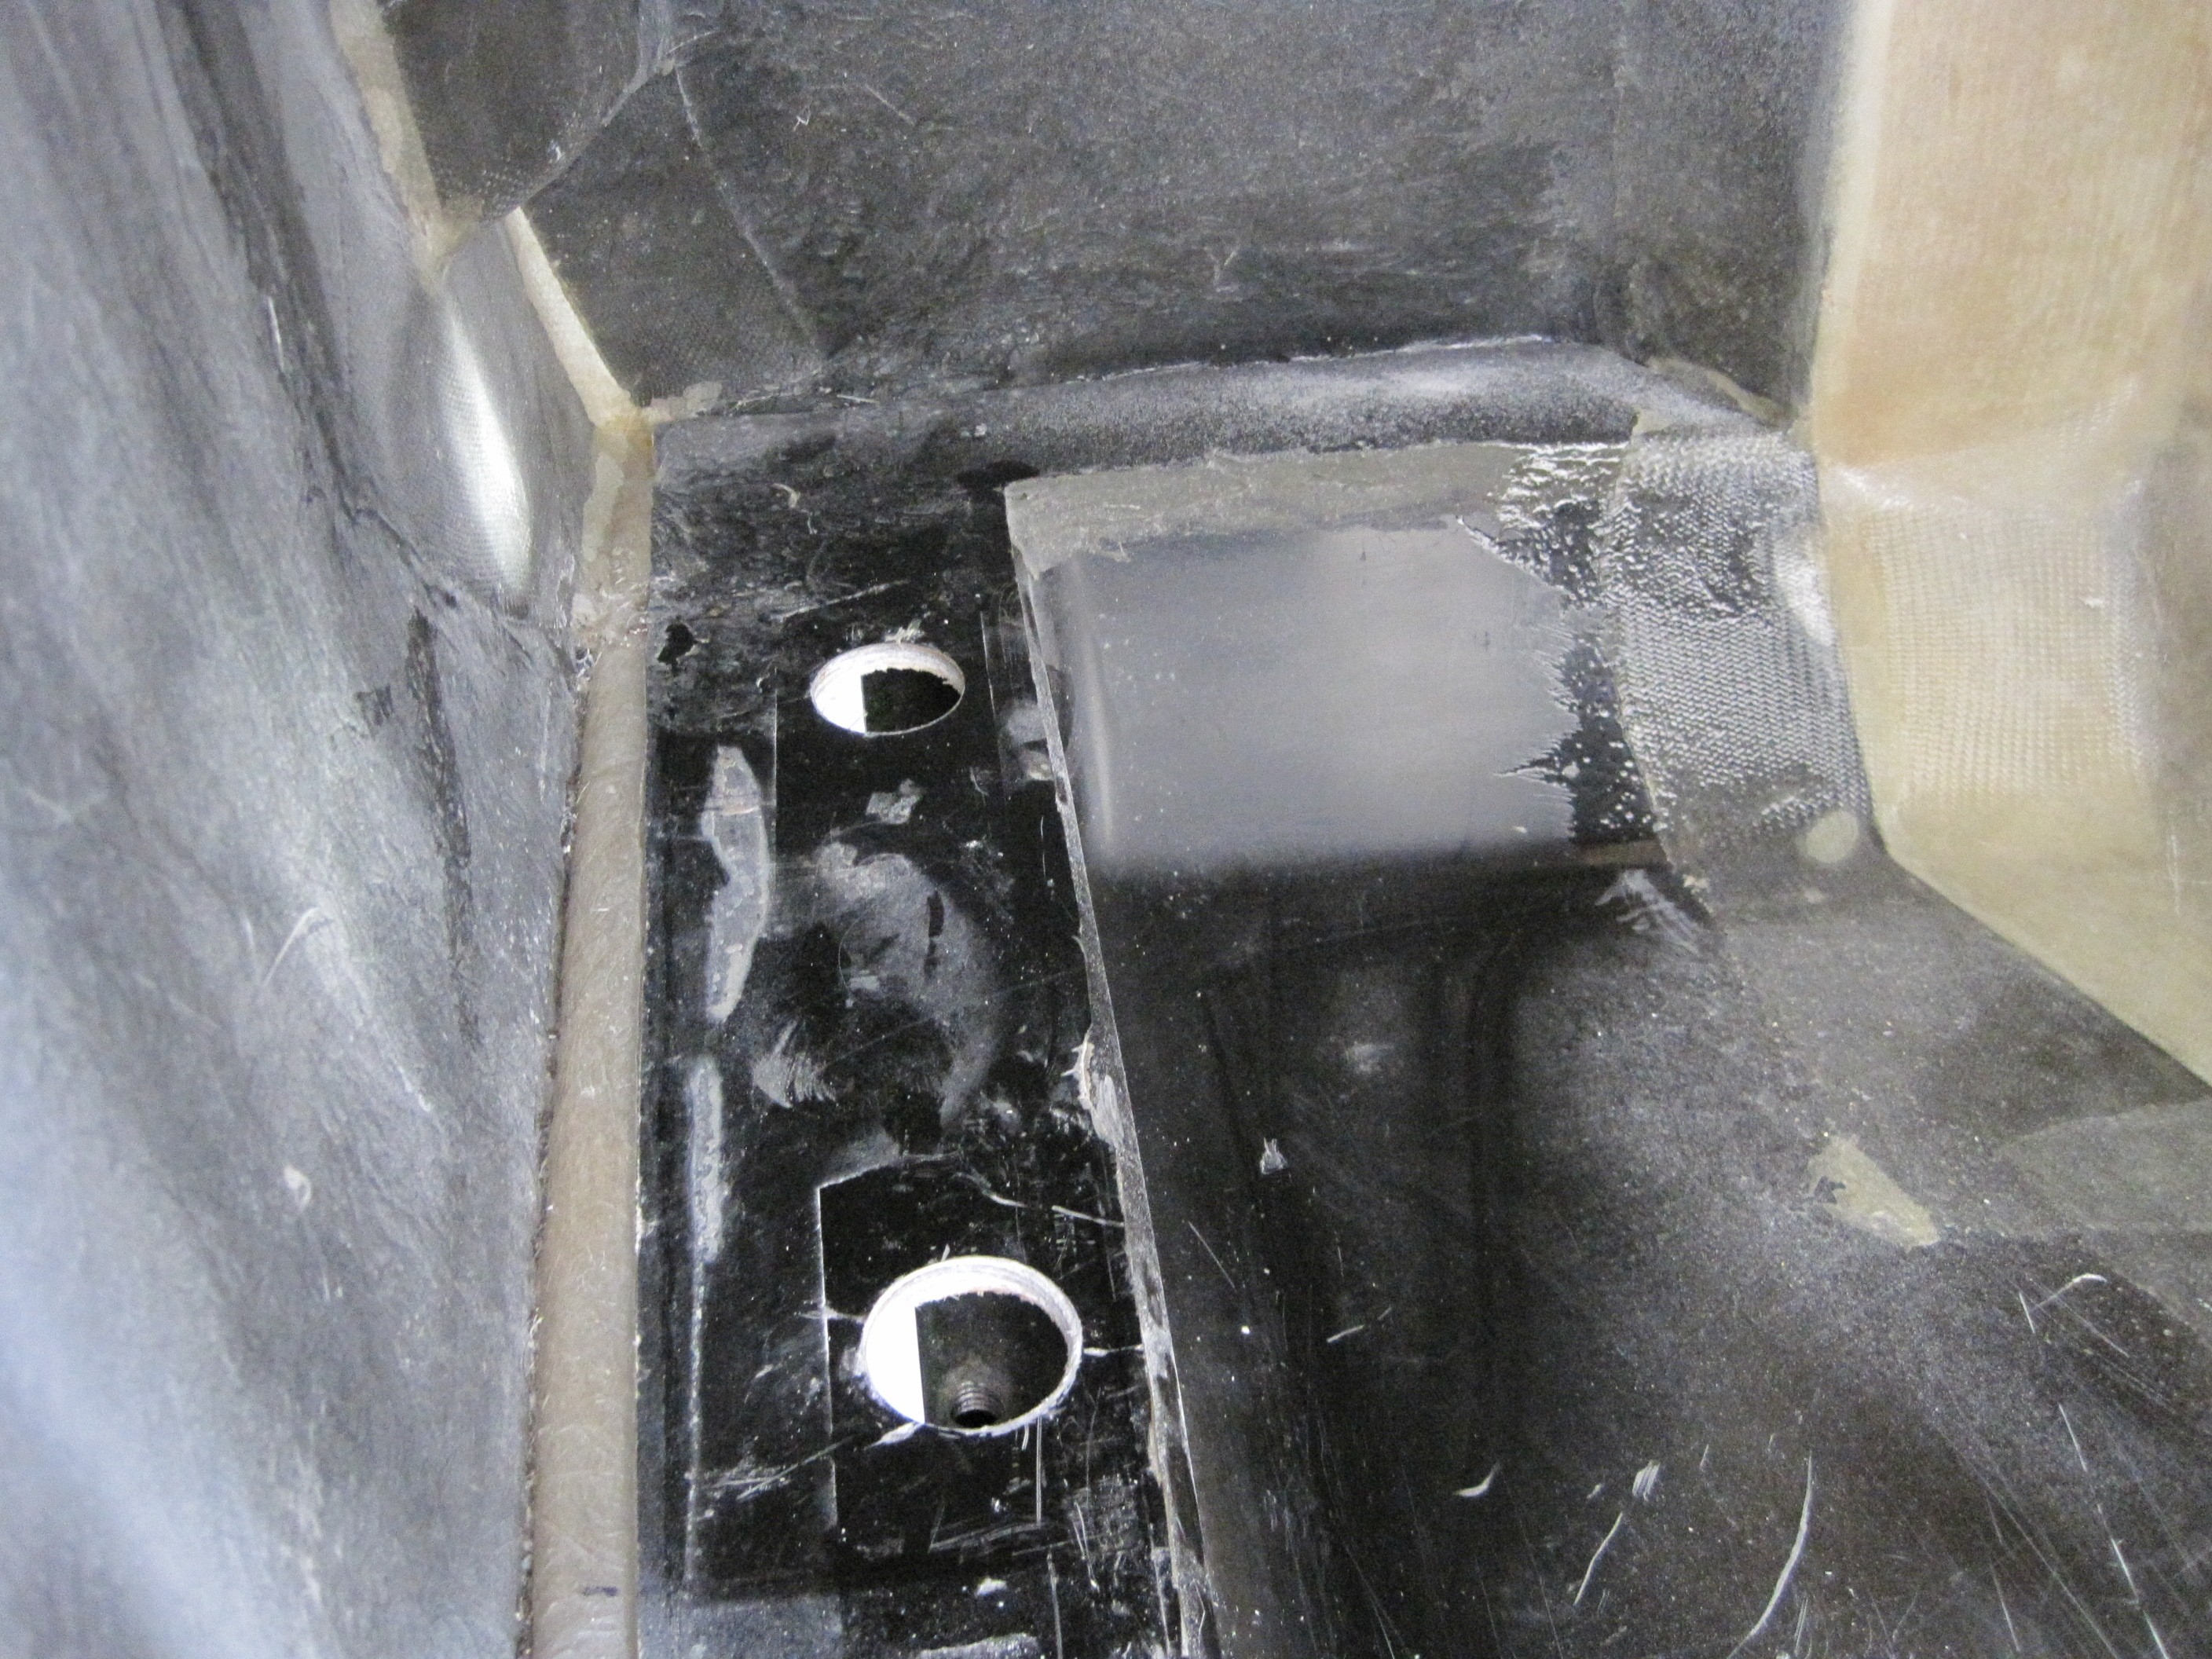
Once the cowl bars
were drilled into the frame rails, I removed them and cut holes in the floor
the approximate size of some washers. The purpose is so that I can
weld in a spacer of the correct height so that the cowl bar will rest on the
frame spacers and not the body. The body doesn't sit down on the frame
rails all the way in this location and I don't want the cowl bar to press
and deform the floor.
I measured each
opening and cut a spacer the proper length. I first welded a washer to
each spacer and then welded each assembly to the frame in the proper
location. Now the body will sit down on these spacer and they are
level with the floor.
The next step is to
mount the doors.
That work starts on the next page.
|