Front Mounts
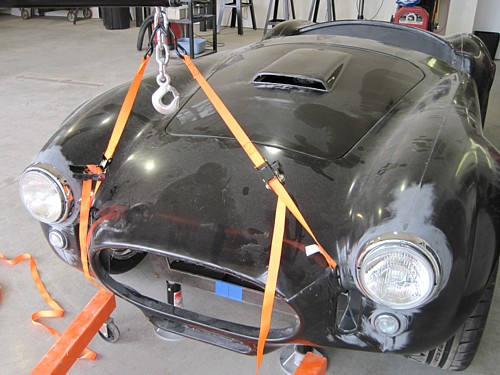
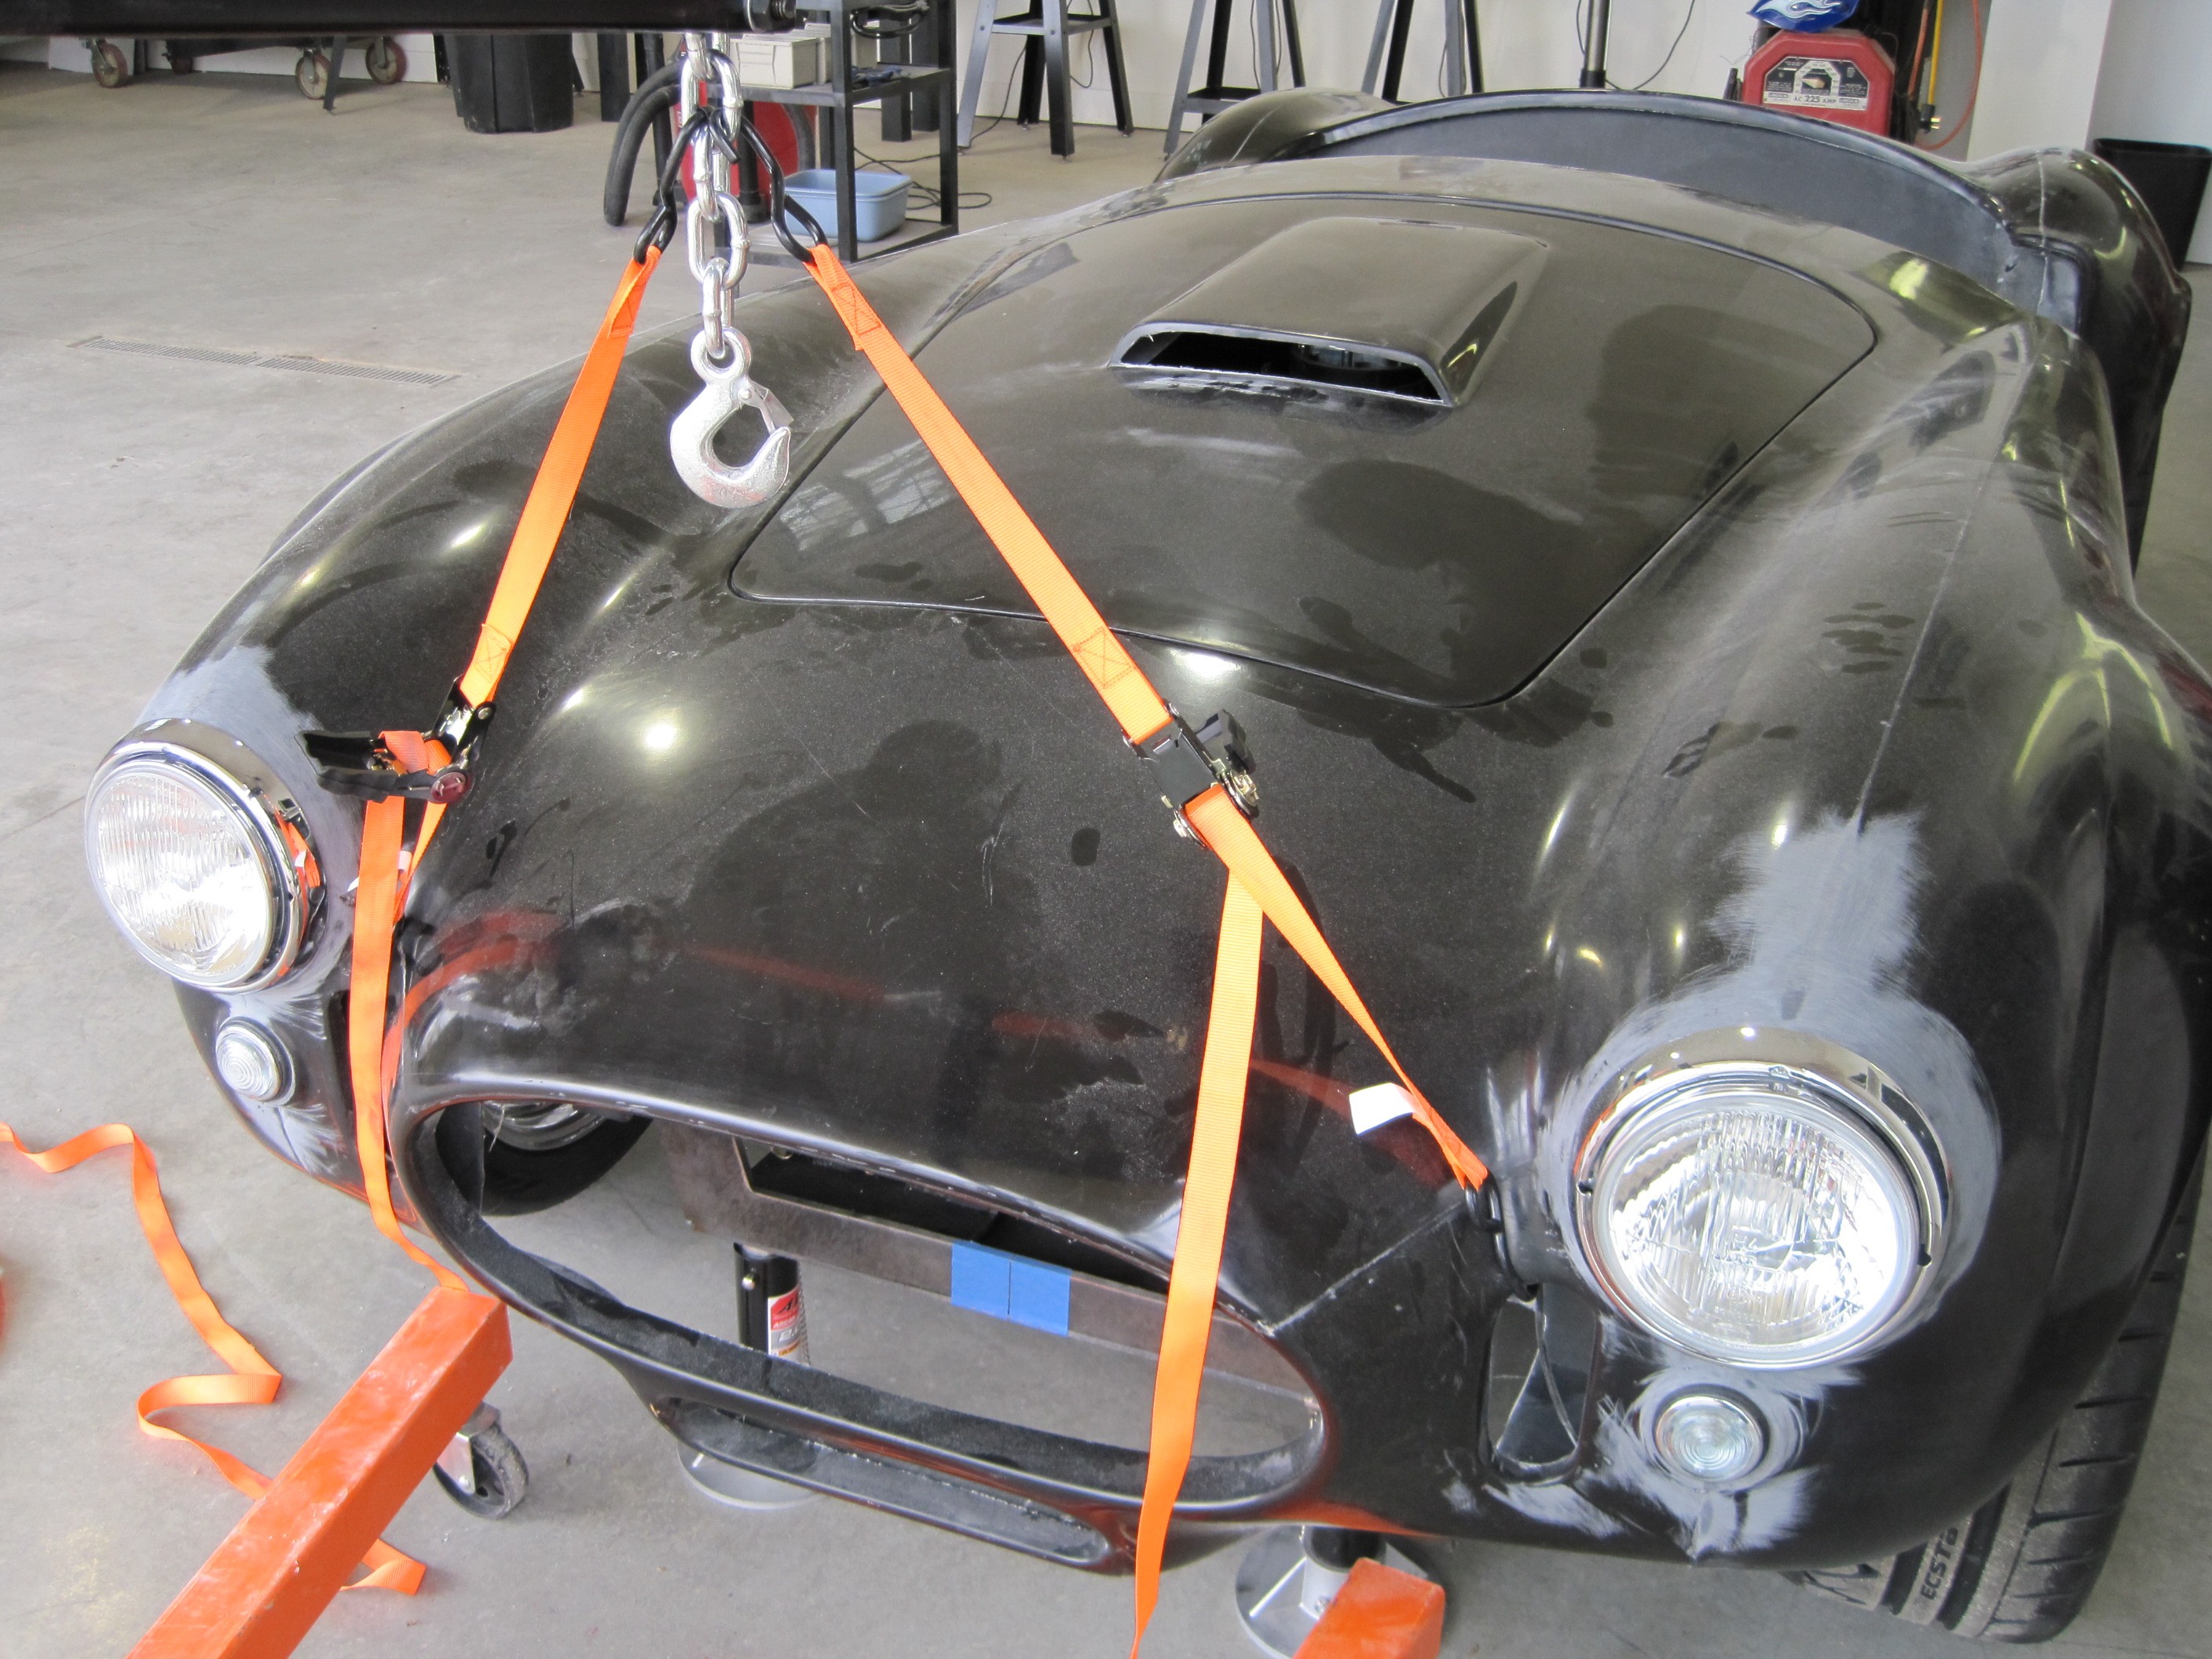
With the body firmly
mounted in the cockpit area, I used my lift to raise the front end so that
the hood clears the radiator cap. That's the height that the body must
be mounted. I again used reference points to the frame, floor, and
wheel well to ensure that the body was level side-to-side.
Once leveled, I
installed four self-tapping screws to hold the body in place. When I
remove the body, I will convert these to hard mounting points for some
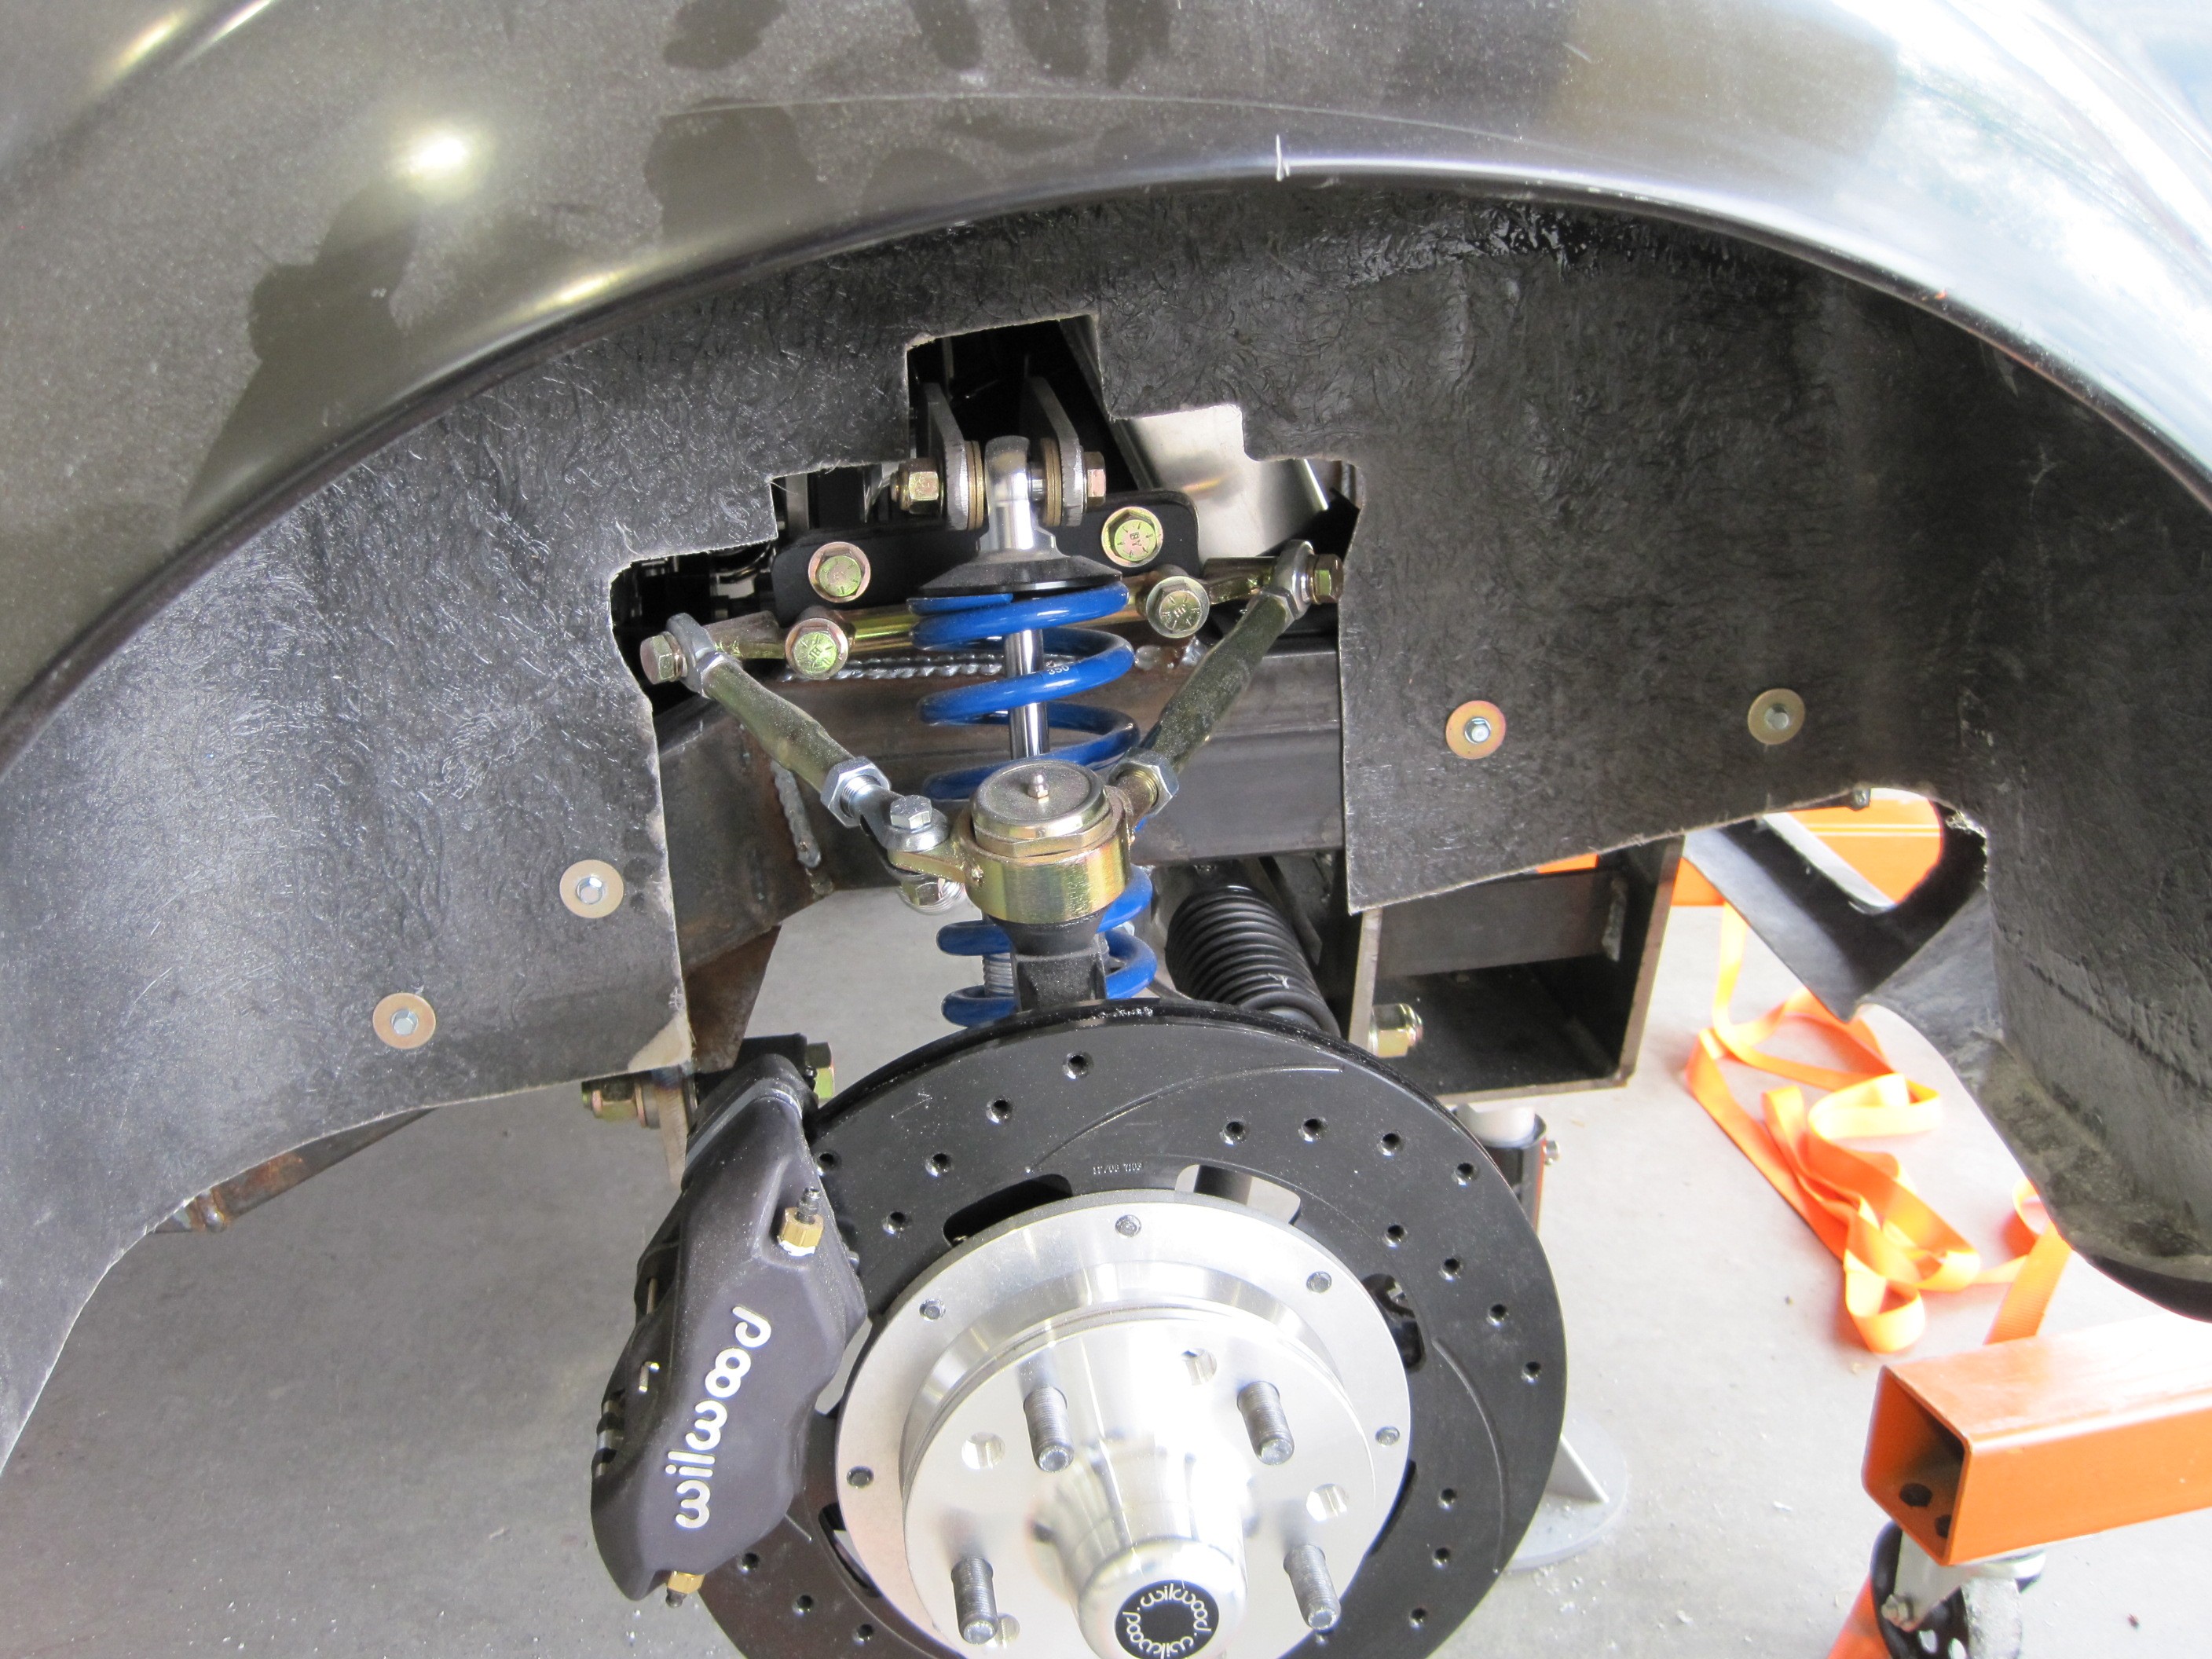
stainless bolts and washers. I also marked the wheel wells for
trimming along the frame. Due to the way the body was trimmed coming
out of the mold, I didn't have a lot of choices on where to trim the wheel
well. I chose to expose about 1" of the frame along the inside edge.
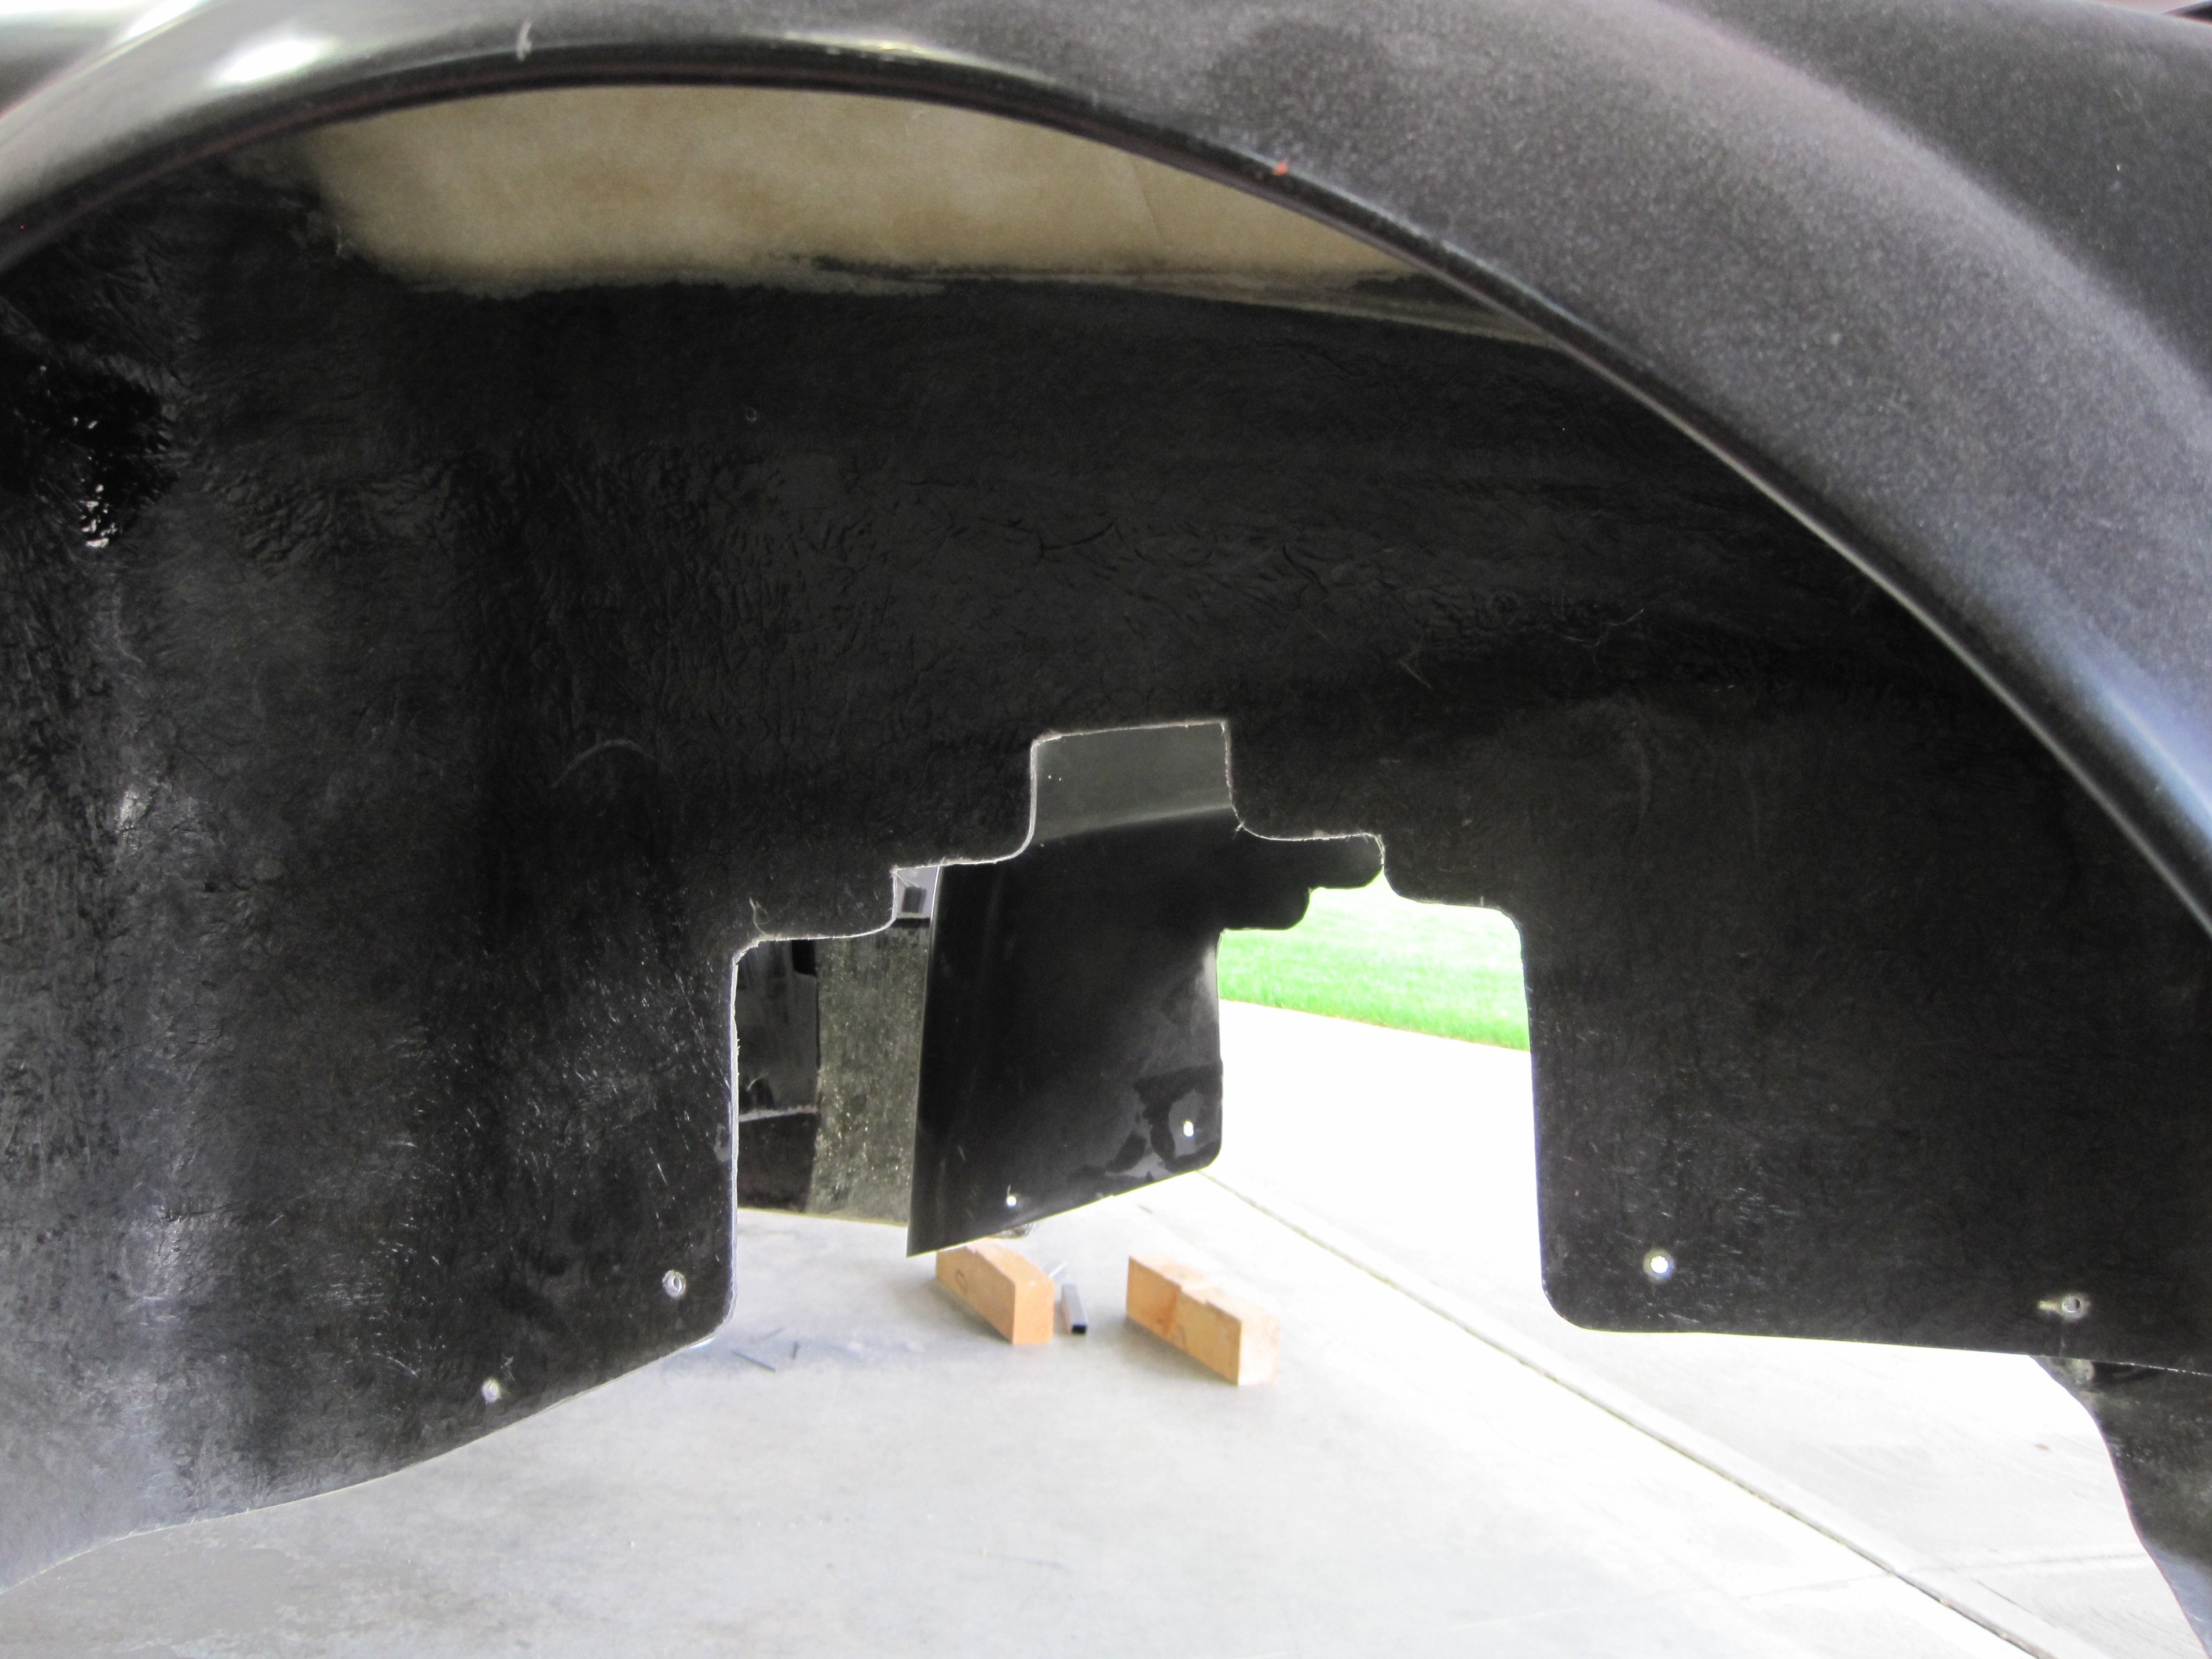
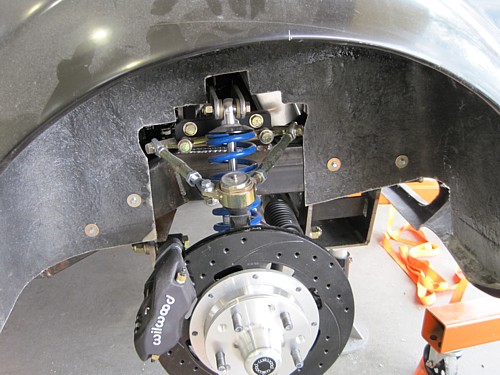
Here is what the
opening looks like after trimming. I drilled the mounting holes up to
1/4" for the bolts and I rounded off the edges of the opening for the
suspension. During final assembly, the exposed suspension components
will be covered in the engine compartment with a fiberglass panel so no one
will really see this cutout.

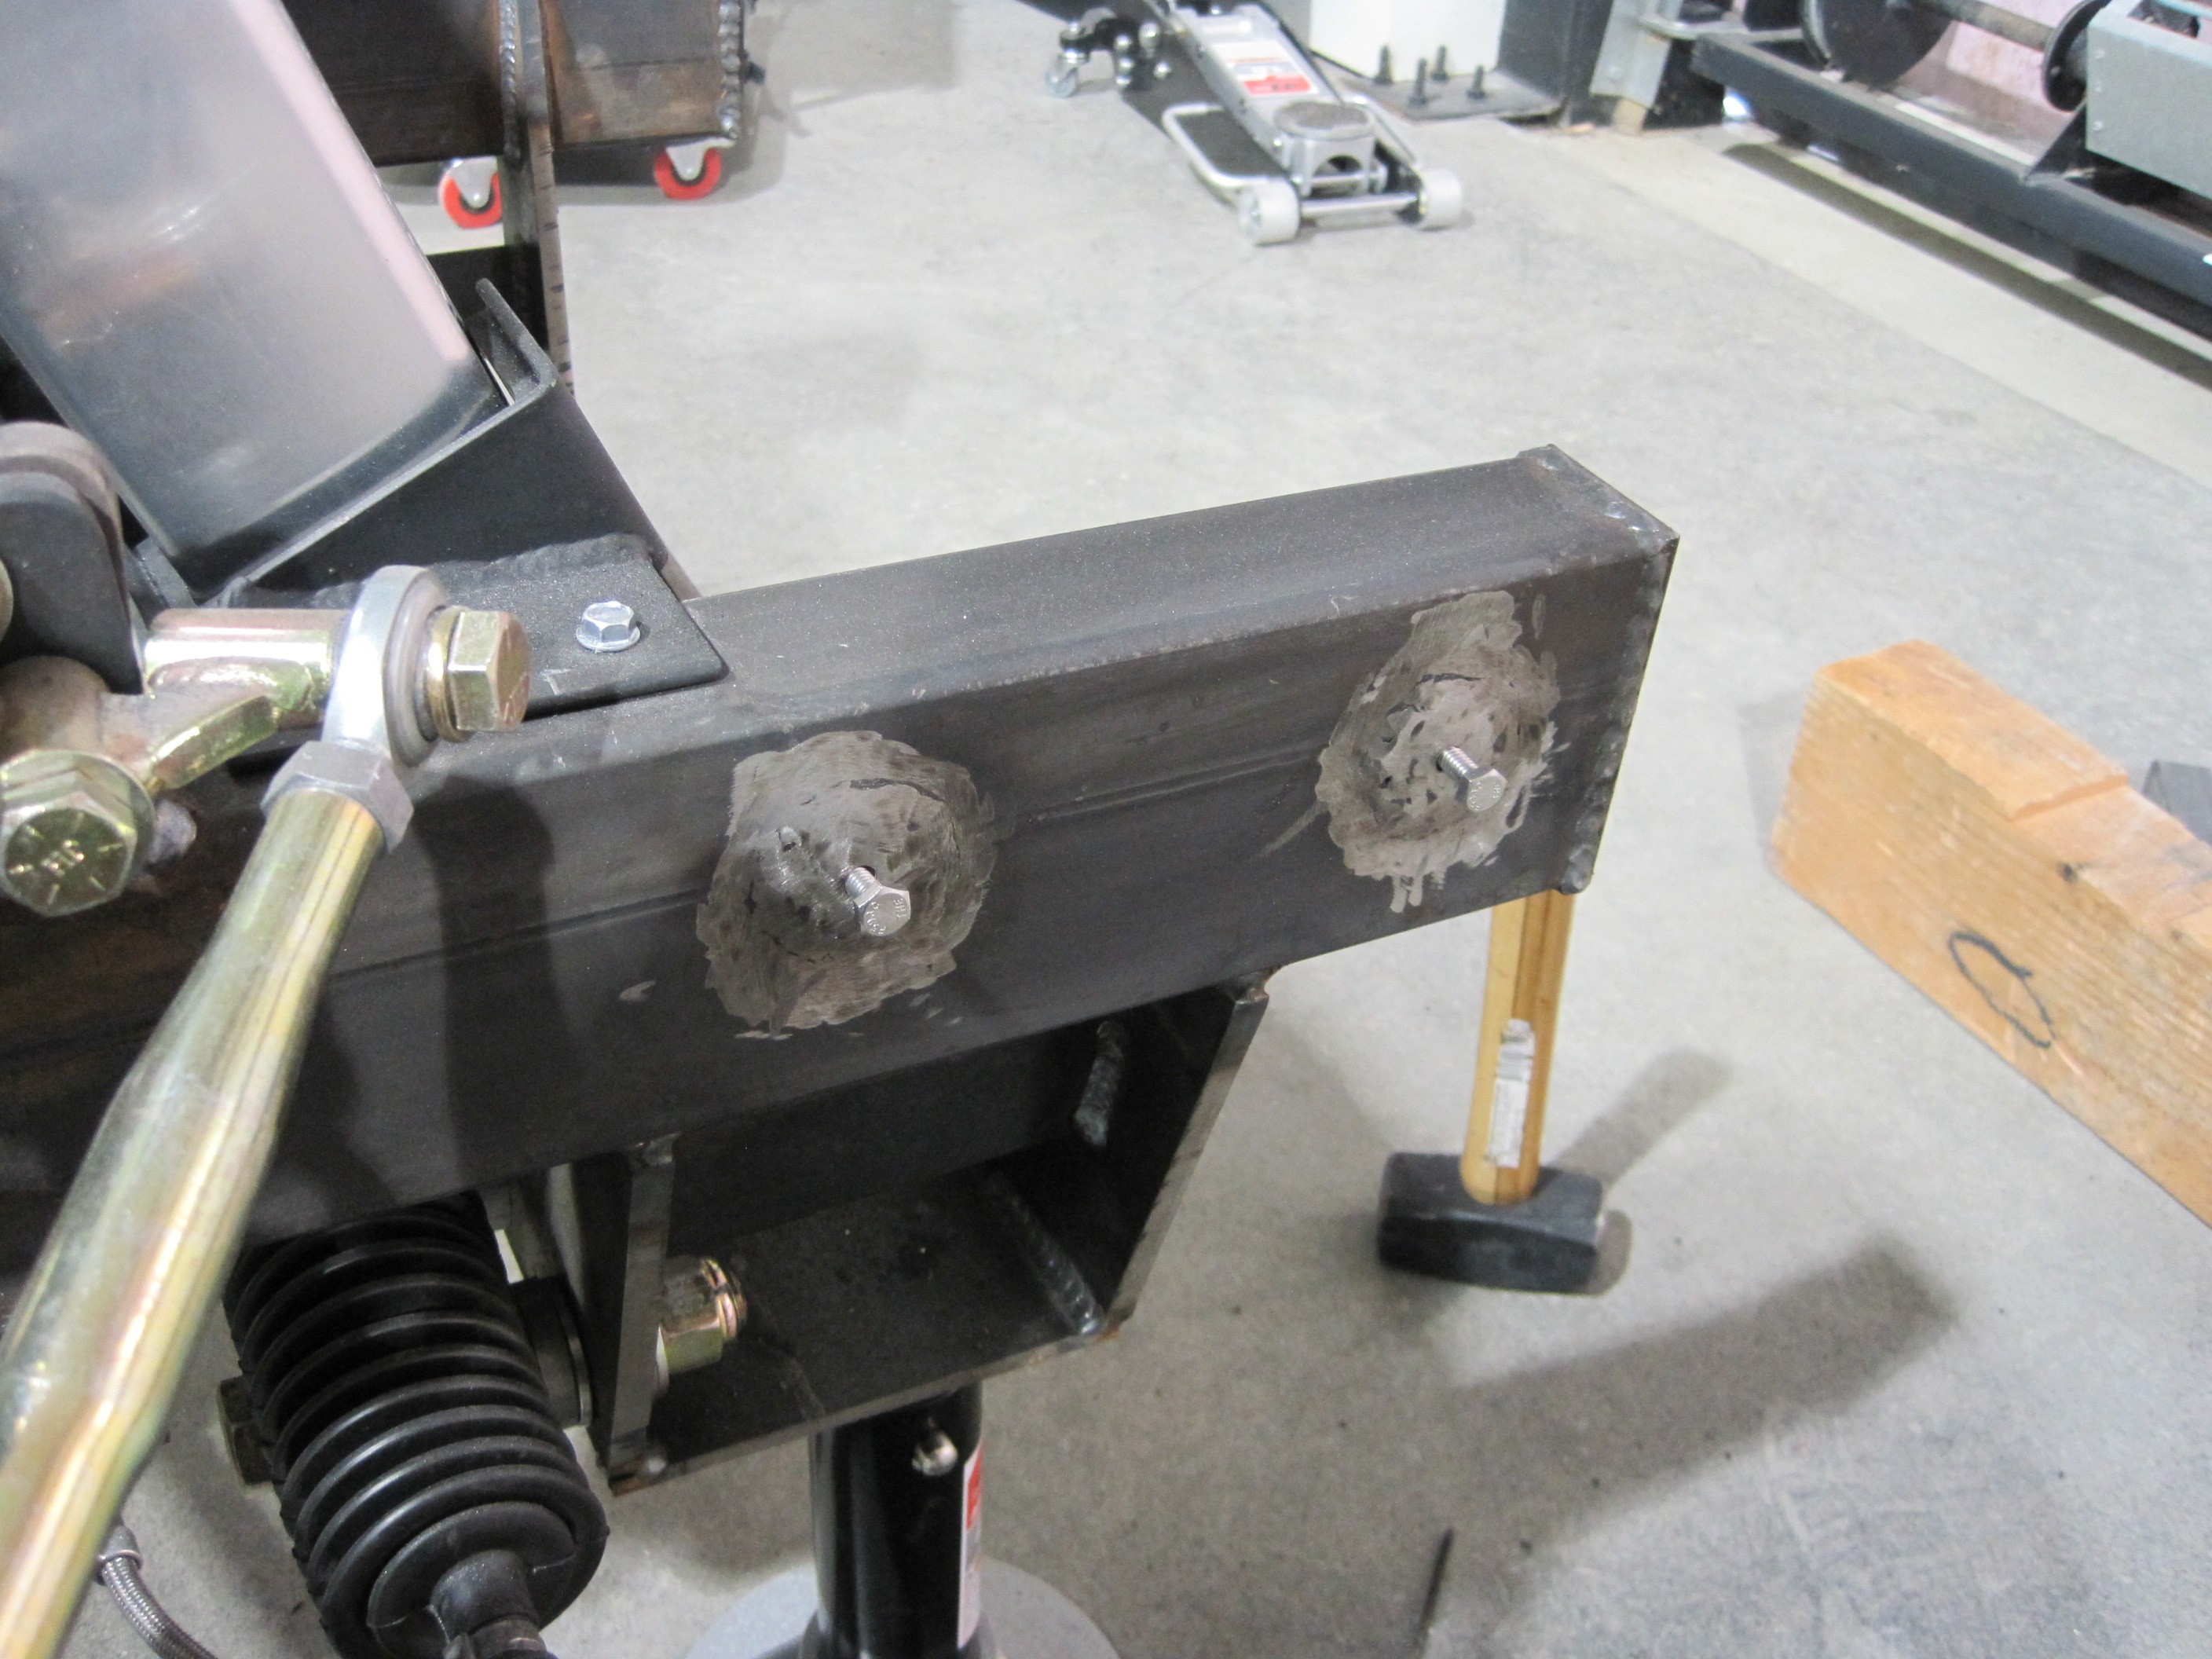
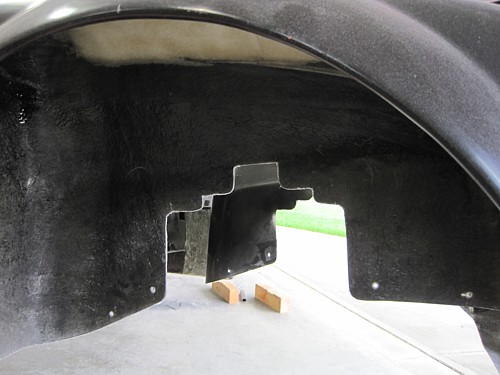
With the body off, I
welded and sanded the hard mounting points for the body. This area
will also be covered with rubber during final assembly.
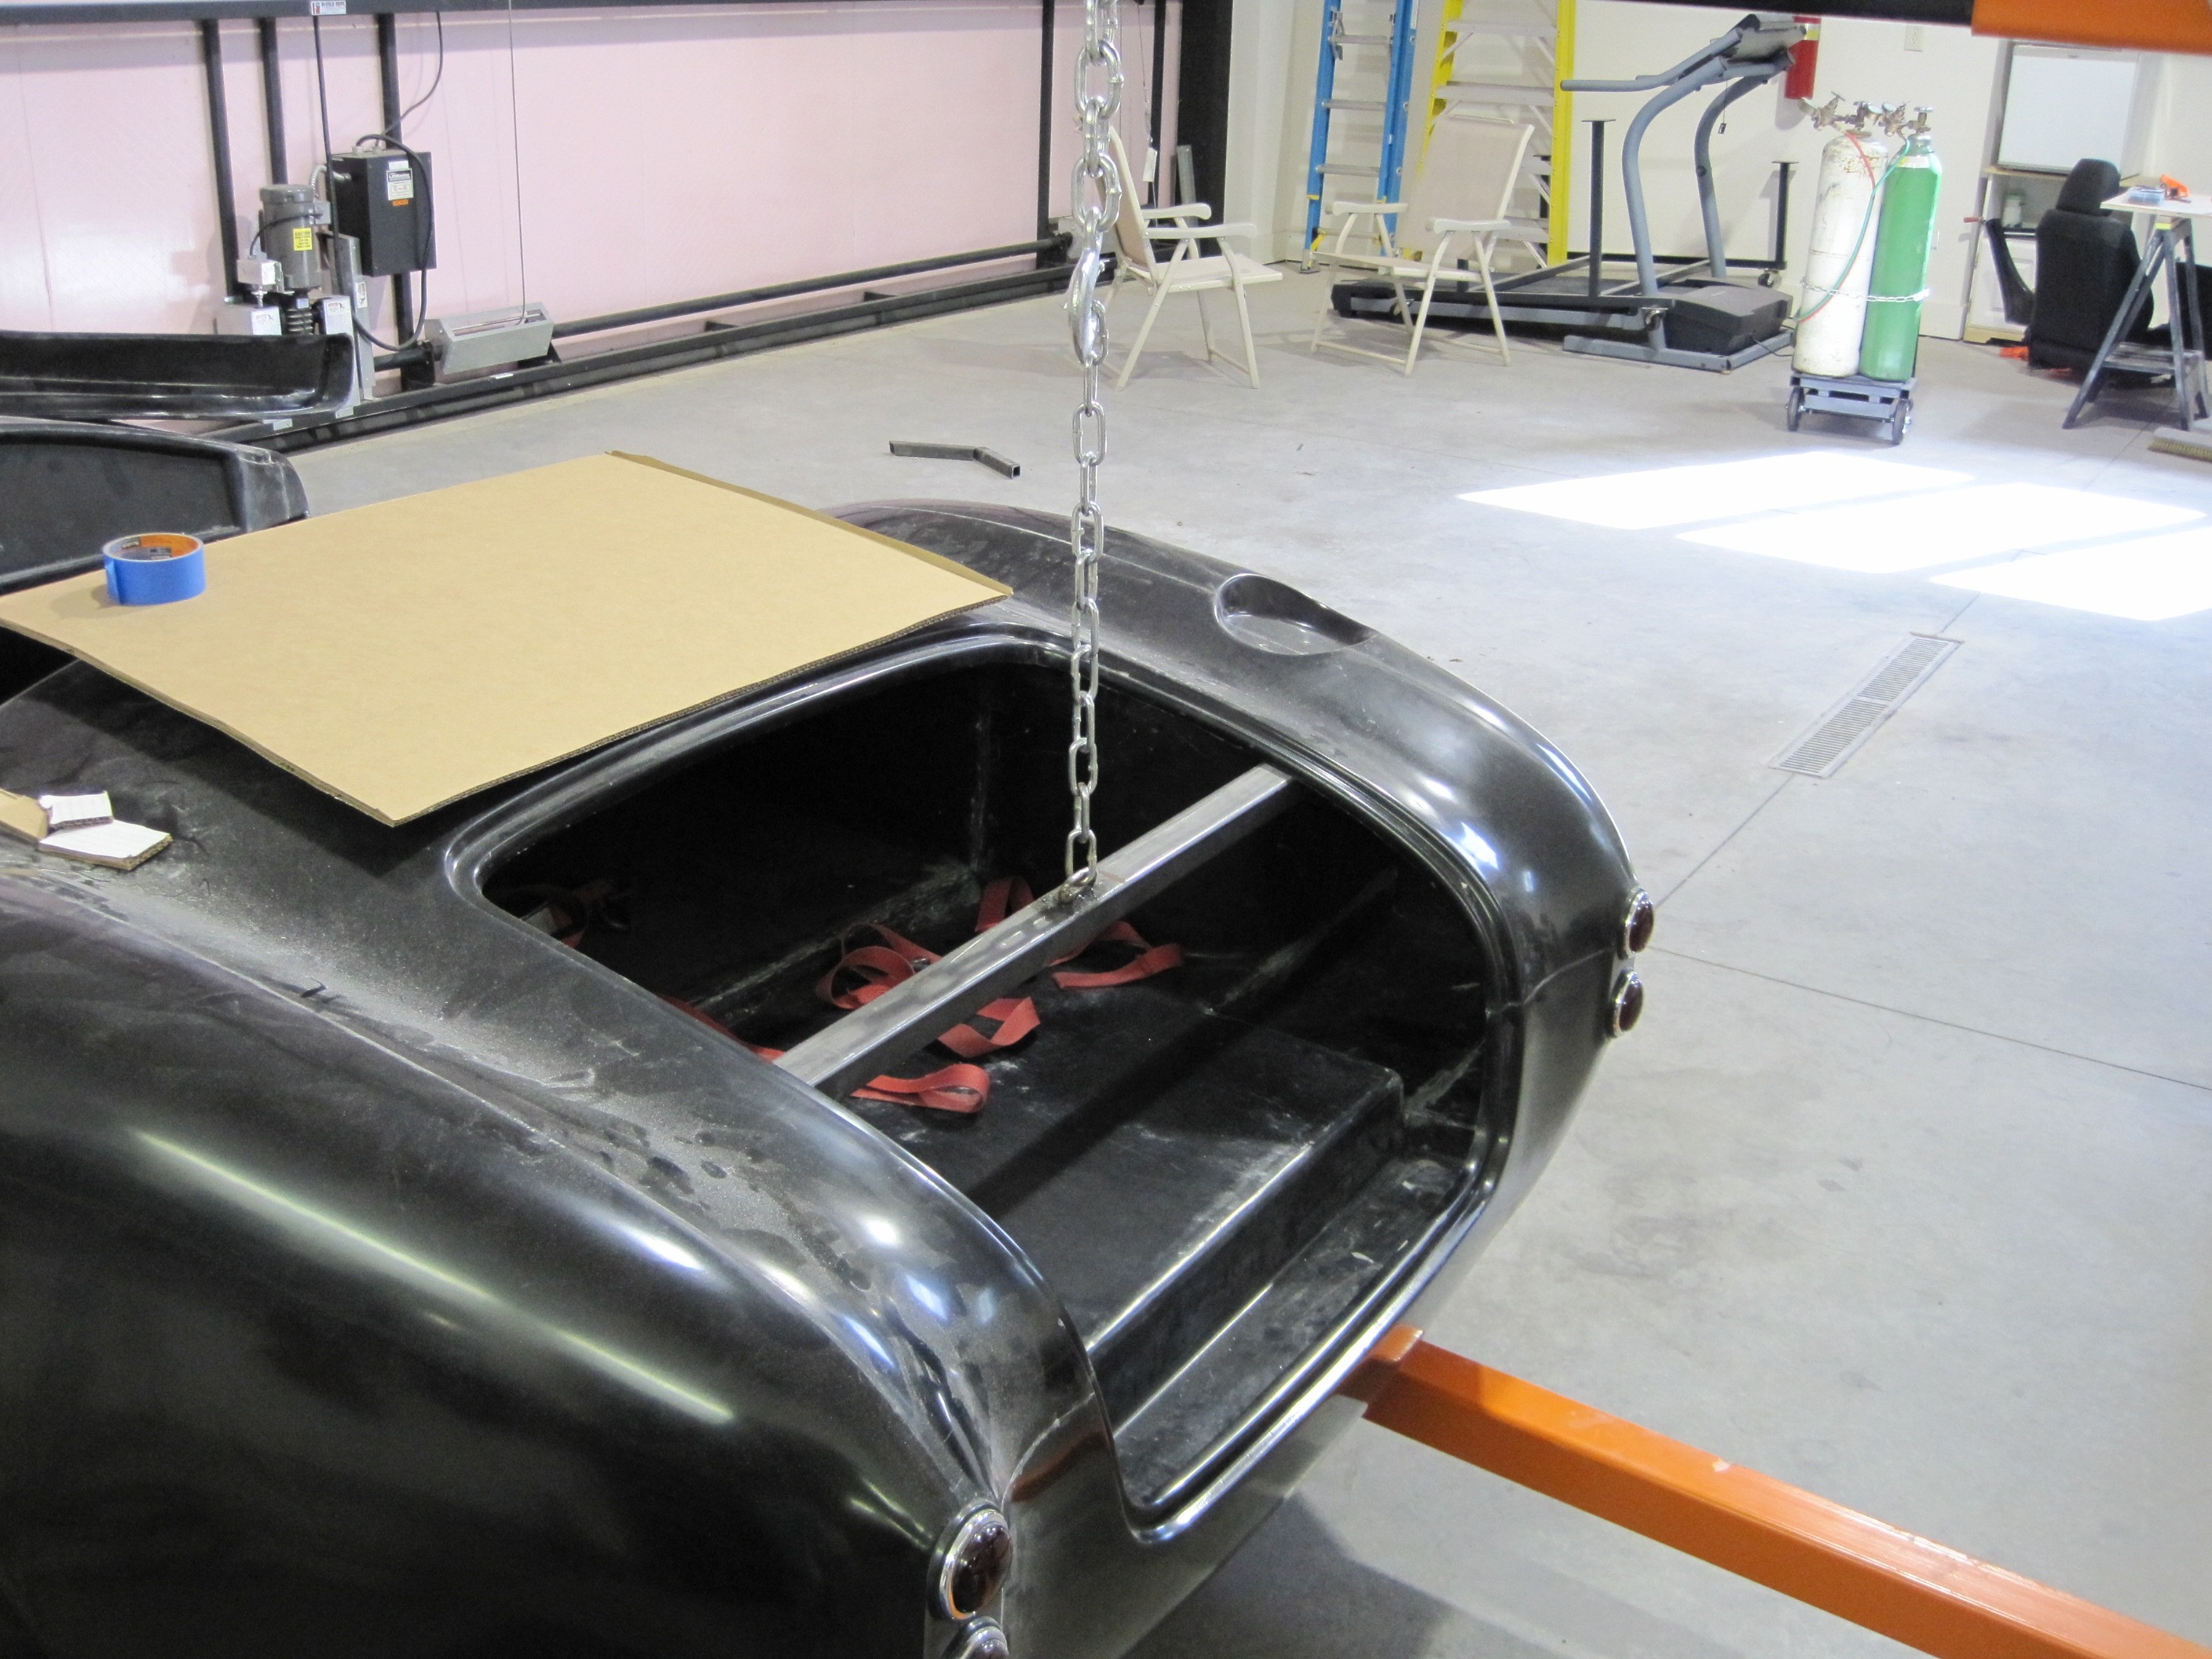
Rear Mounts
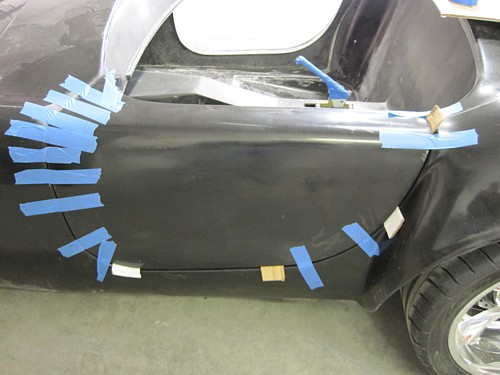
Before the final
location of the rear mounts can be determined, I first trial fit the doors
into their opening. The door gap can be adjusted by raising or
lowering the rear end of the body on the frame. This picture shows my
final location after messing around with different mounting heights.

I again used my engine
hoist to raise and lower the rear end to get the door gap set.
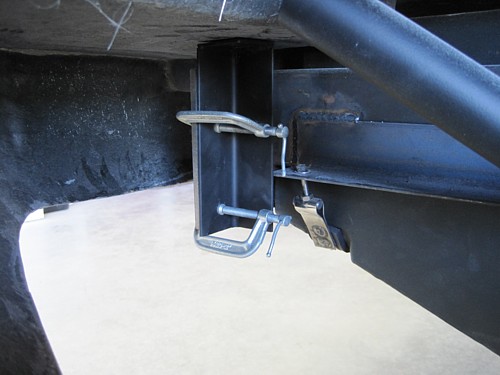
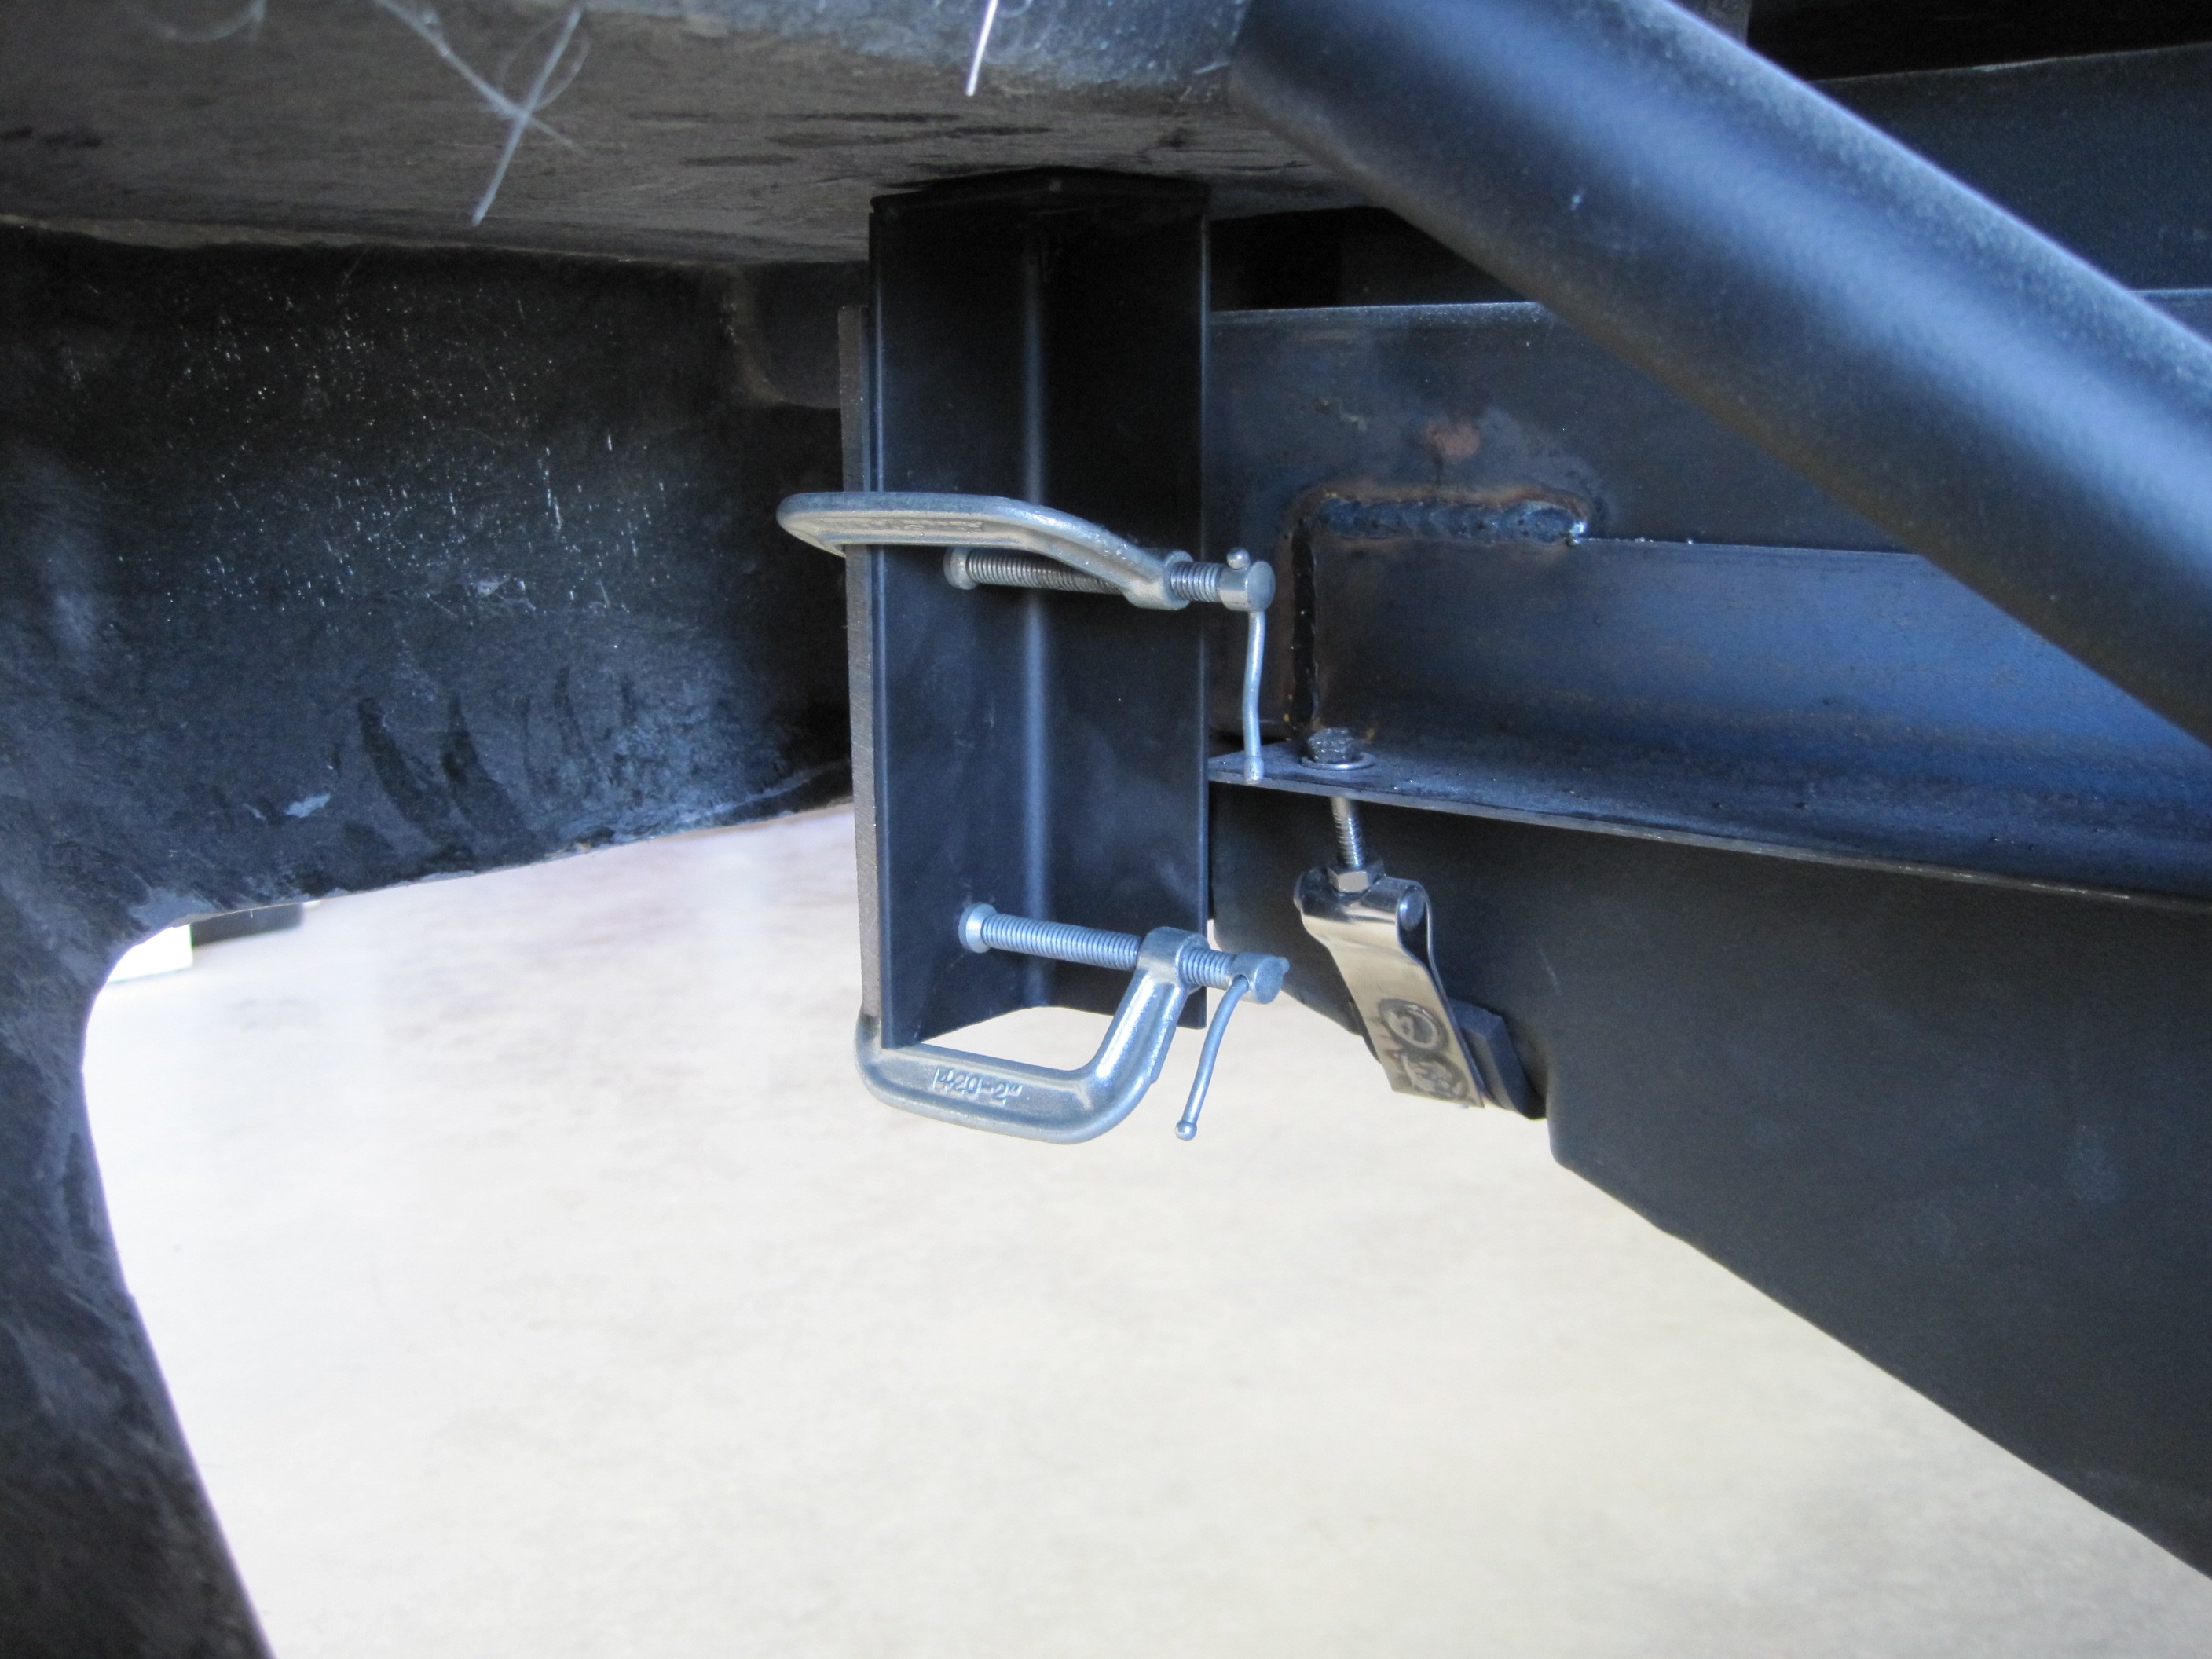
Once I was happy with
the door gap, I clamped the mounting bracket to the frame and up against the
floor of the trunk. I do not intend to permanently bolt this bracket
into place just yet due to mounting interference with the rear bumpers.
I got the rear bumpers out and fiddled with them enough to confirm that the
rods that support the rear bumpers will dictate the location of the mounting
bracket above. Since the doors have not been set in place yet using
the cowl bar, I will leave the rear mounting bracket and rear bumpers until
later. That way I will know exactly where to put the bumpers.
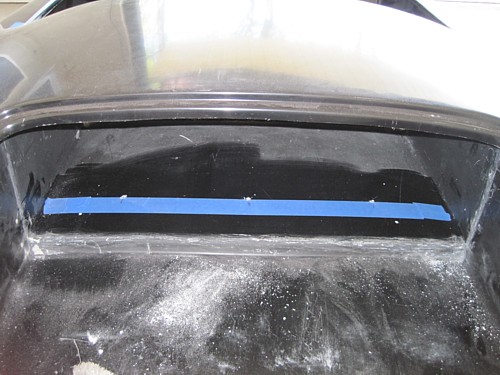
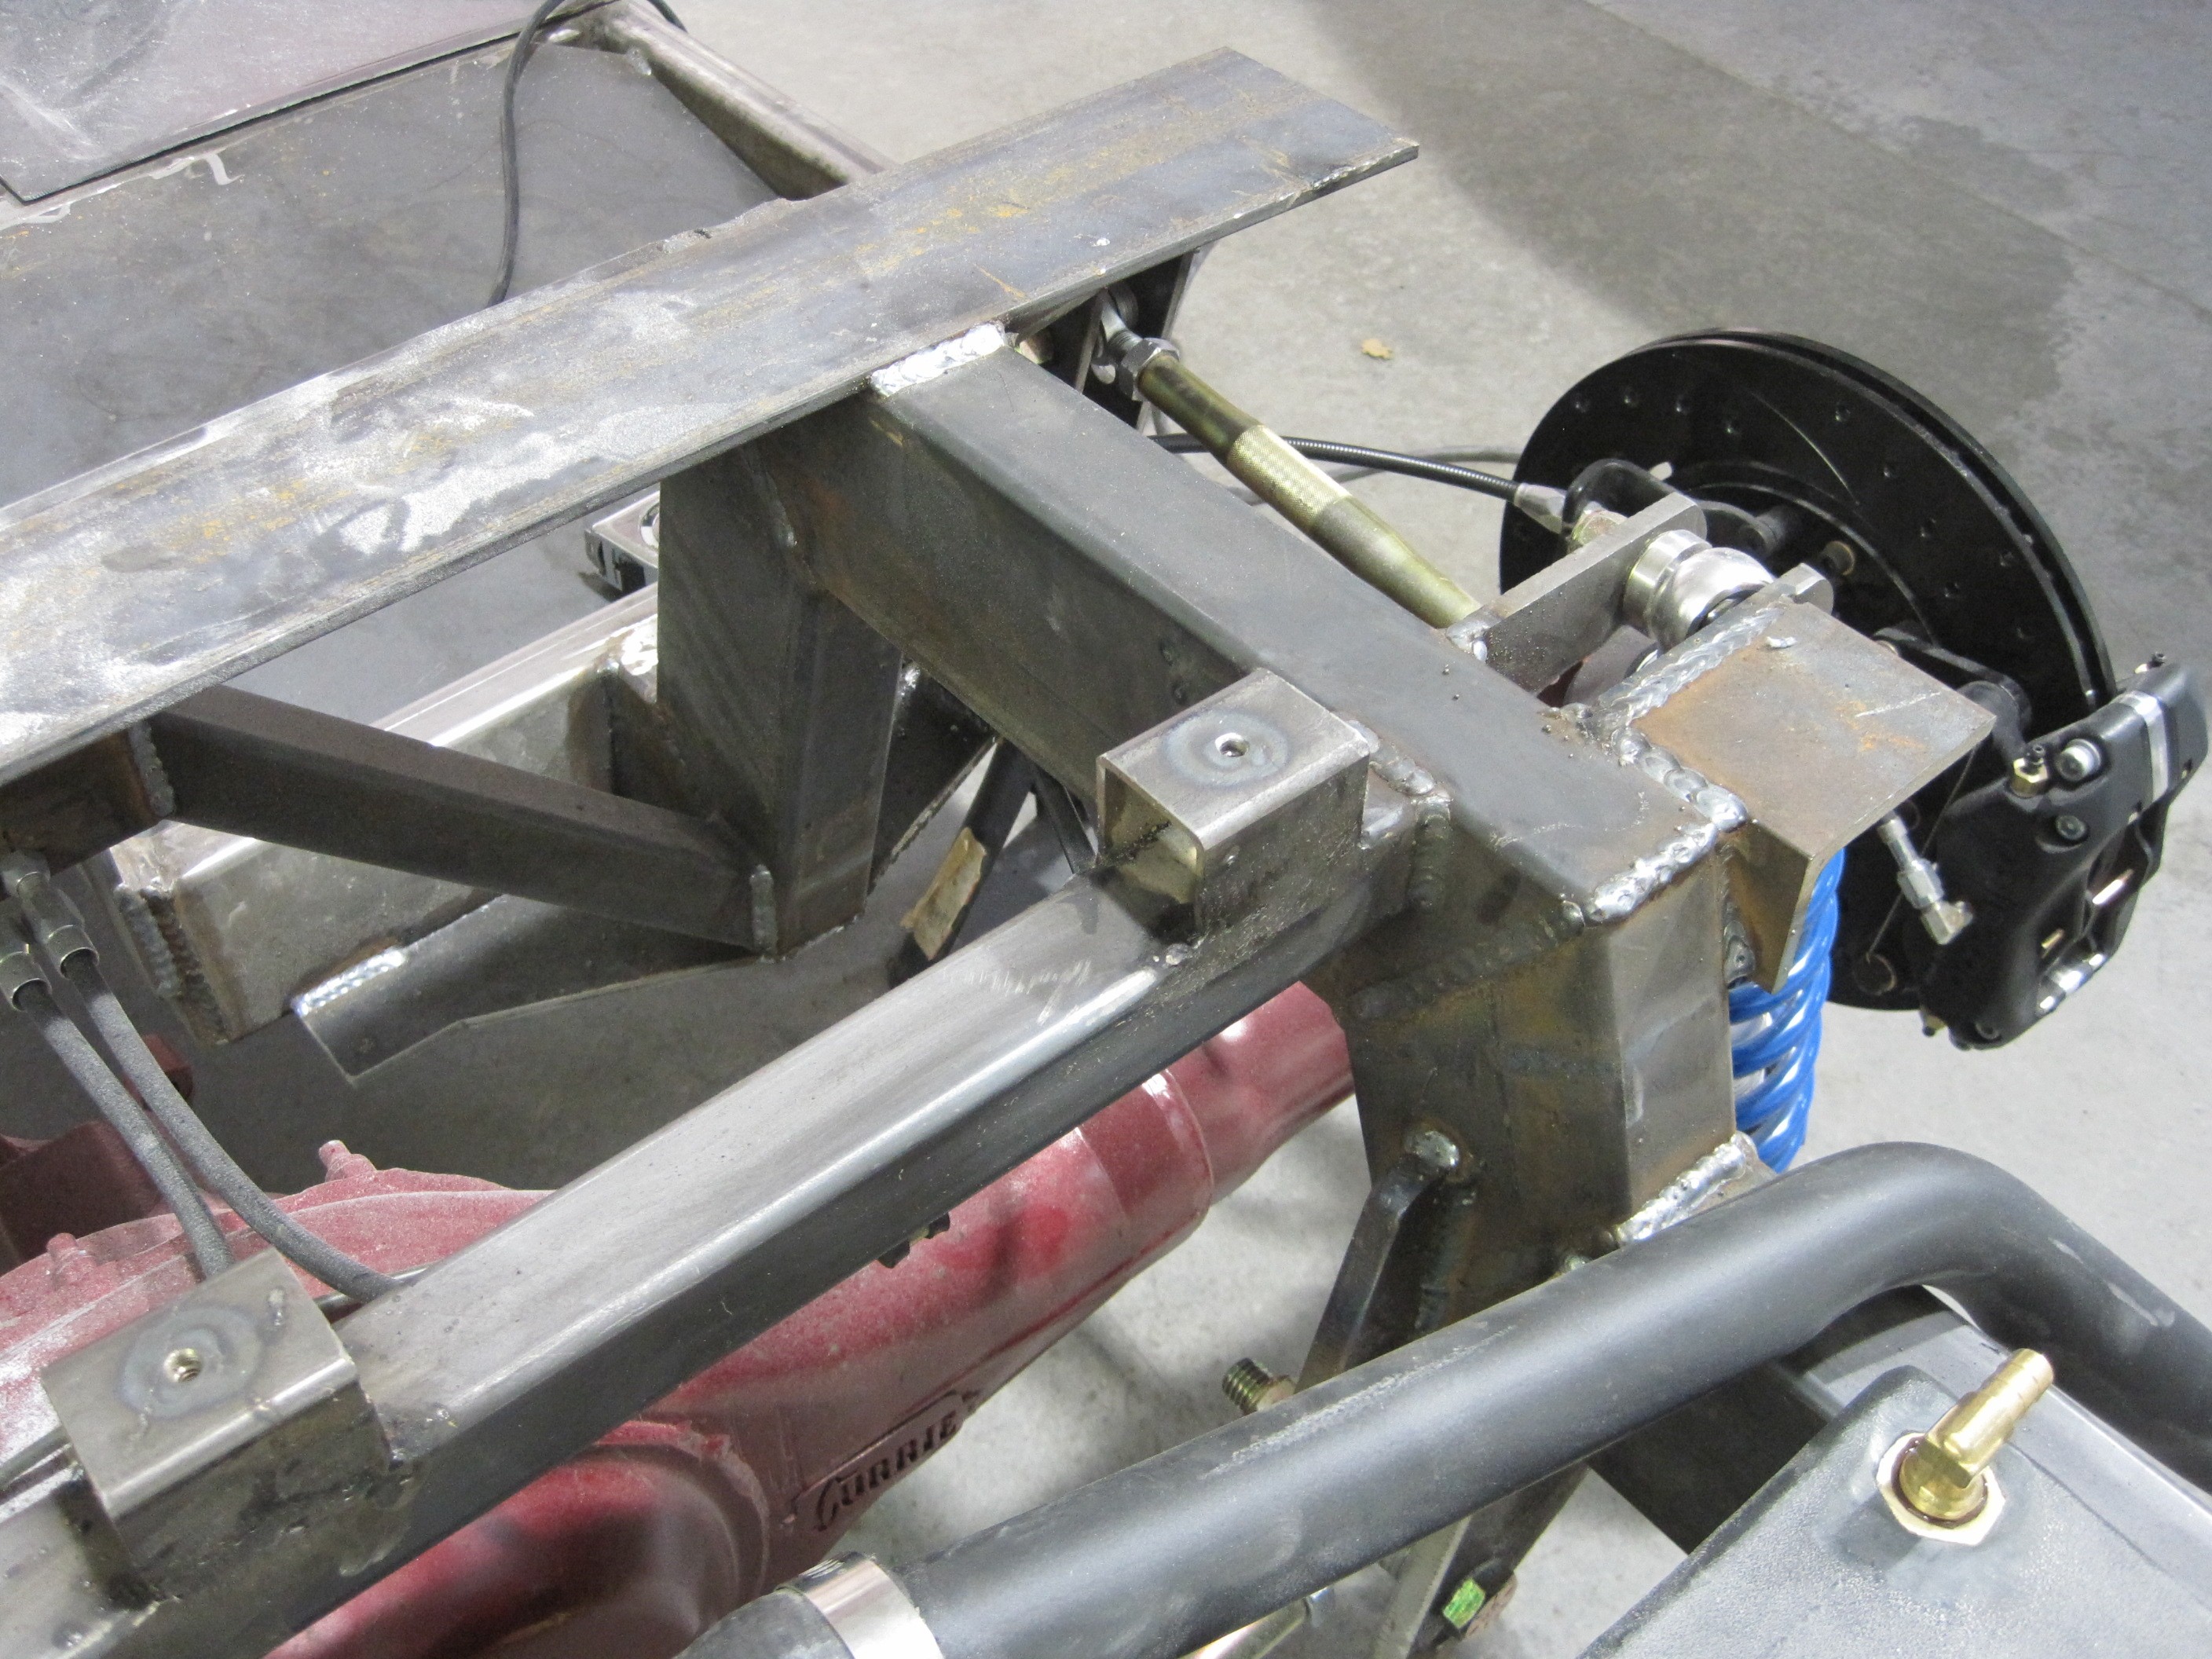
To finish the rear
mounting, it is necessary to bolt the inside of the trunk to the cross
member on the frame. I used tape to measure the centerline of the
cross member and then measured out three mounting points.

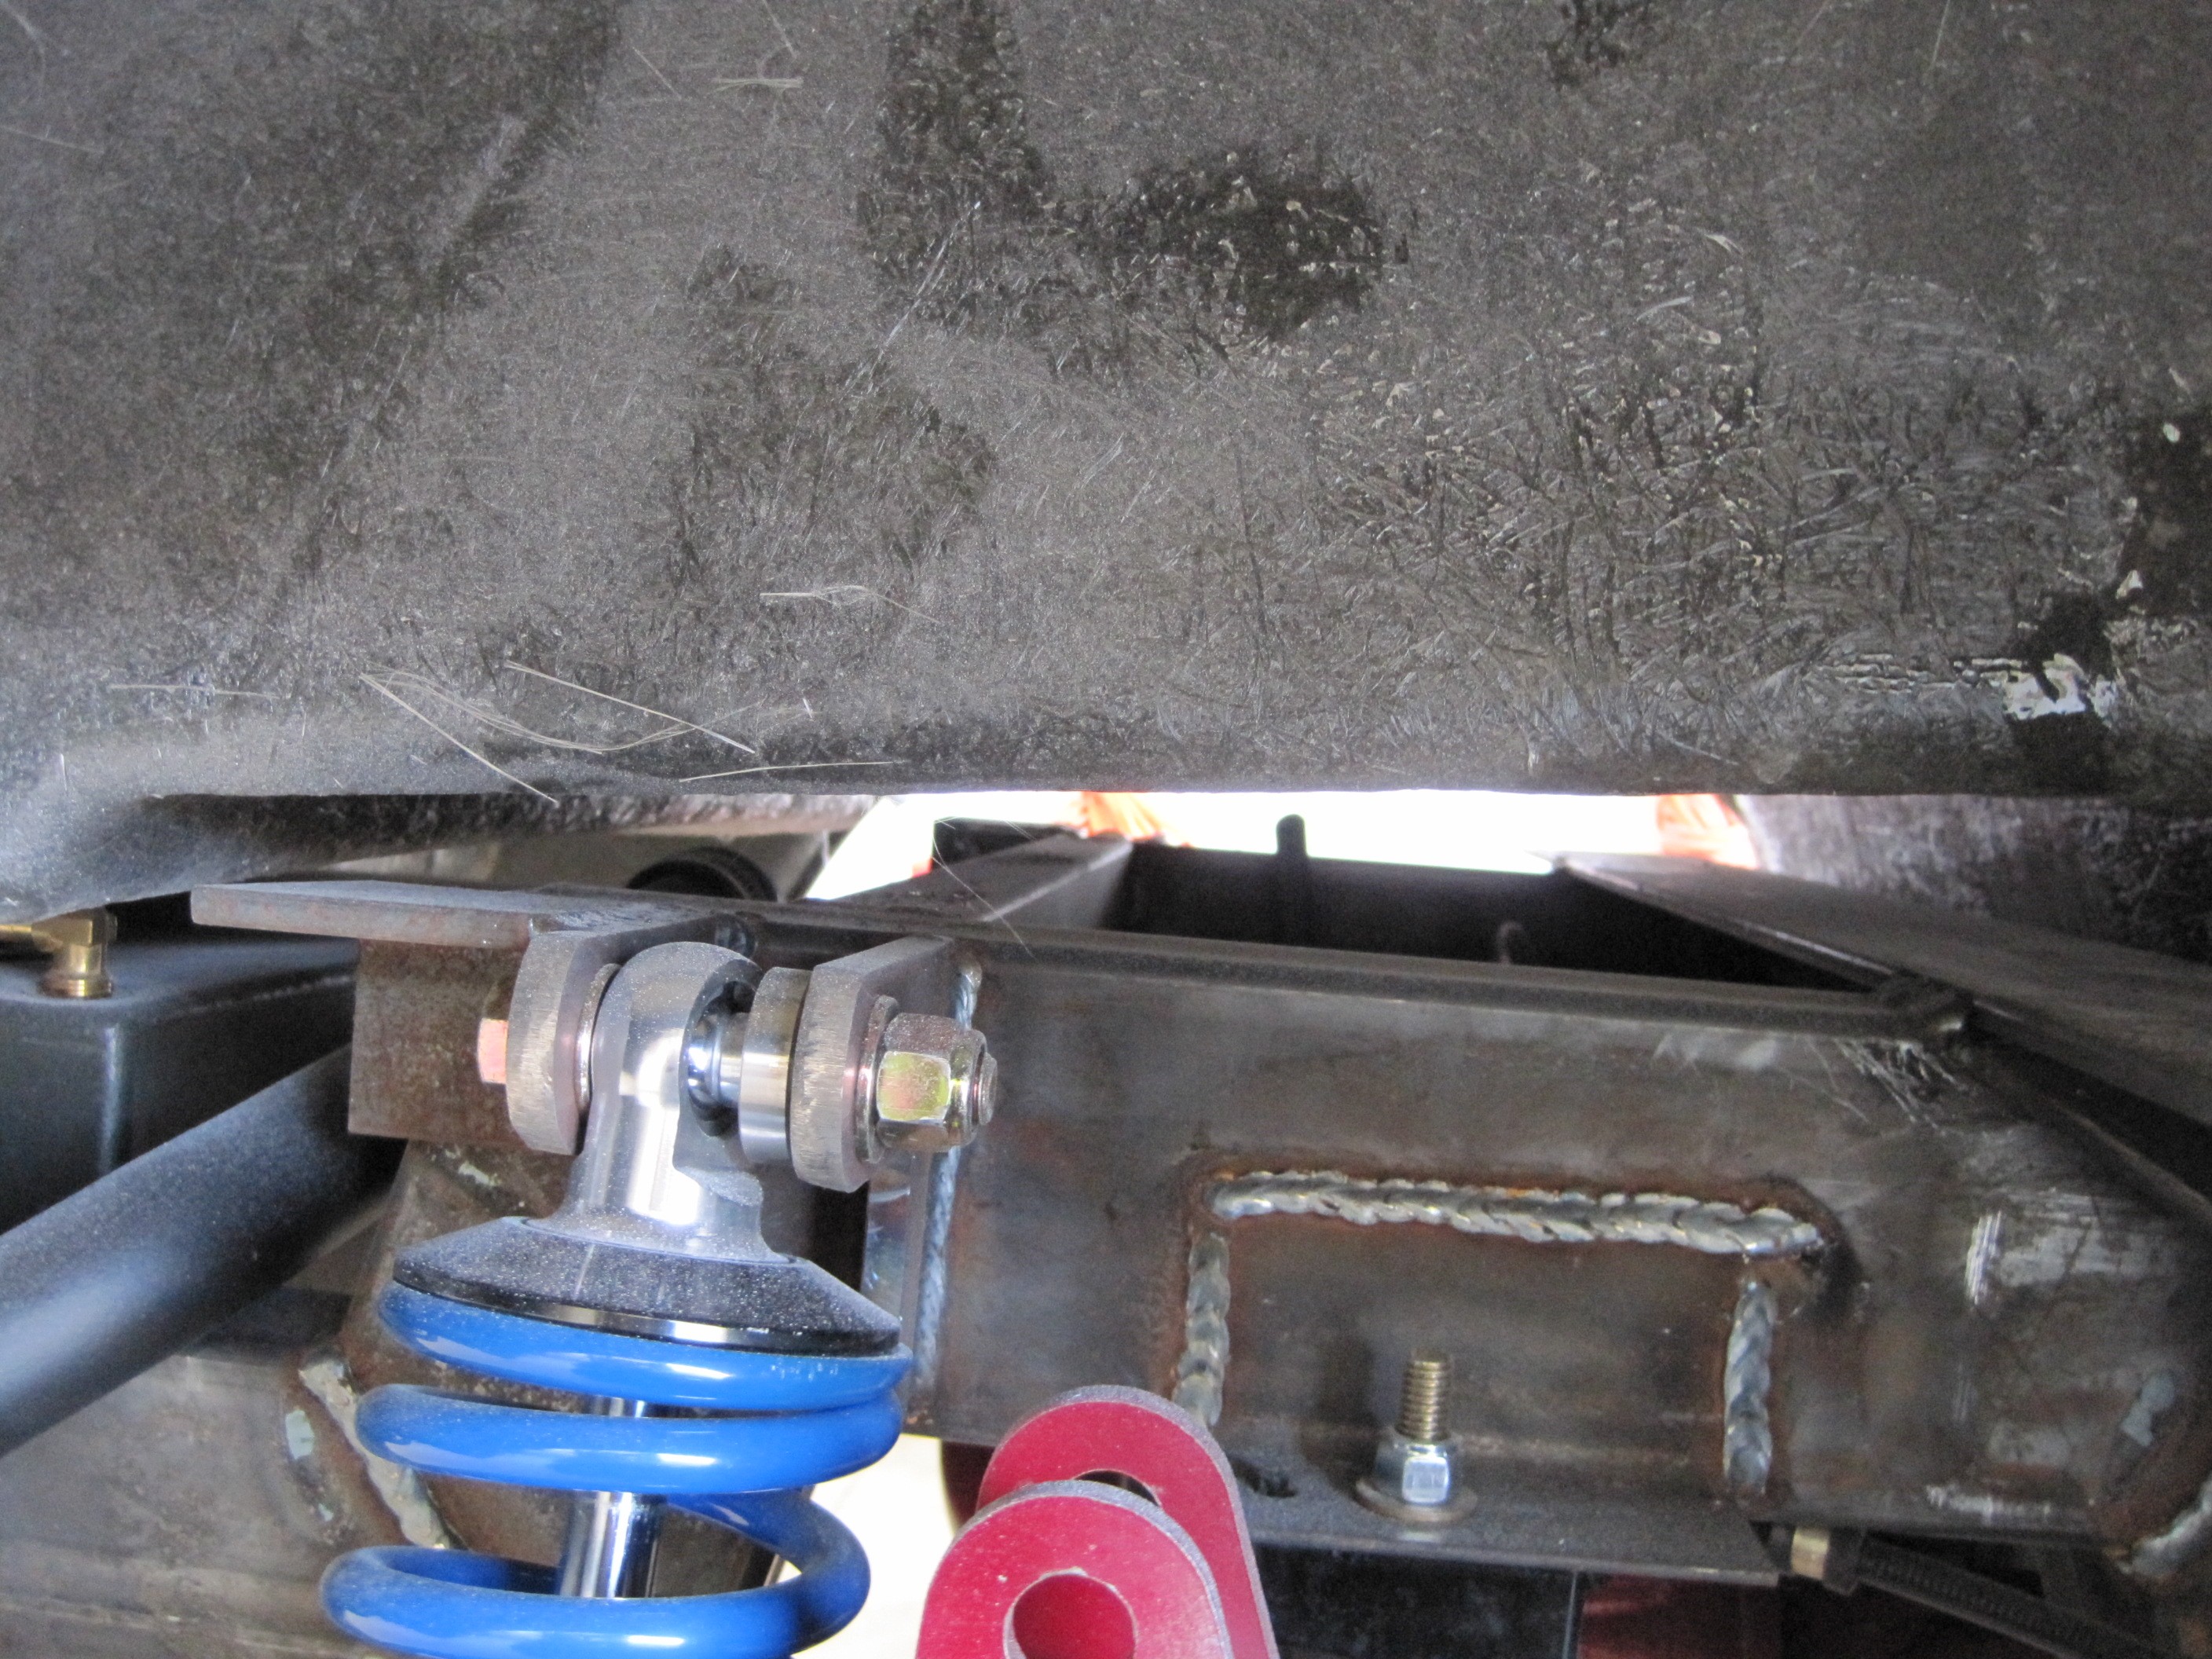
As you can see, the
trunk floor sets up off the frame in the mounting area so it is necessary to
bridge this gap with something.
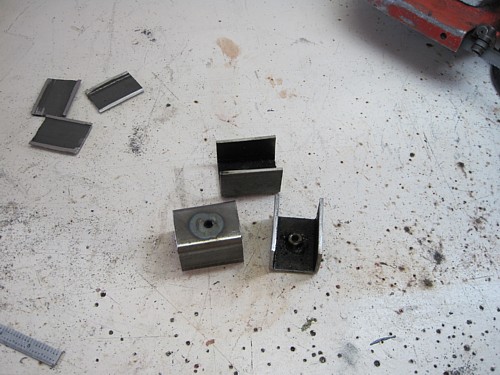
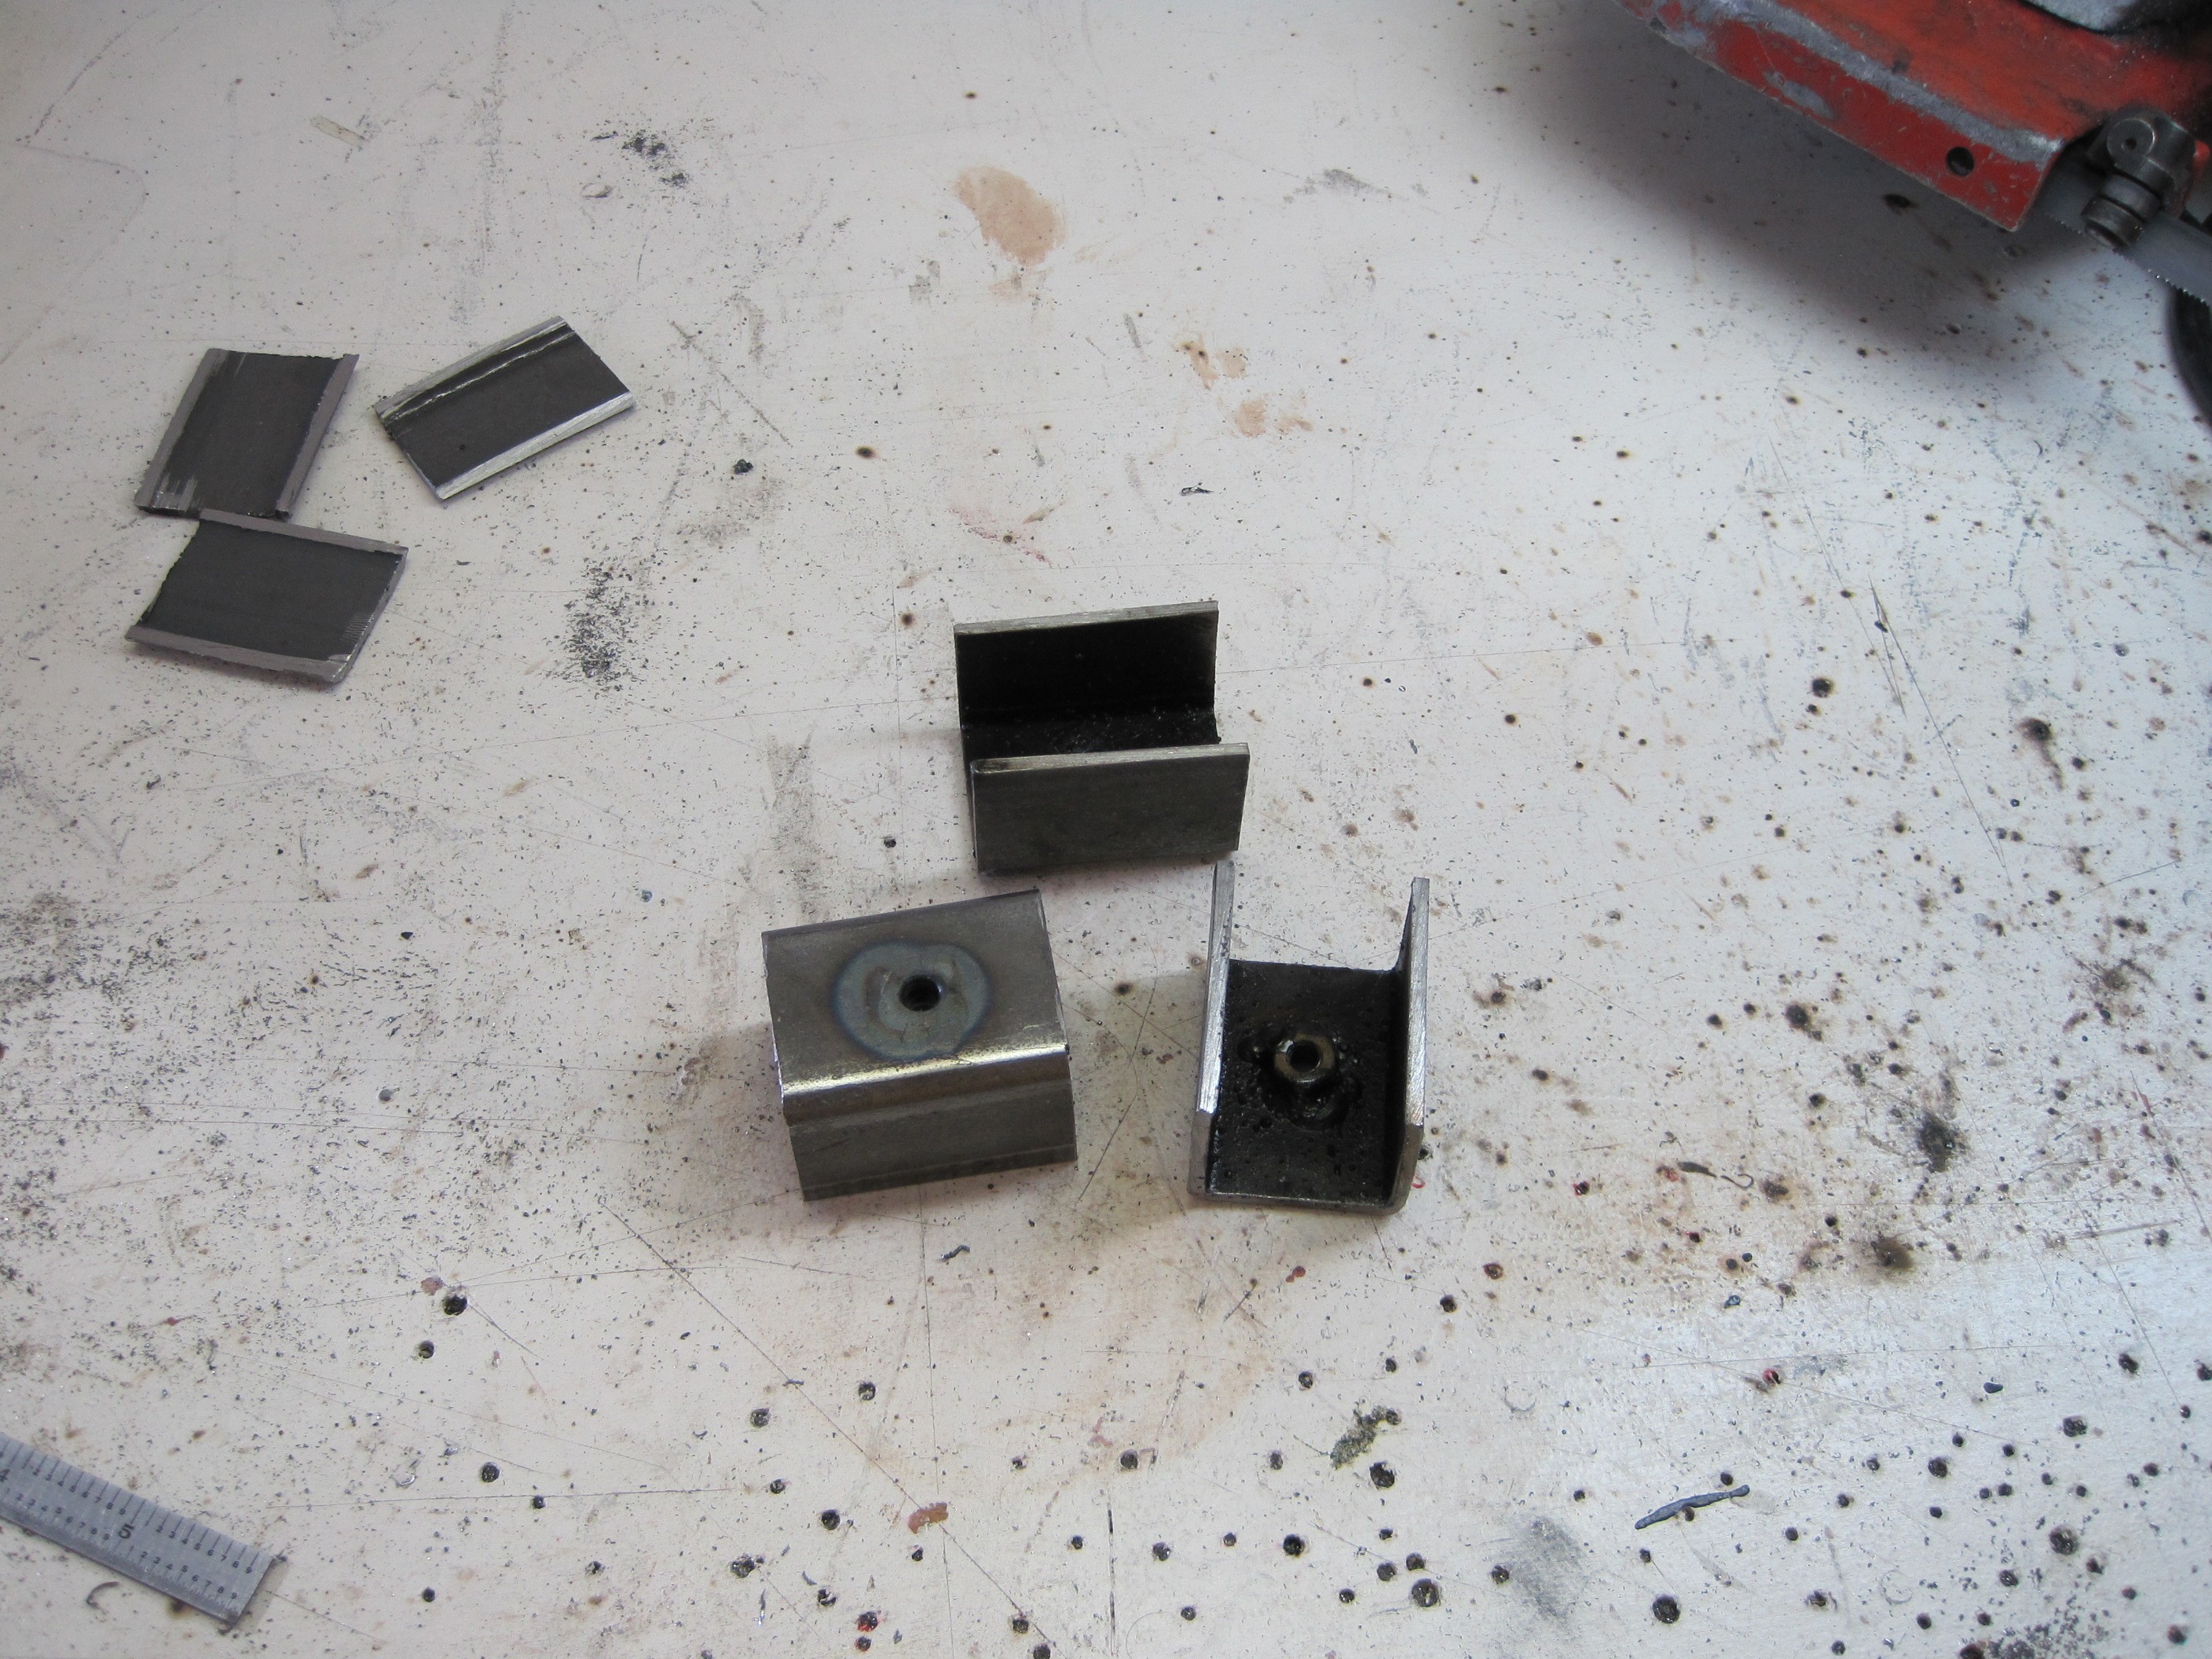
I used some square
tubing. I cut the bottoms off them with my portable bank saw and
welded a nut to the bottom. I then bolted them to the holes in the
trunk. With them help exactly in place by the mounting bolts, I
crawled underneath the rear end and tack welded the brackets to the cross
member.

I then removed the
body and final welded the mounting brackets to the cross member. I
ground everything smooth to finish them off. This way, I don't have to
fumble with spacers, nuts, and washers in order to mount the body. I
thought this was a pretty slick solution .
The next step is to
mount the front bumpers, That work begins on the next page.
|