Fuel Line
The fuel line is 3/8"
steel tubing that is quite difficult to bend. I built a "test" fuel
line out of some easily bendable aluminum tubing. That allowed me to
get in there and get all the bends in their final location before using the
steel line. If you make a wrong bend with the steel line, it is very
difficult to undo. I then pulled the aluminum tube and used it as a
guide to bend the lines from the tank forward to the emergency brake handle.
As a note, I pulled the rear shocks and lowered the rear-end on the jack in
order to give me more room to maneuver. That made it much easier to
get the tight bends installed.
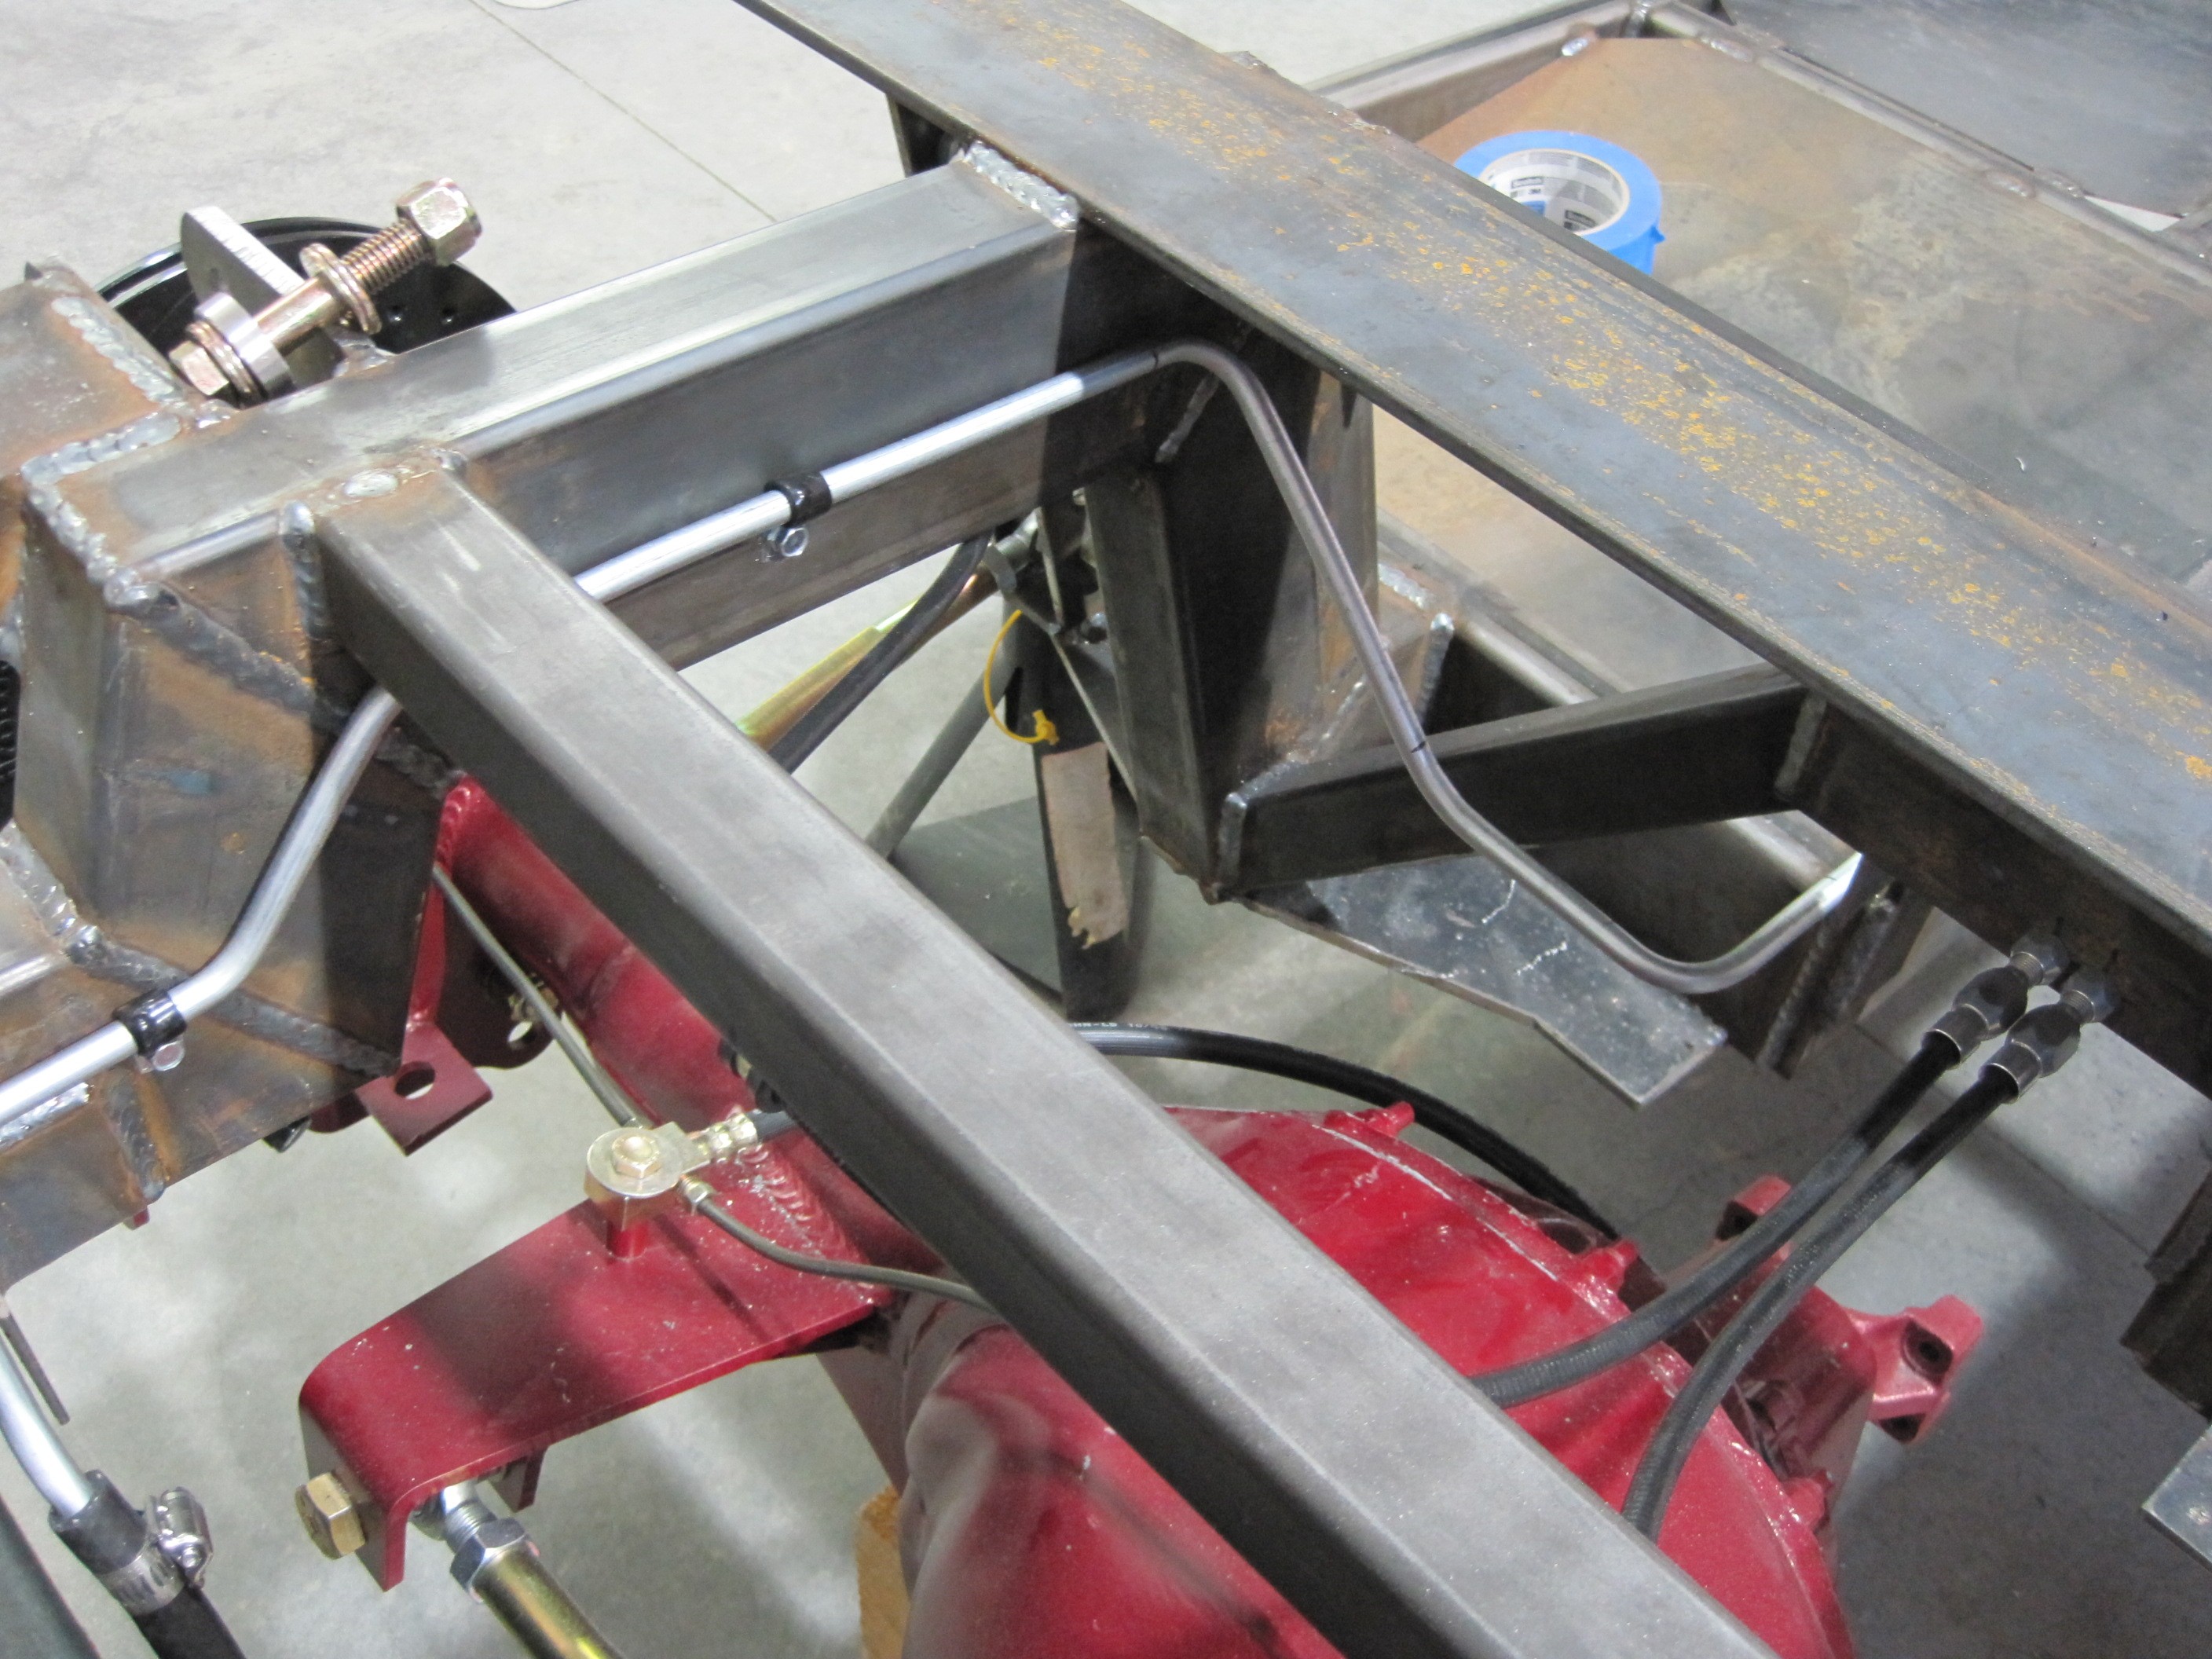
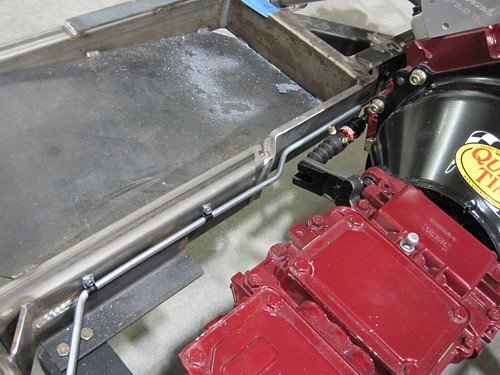
Here's a picture of
the rear of the line where it attaches to the fuel tank.

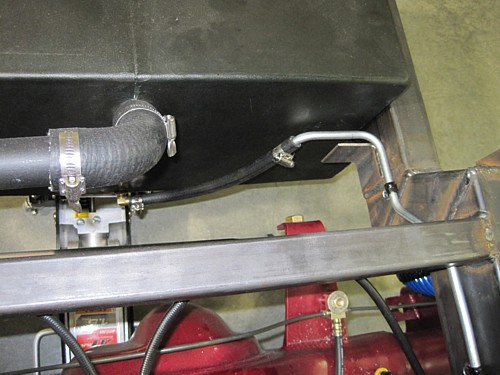
The line then bends around
the rear end and over to the center tunnel and underneath the new location
for the rear brake line hose.
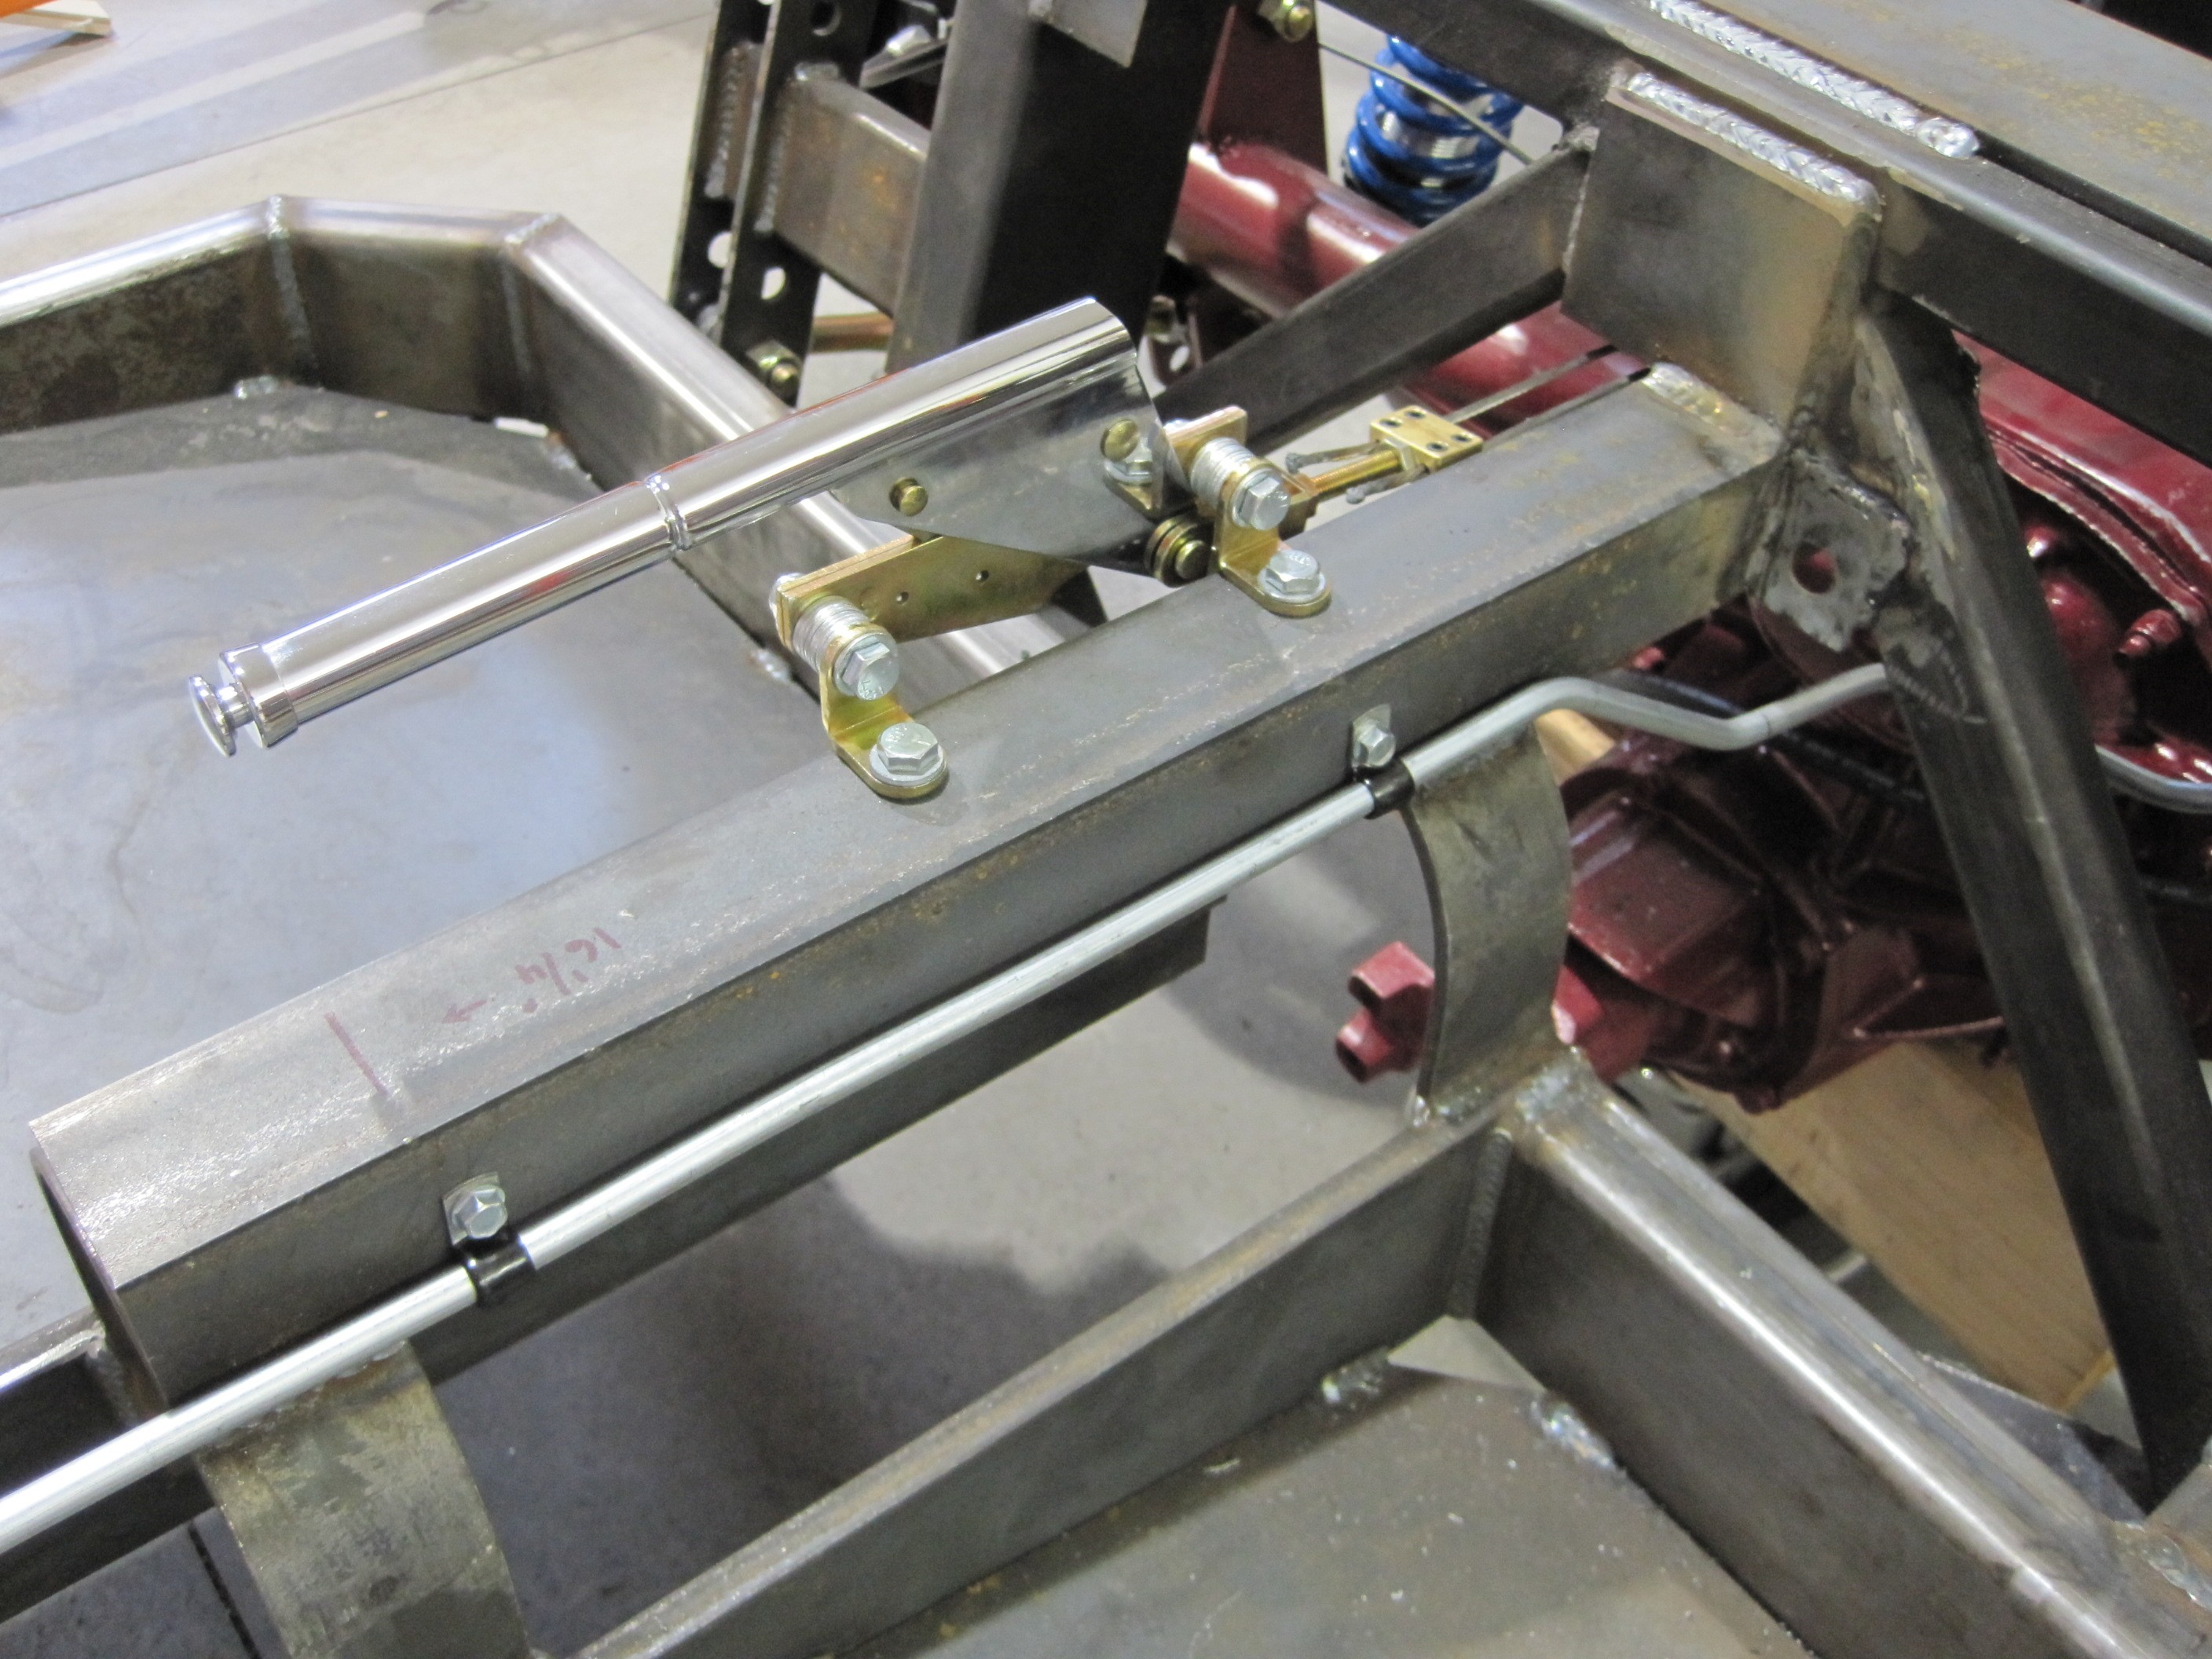
From here it is just a
straight shot down the tunnel. The benefit of running the line here
instead of in the drive shaft tunnel is obvious, however it does come at a
cost. This is very tight quarters when the body is installed so if it
ever need to be replaced. it will be a very tough job.
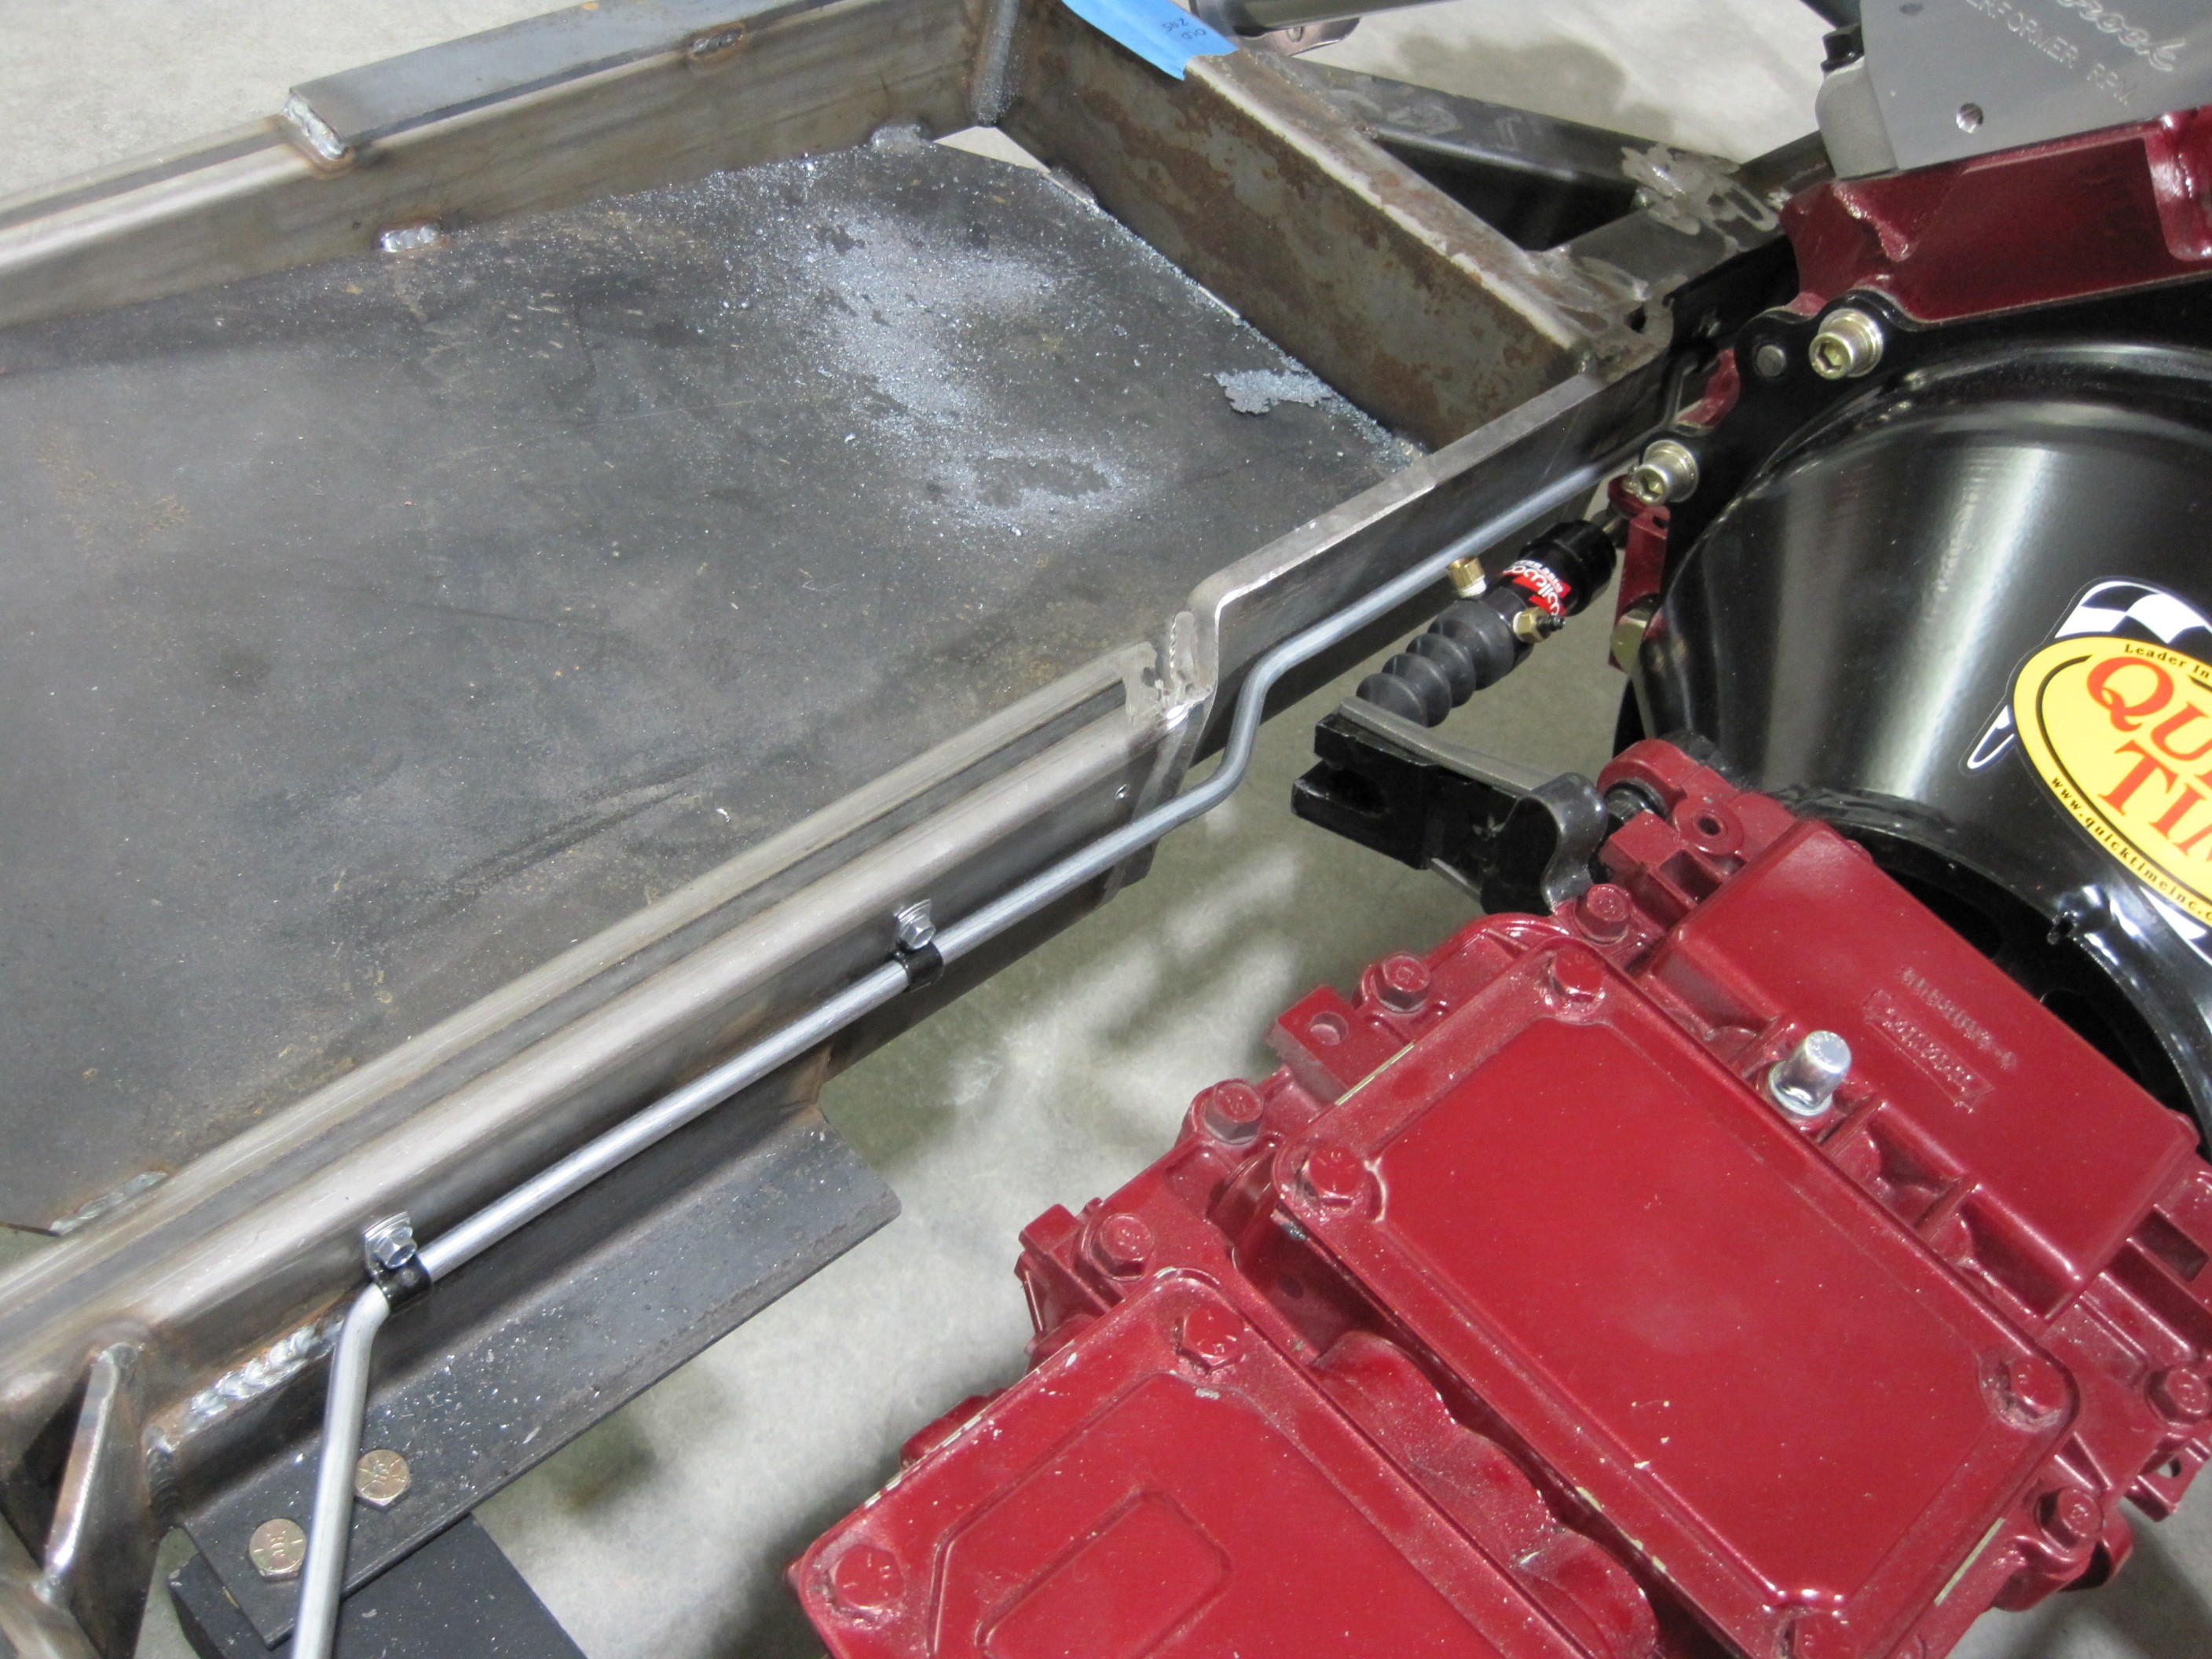
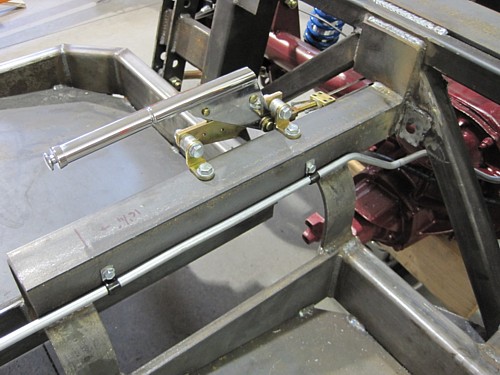
I dropped the line
down to the frame rail and around the rear of the transmission.
Although this looks close in the picture, there is still plenty of room.
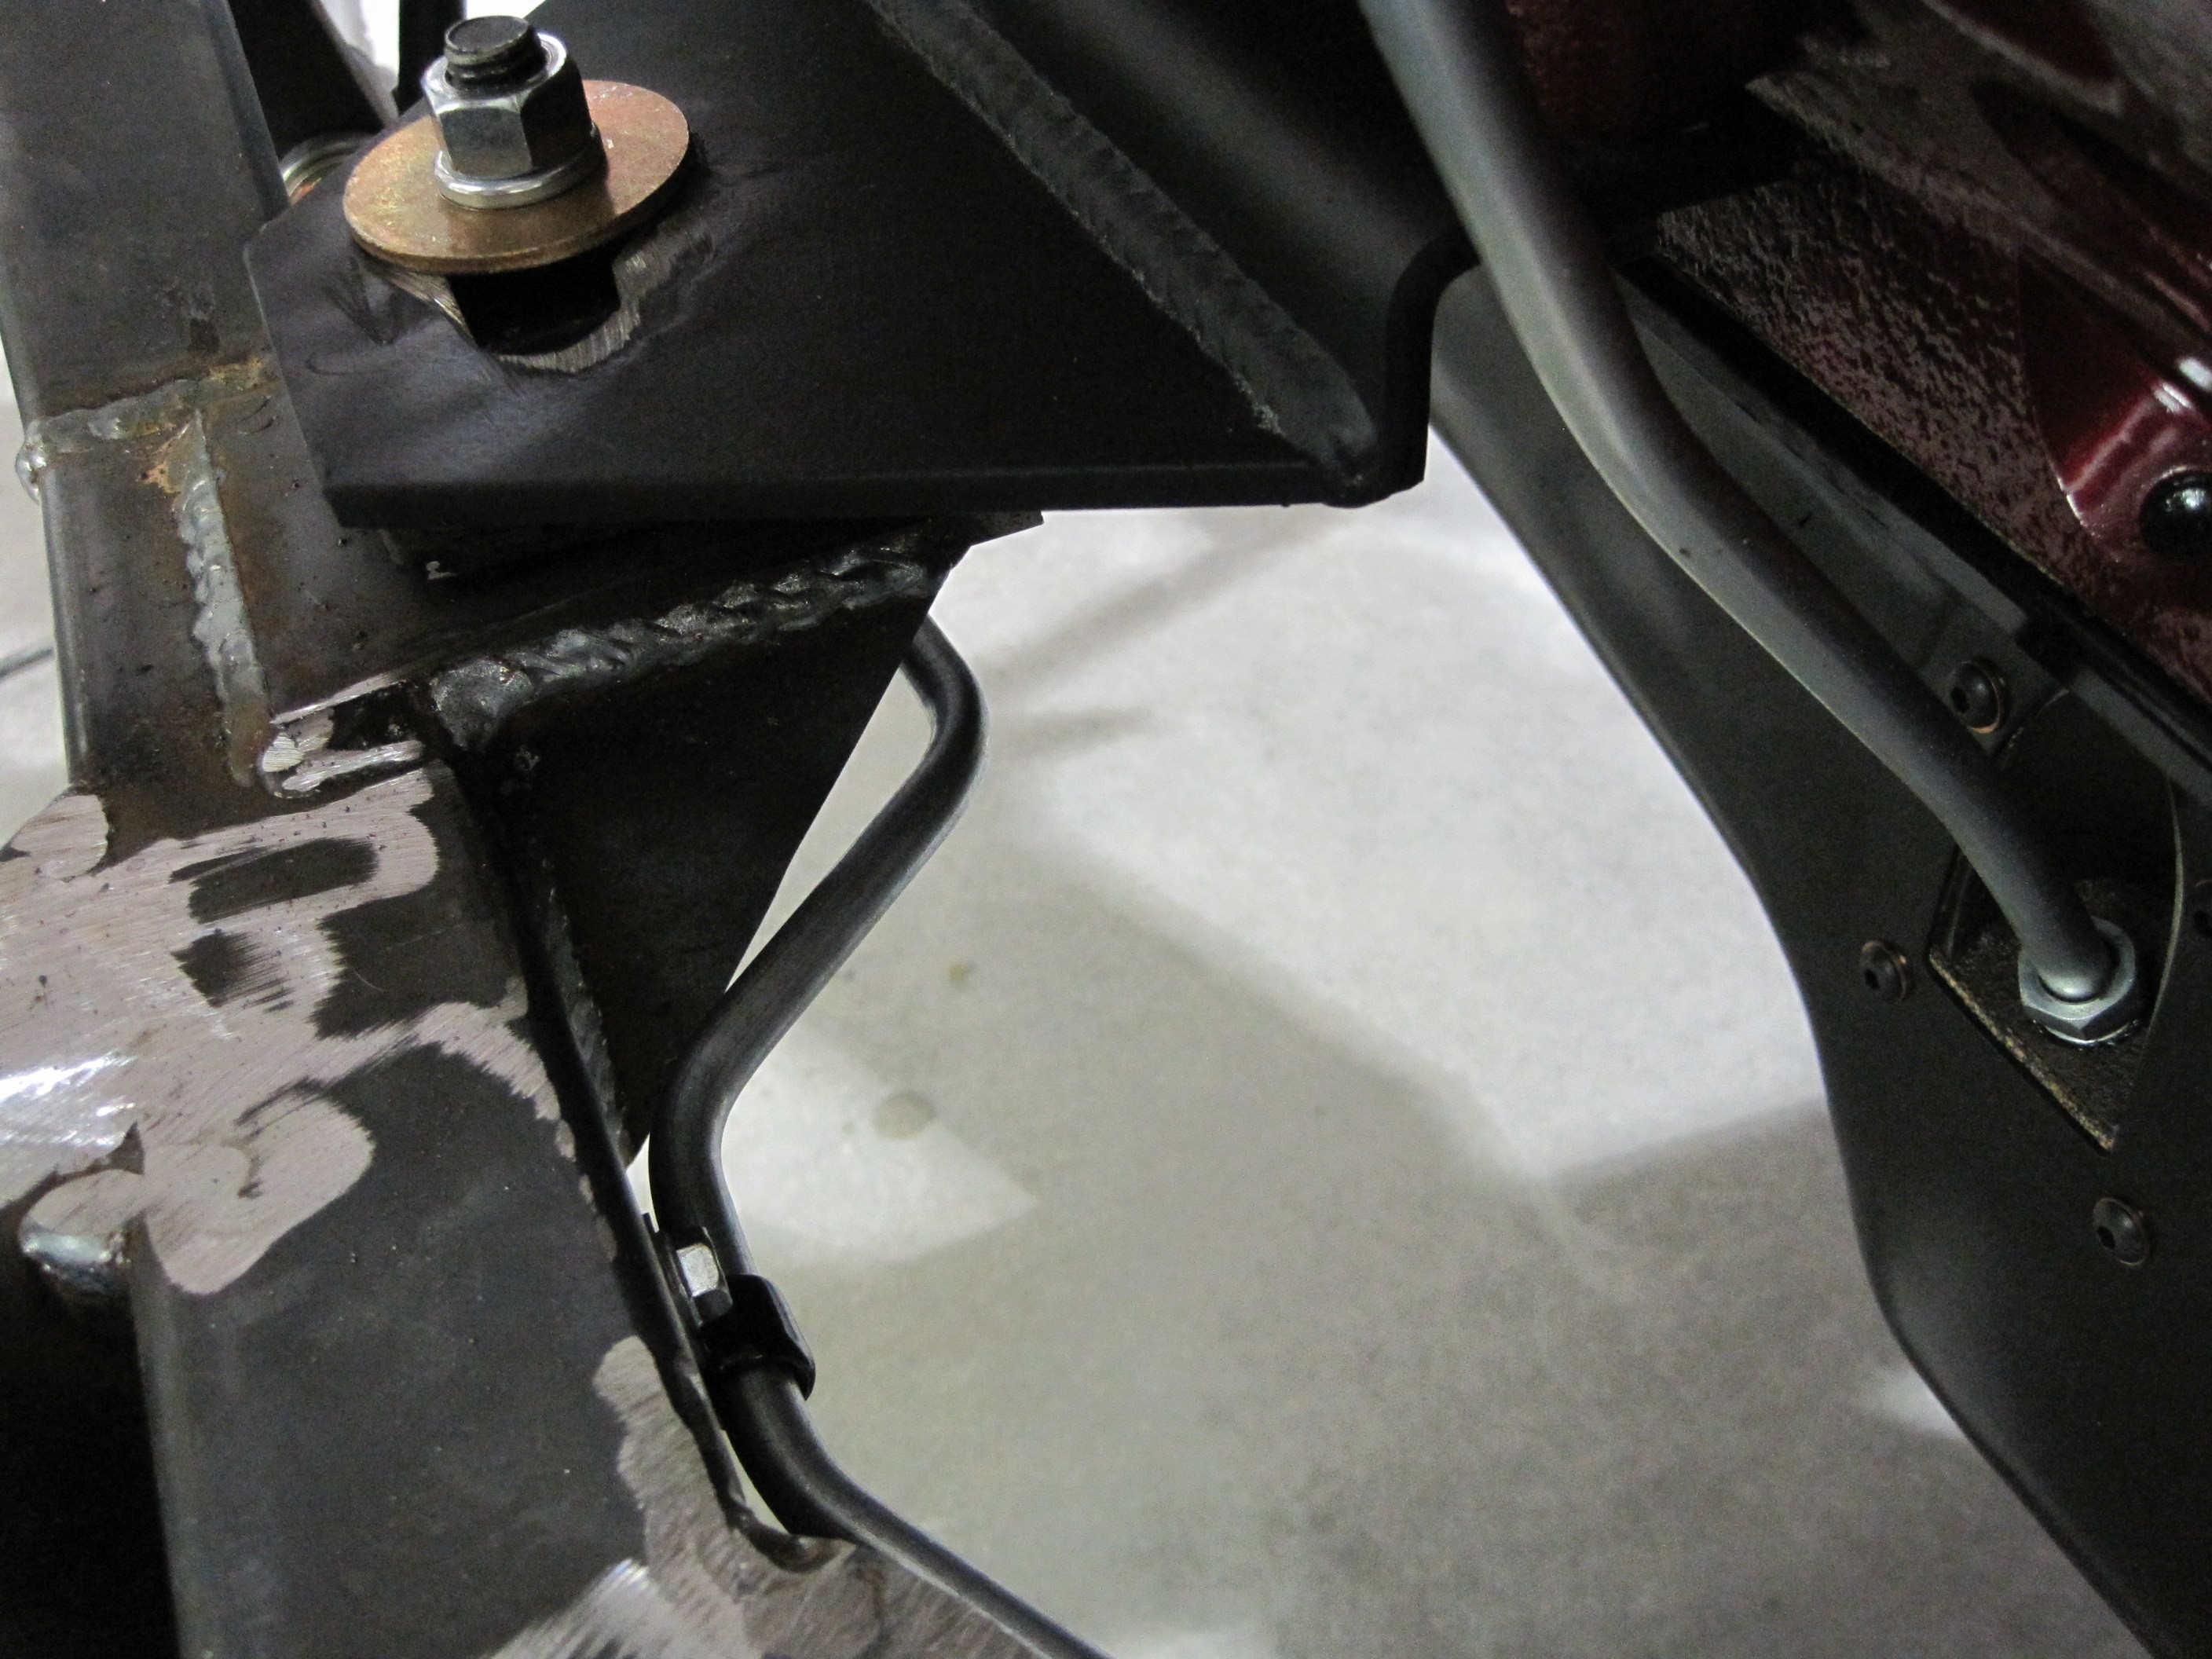
From there I just
followed the frame up to the engine mount. Note that you can't mount
brackets on the flat stock portion of the frame, just the hollow tubing
part.

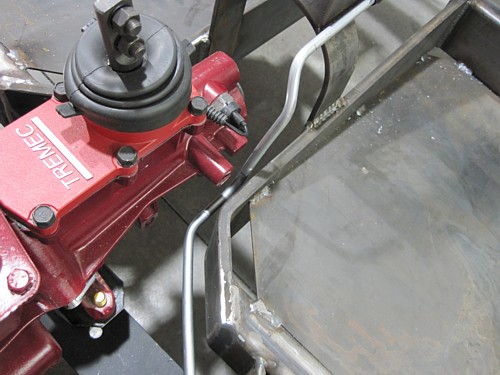
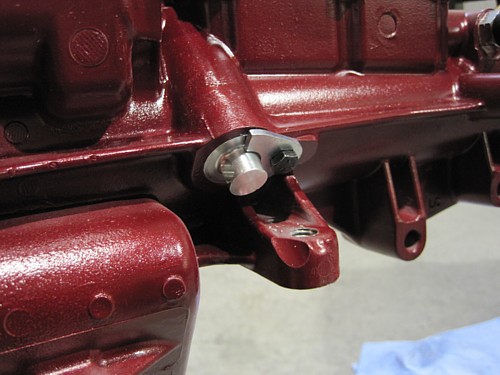
At the engine mount, I
jogged around the frame brackets.
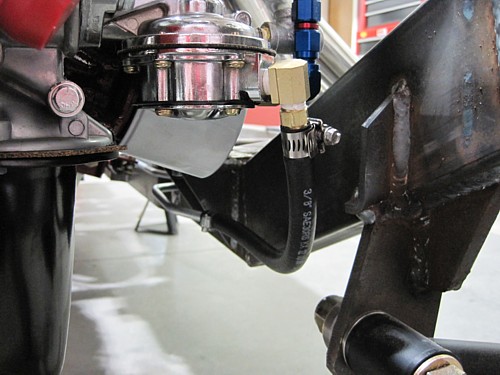
The final connection
to the fuel pump is made with a short piece of rubber hose. I had to
add a 90 degree fitting to the fuel pump inlet side. With a straight
fitting, the hose wanted to rub up against the frame and I didn't think that
was a good idea long term.
Clutch, Bell Housing, and
Transmission
Not being much of a
car guy, I was hesitant to install the clutch and transmission. I did
a search on the web and came across a number of videos on YouTube that
describes the process. I also checked in with the Engine Factory, my
engine provider, about having them do it but they wanted way too much money
so I opted to do it myself. I'm glad I did because it turns out to not
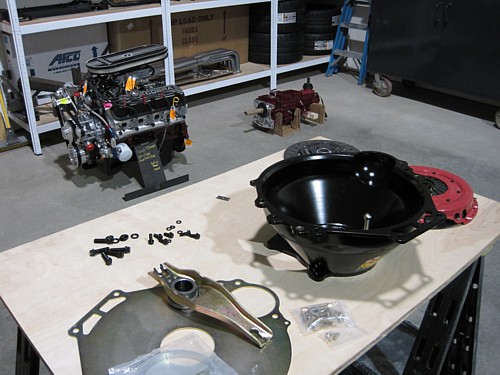
be that hard at all. First, I collected up all the parts I needed.
This included the clutch, bell housing, and various bolt sets. I
needed to order hardened bolts to mount the clutch to the flywheel and a set
to mount the transmission to the bell housing. You can find the part
numbers on my
Build Specification sheet. I don't
know if it is necessary but I use ARP hardened bolts for everything.
They are really high quality fasteners and I like to be safe.
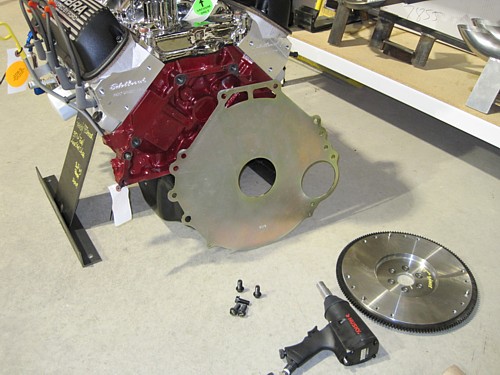
First step was to
remove the flywheel and mount the transmission spacer plate behind it.
I used Blue Locktite on the threads and torqued them down to 80 ft-lbs per
the instructions from the engine builder.
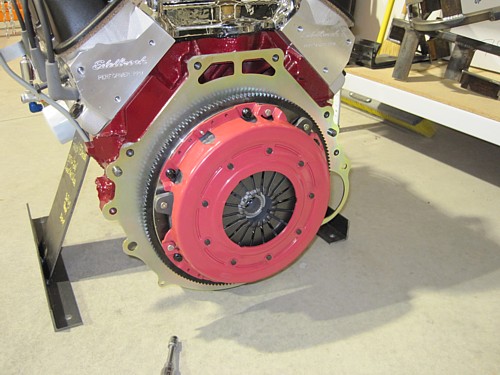
Next came the clutch.
I followed the instruction that came with the RAM clutch kit. It would
have been nice if they would have included the mounting bolts but no, I had
to order them separately. The key here is to tighten them down
carefully in rotation while the alignment tool is inserted so the fingers
all clamp down under equal pressure. Again, ample amounts of Blue Locktite
were applied.
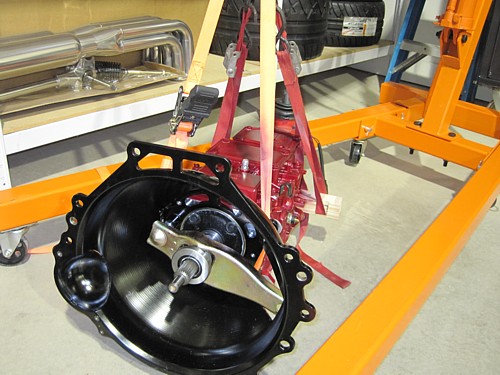
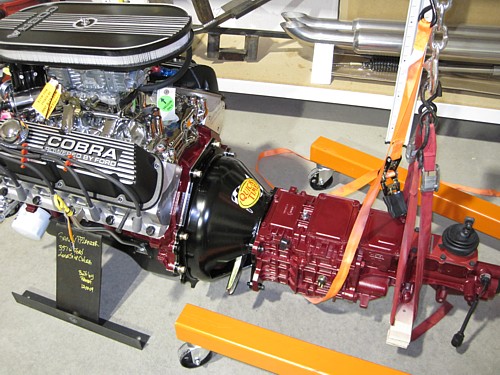
I mounted the bell housing
to the transmission because that's the way the instructions in the manual
say to do it. Some of the videos say to mount the bell housing to the
engine and use a dial indicator to center it. I can tell you that the
bell housing fit on the alignment pins is so tight that there's no room for
adjustments so I'm guessing those instructions apply more to older bell
housing and engine combos. When installing the bell housing, I applied
some assembly grease to the alignment ring on the transmission to help with
the fit and I also put some under the bolt head for the clutch fork.
UPDATE:
The clutch fork pictured above is the wrong one. It is too short.
Pictures of the replacement fork can be found on the next page.
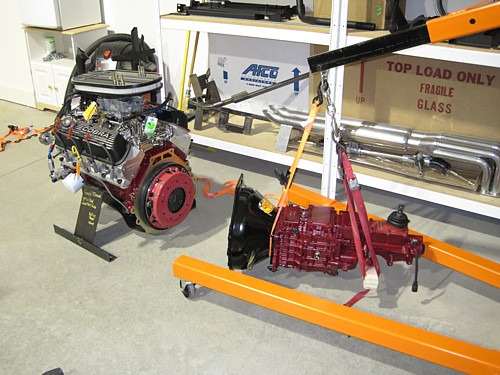
Aligning things up is
critical before trying to jam the output shaft of the transmission into the
clutch. If it doesn't go in straight, you might bend the clutch plates
and your clutch will chatter. I carefully adjusted my straps to get it
as close as possible. It is also important to make sure you can turn
the gear on the output shaft of the transmission by hand before installing.
I installed a little grease on the end of the shaft and proceeded to insert
it into the clutch.
I had to turn the gear
on the output shaft a little to get the splines to line up. Once it
went in as far as I could push it, I stood behind the transmission and
lifted the back end and wiggled it into place. I got it pushed in to
about 1/4 inch. I had to use the mounting bolts to pull the bell
housing over the alignment pins because of the close tolerance. Again,
I applied the Blue Locktite and torqued down the bolts.

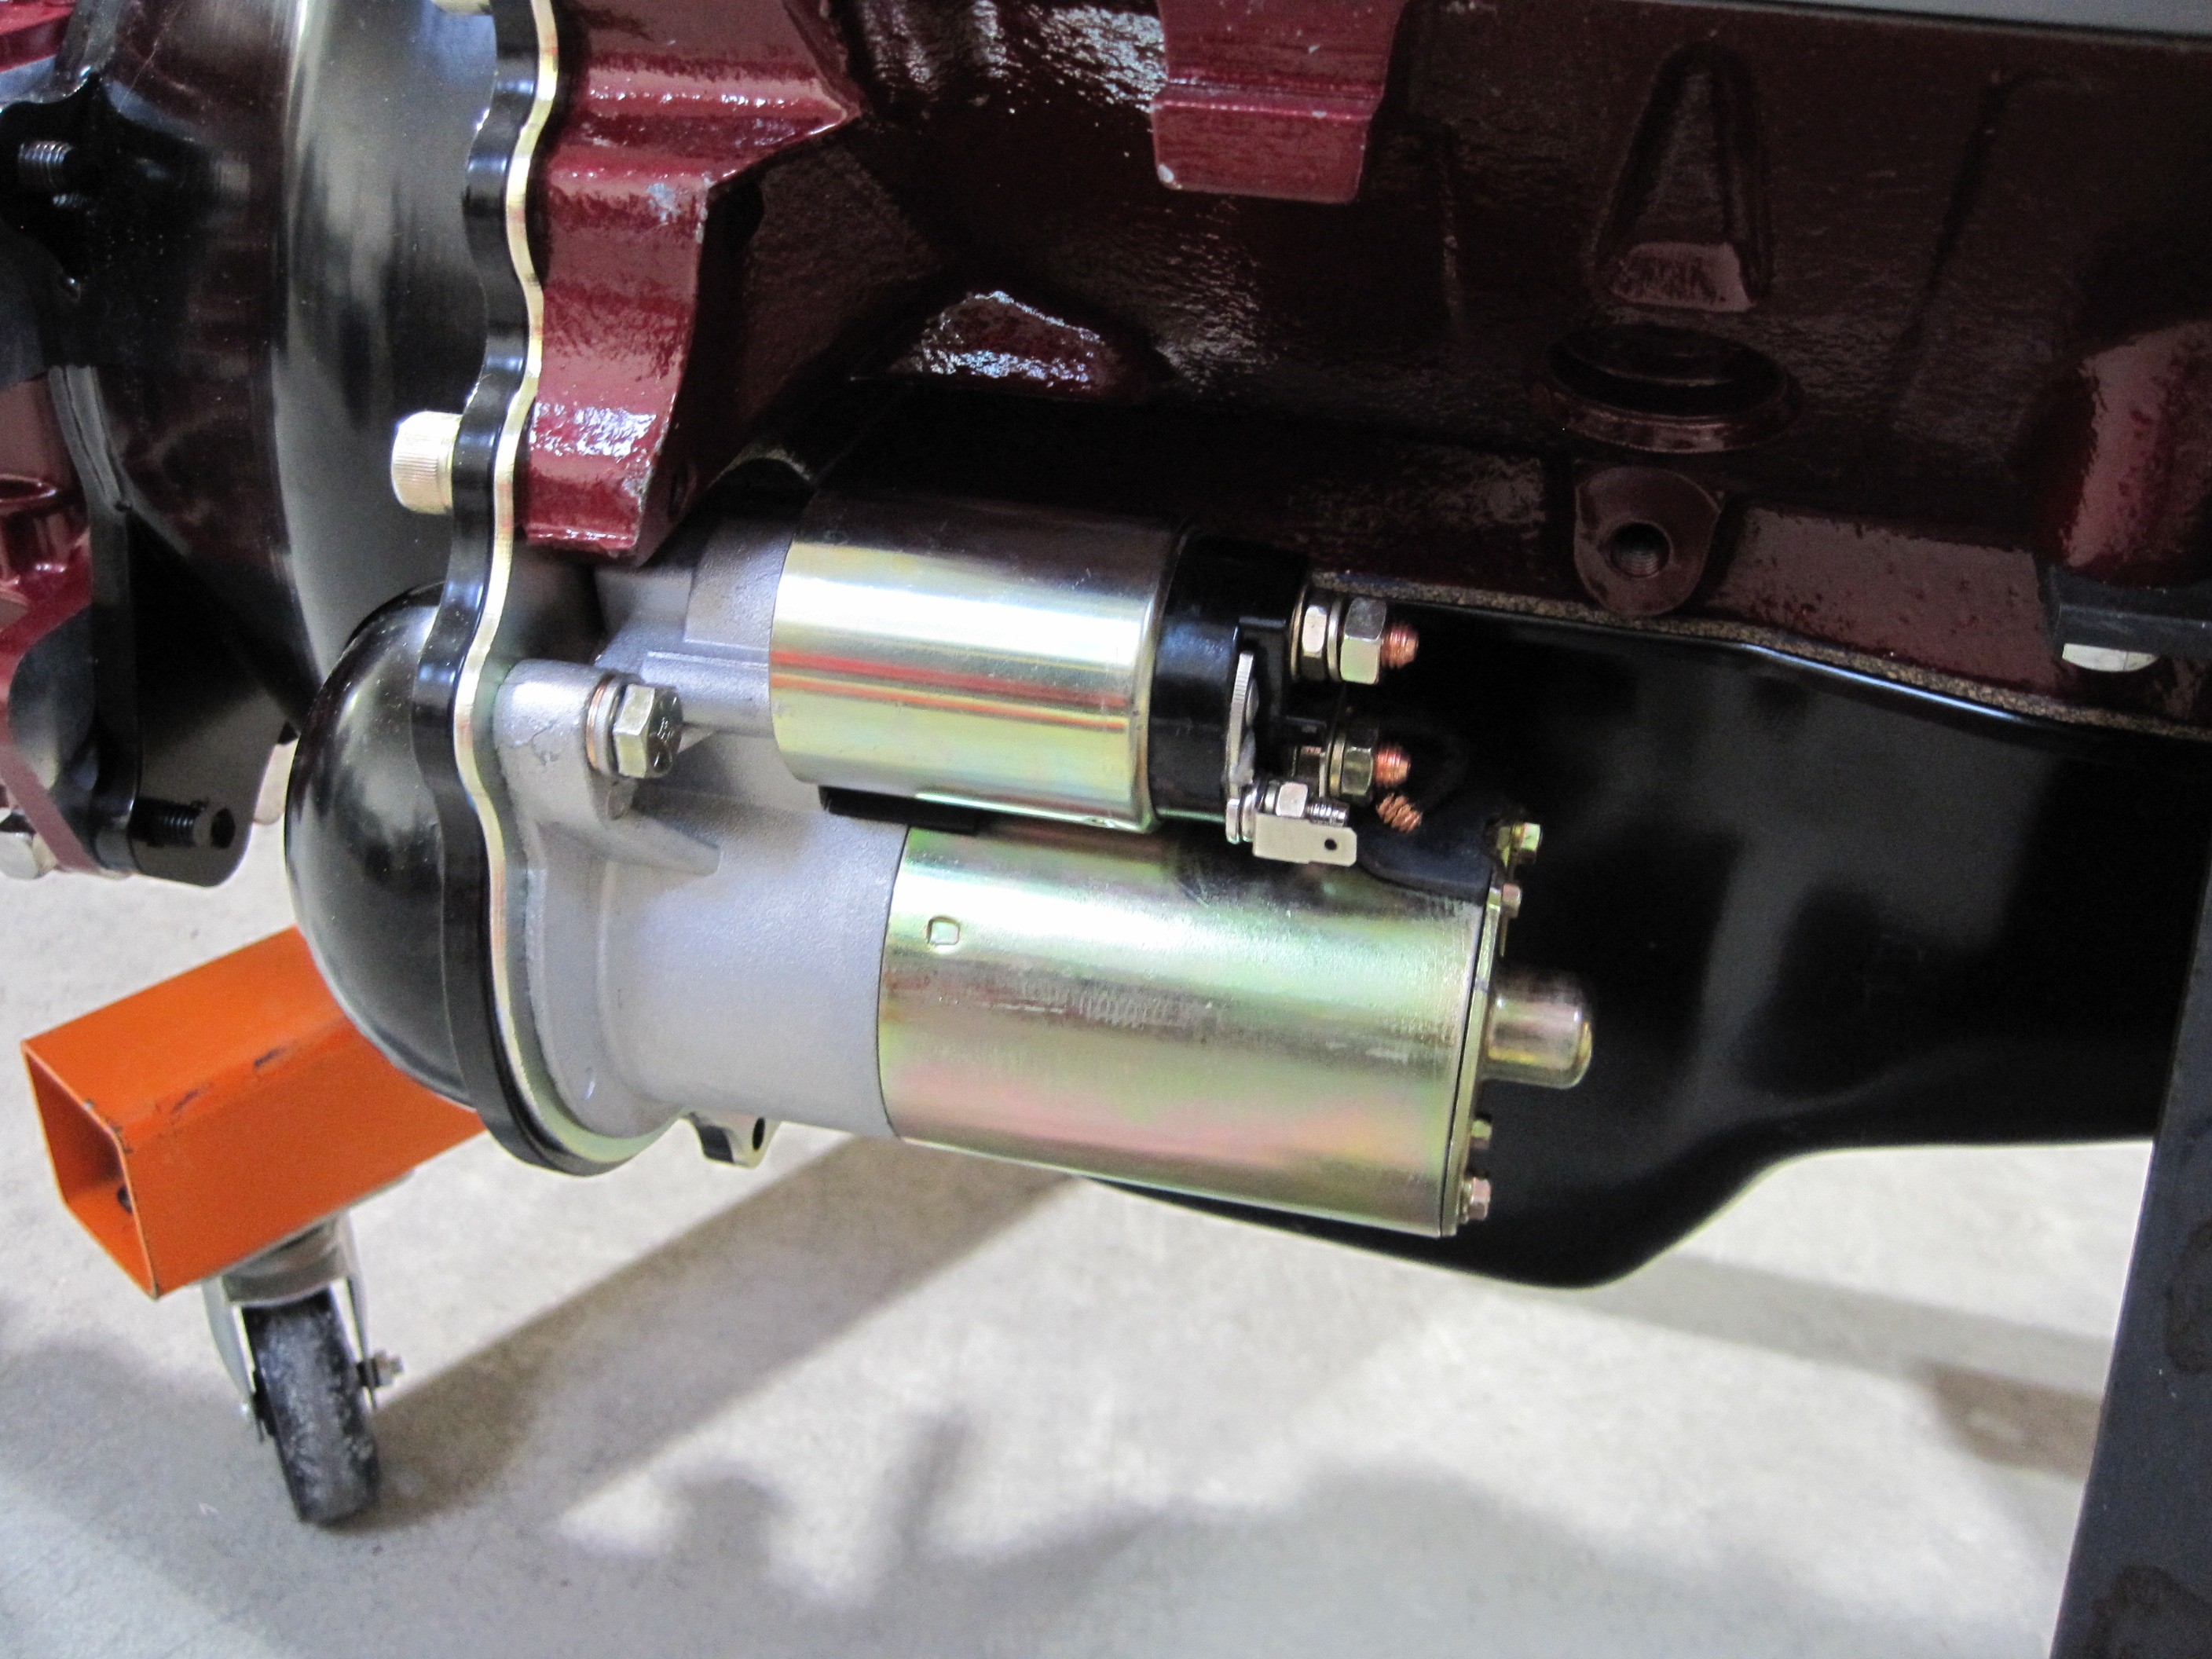
My engine came from
the engine builder with a small, high torque starter. Unfortunately,
they didn't provide any mounting hardware. I picked up the Grade 8
hardware from the local hardware store, used some Blue Locktite, and bolted
it up. Once I get a battery, I want to turn the starter over to make
sure the gears are in alignment.
Since I am using an
electronic speedometer, I do not need the mechanical hookup. My
transmission came with an electrical pickup on the other side of the
transmission case. The transmission comes with a rubber plug in this
hole and it must be replaced with a plug and clip as shown above. I
found several sources for the plug, but only one also supplied the bolt and
the clip. I've learned to start looking for the mounting hardware as
well. A little dab of Red Locktite and that was that.
Additional steps
continue on the next page.
|