Body Buck
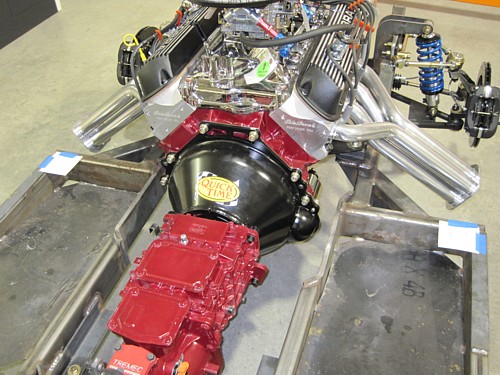
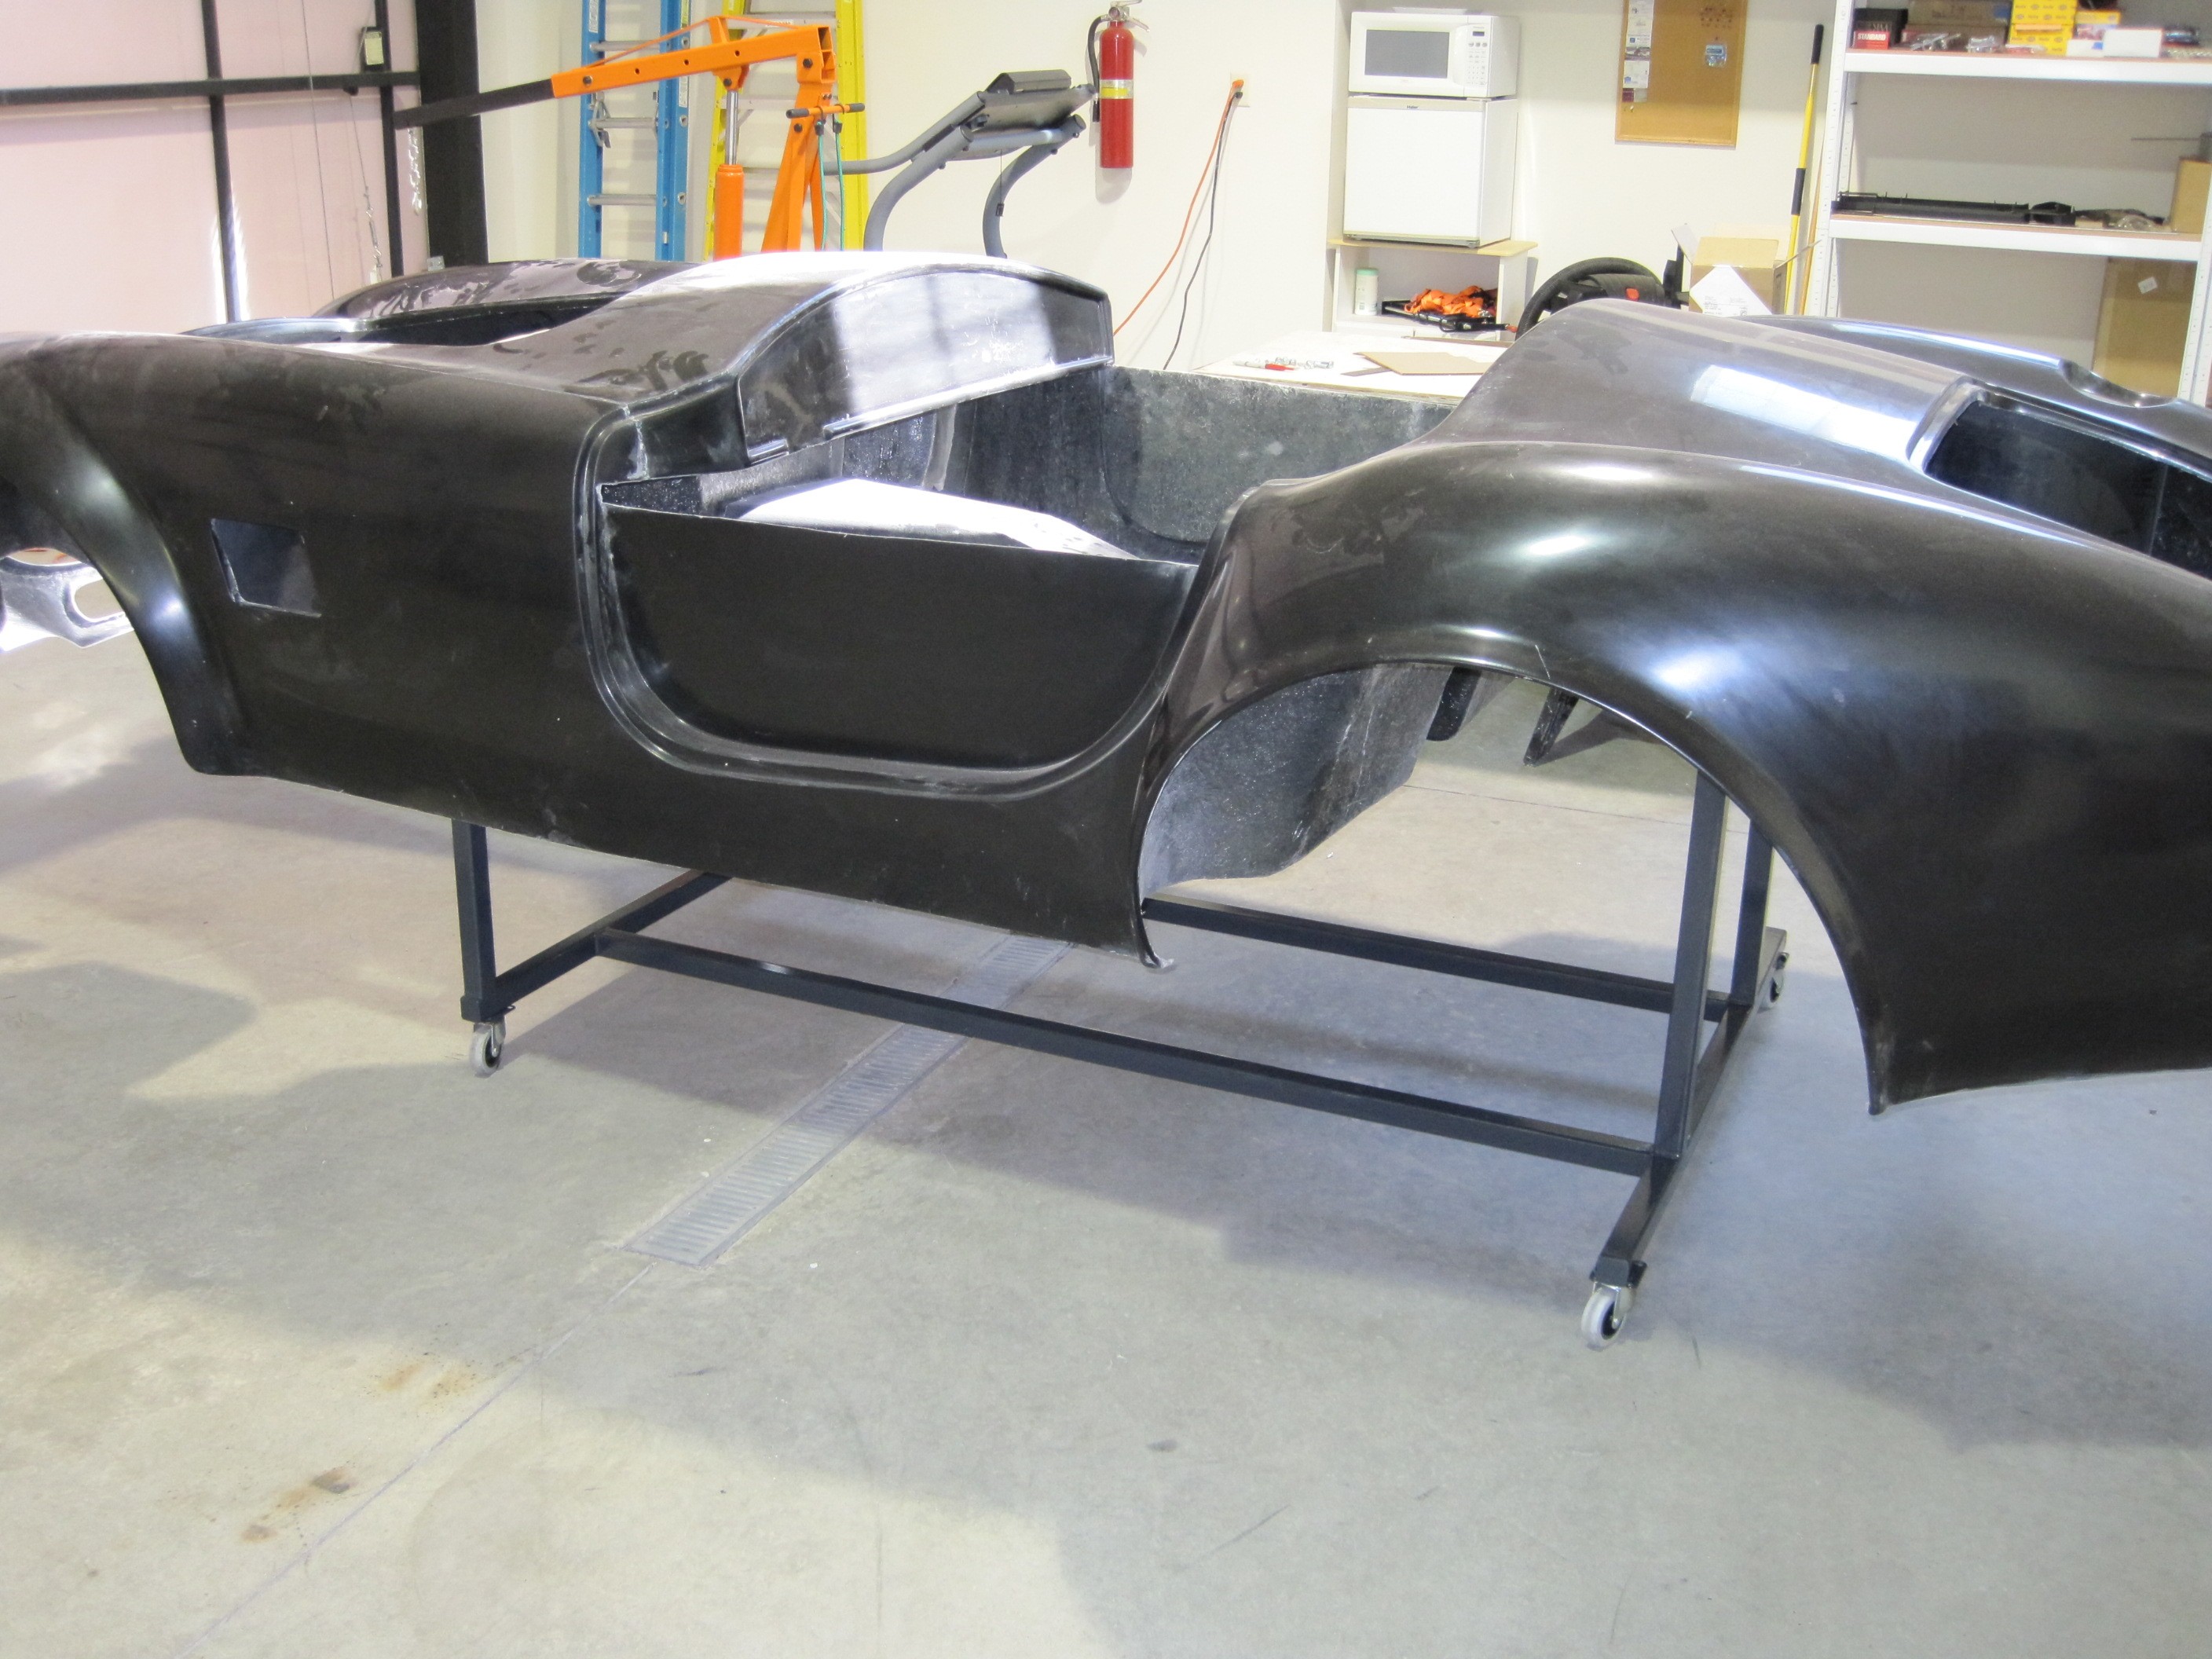
In order to make it
easier to work on the body, I decided to build a body buck. First
steps was to lay out the various attach points for the finished buck so I
could derive the necessary measurements for the buck. I have four
attach points, the two pictured above and two in the trunk area just forward
of the fuel tank.
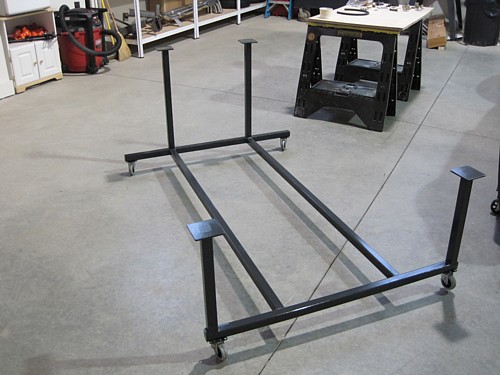
After about 3 hours
work and $100 of steel tubing, this is the result.

Now the body is at
working height and is easily moved around the shop. Since I plan to
have the body finished off the frame, this buck is even more necessary so I
can transport the body to and from the painter.
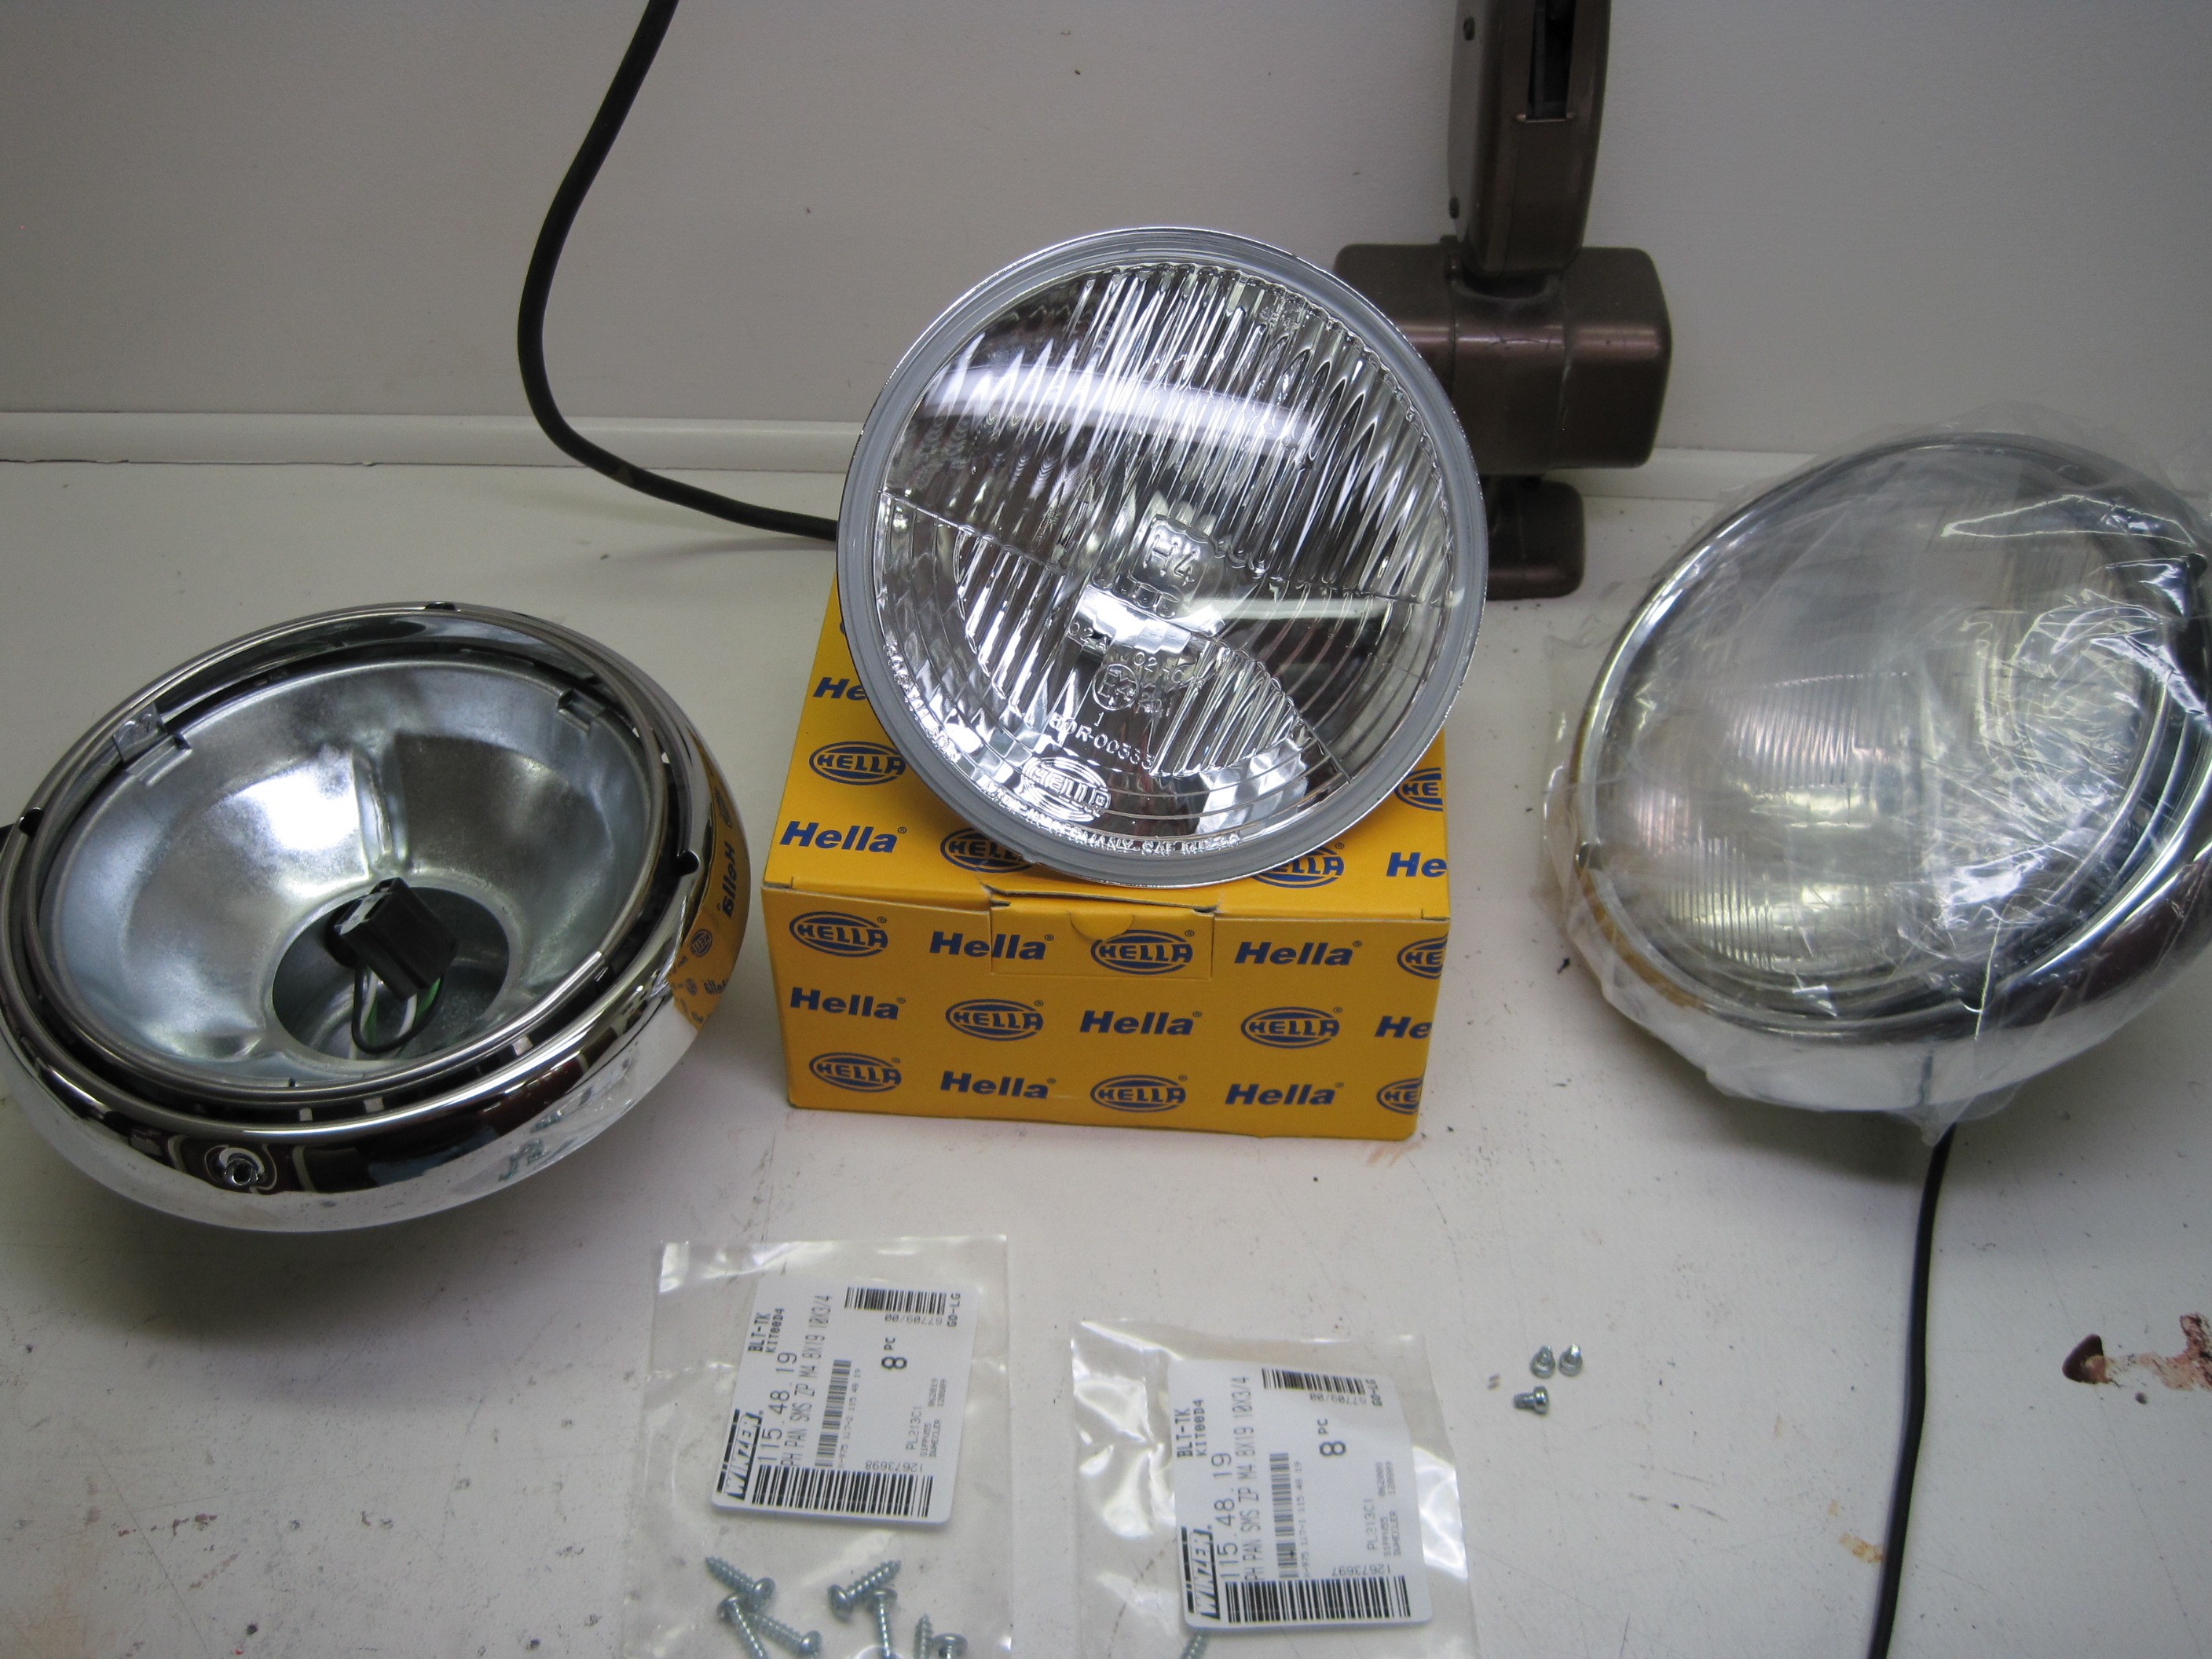
Headlights

In preparation for
installing the headlights, I installed replacement HID bulbs and
receptacles. The old style headlights provide barely adequate lighting
at night. The bulb and receptacle are drop-in replacements so it's a
no-brainer.

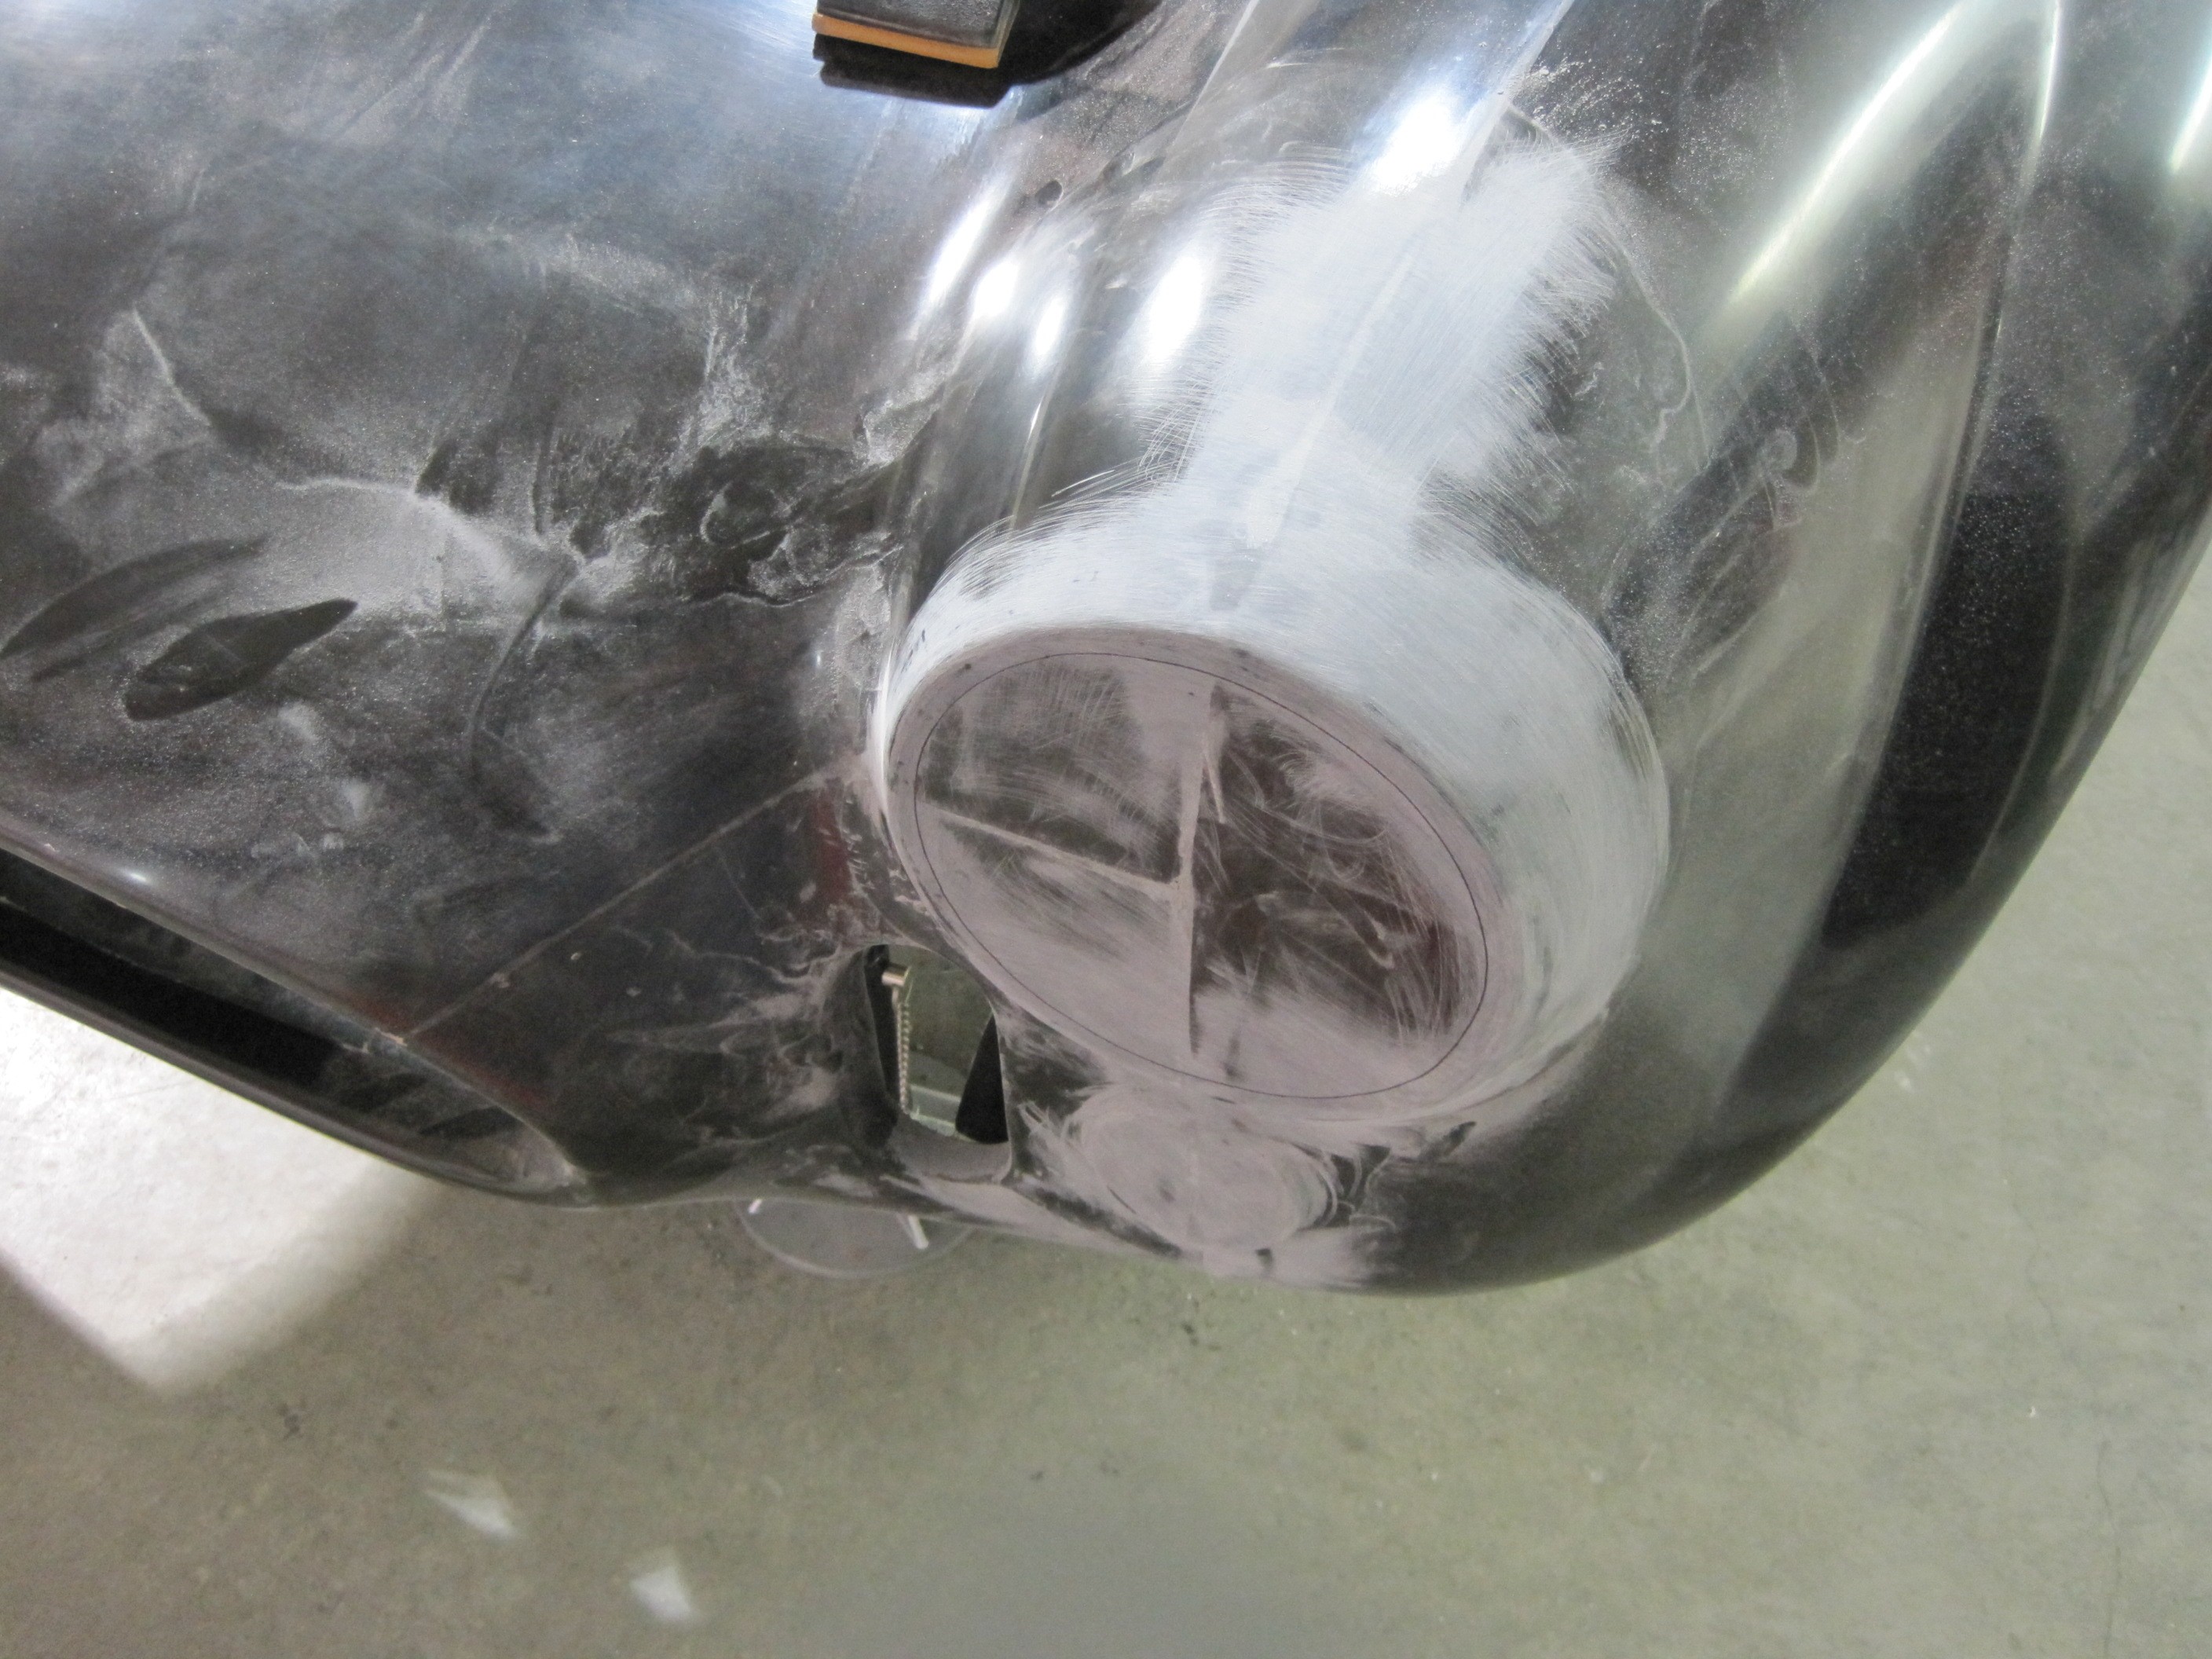
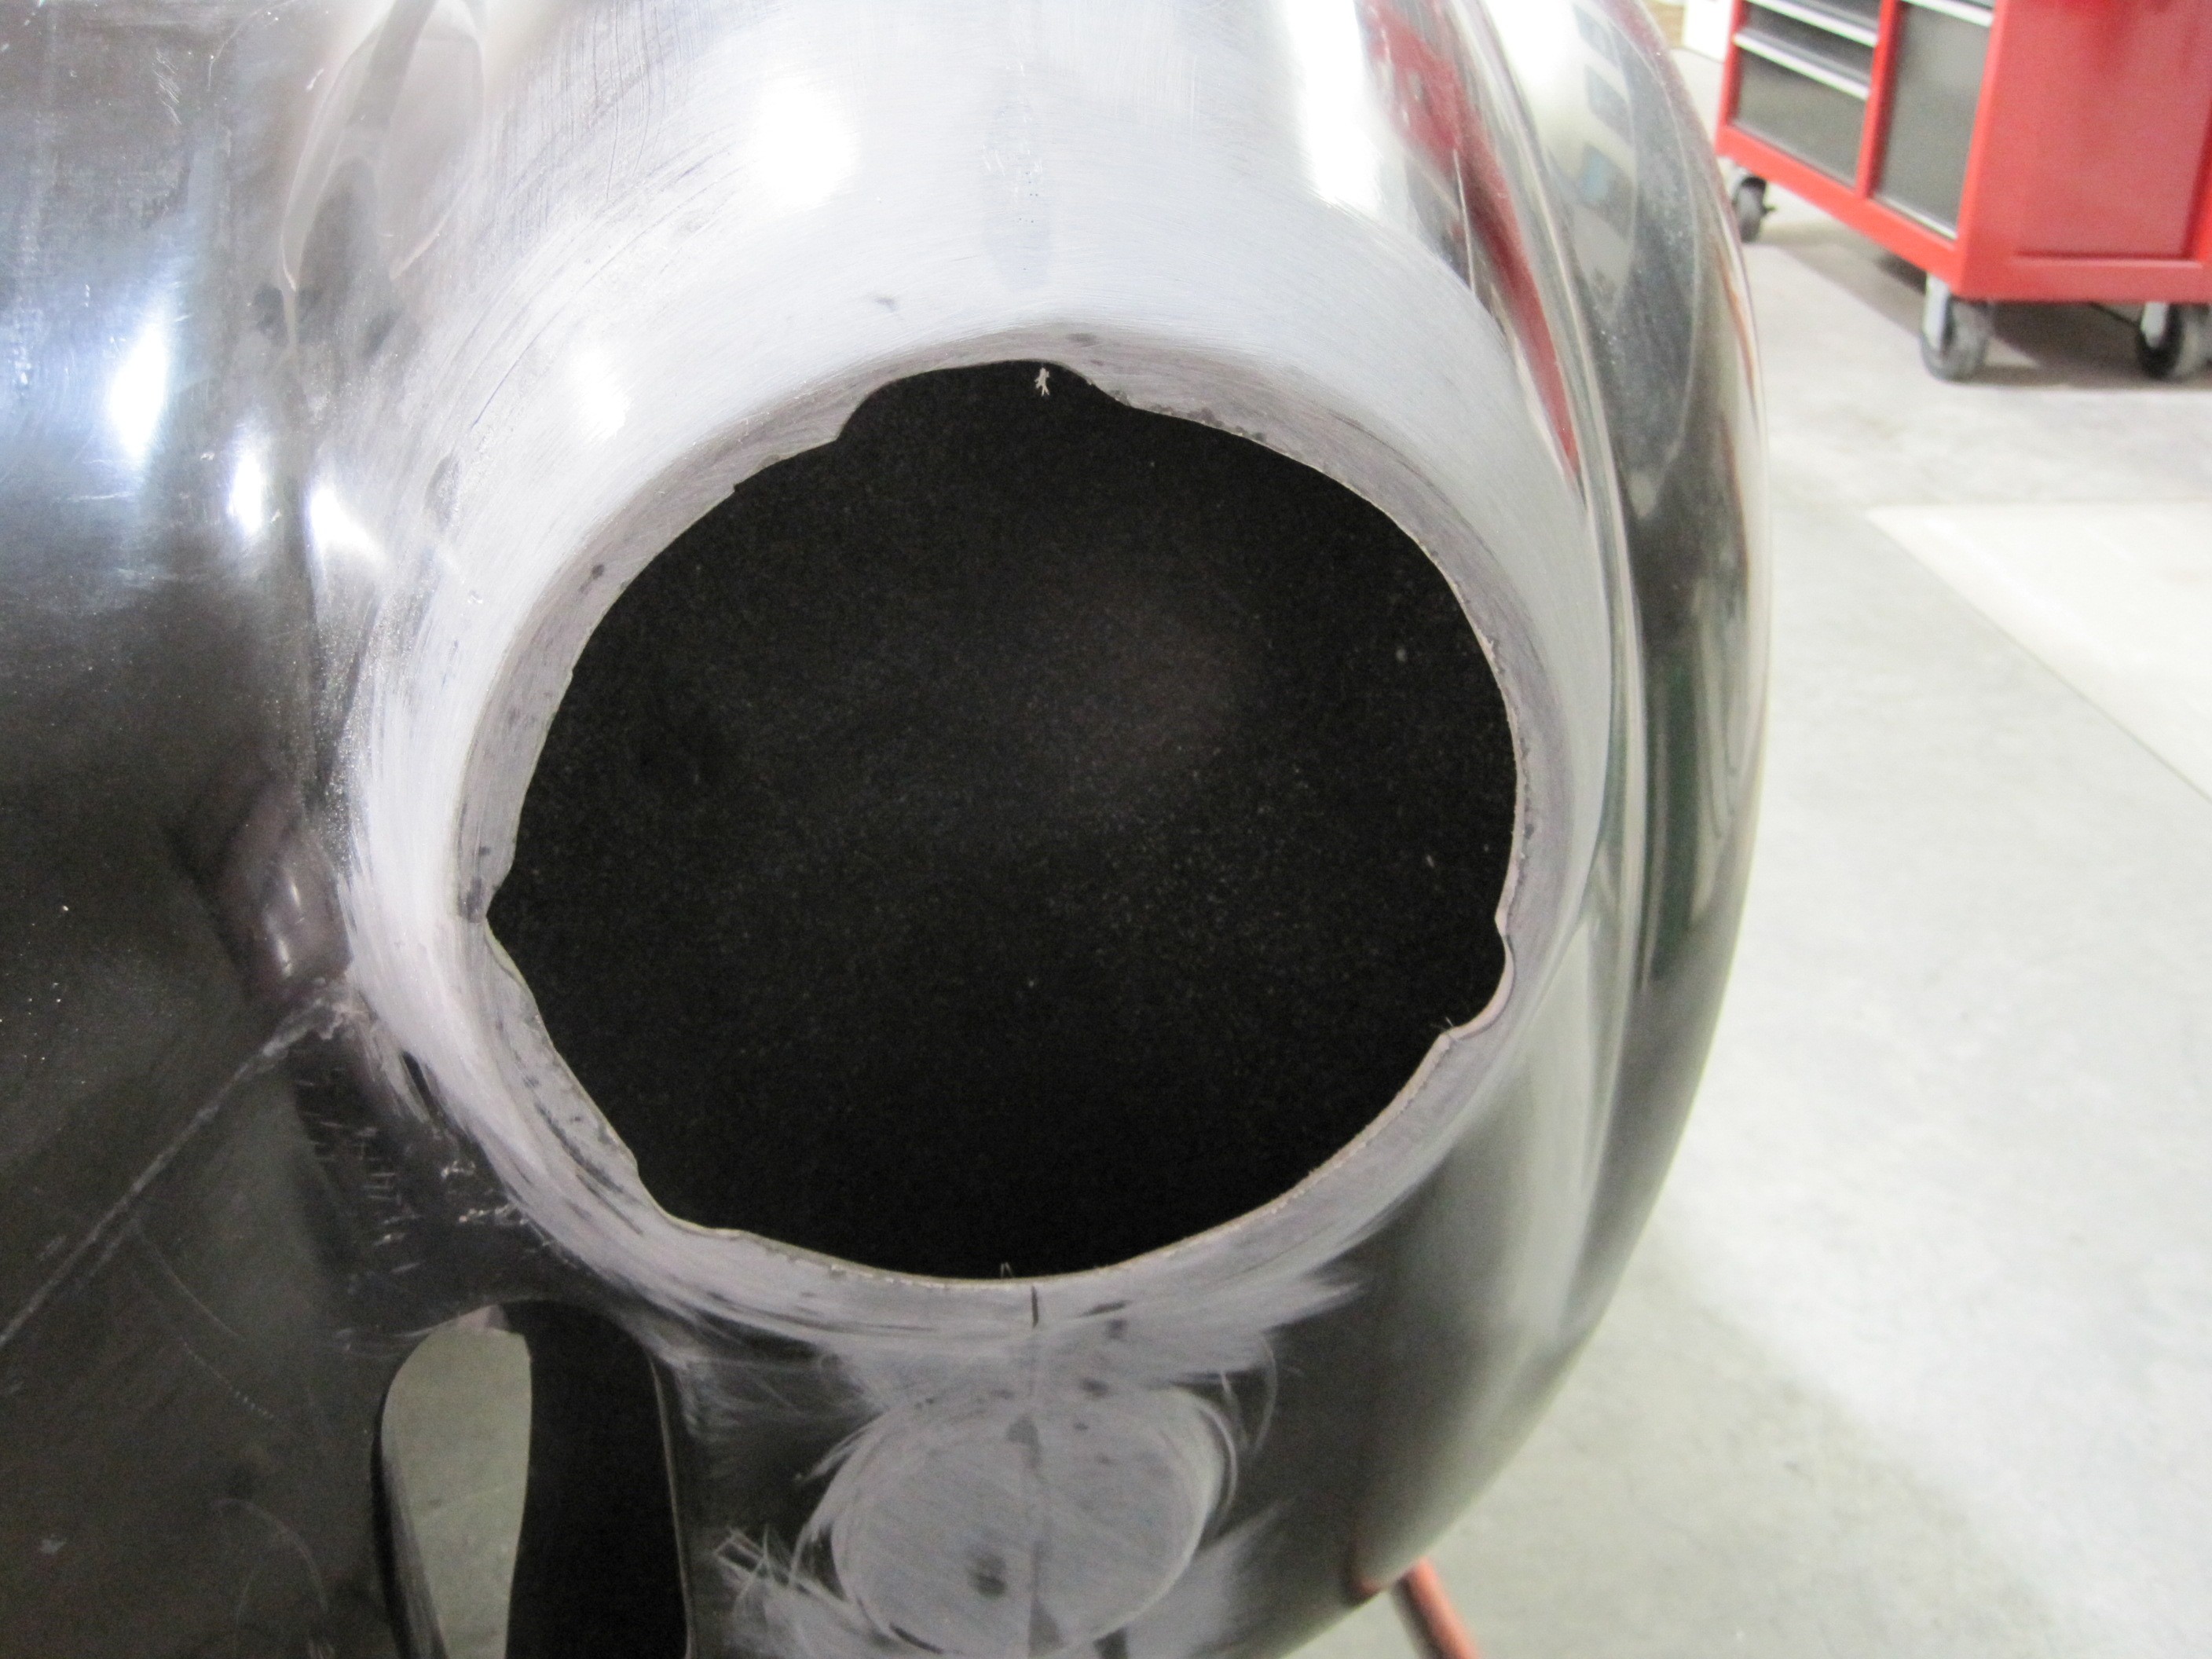
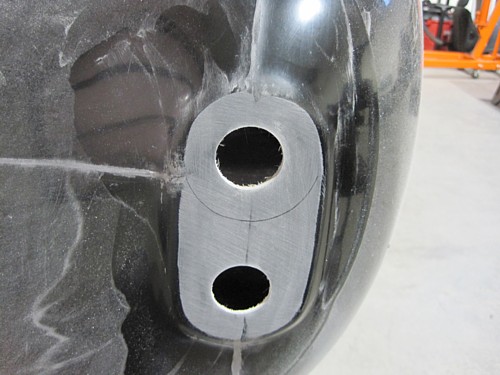
To aid in marking and
cutting the hole, I first sanded the area flat and I scuffed up the gelcoat.
I then layed out a circle in the center of the opening that matched the
diameter of the headlight housing.
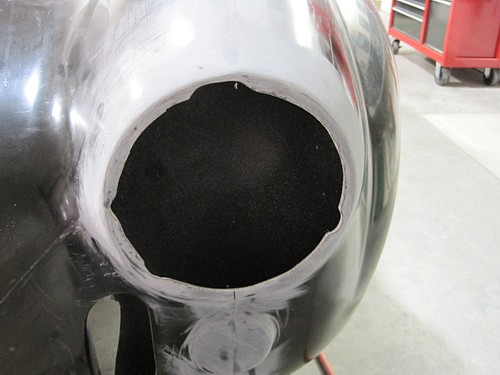
I cut the circle out with a sabre saw and then marked the indentations for the fixture. I used my
Dremel tool with a grinding bit to cut out these areas.

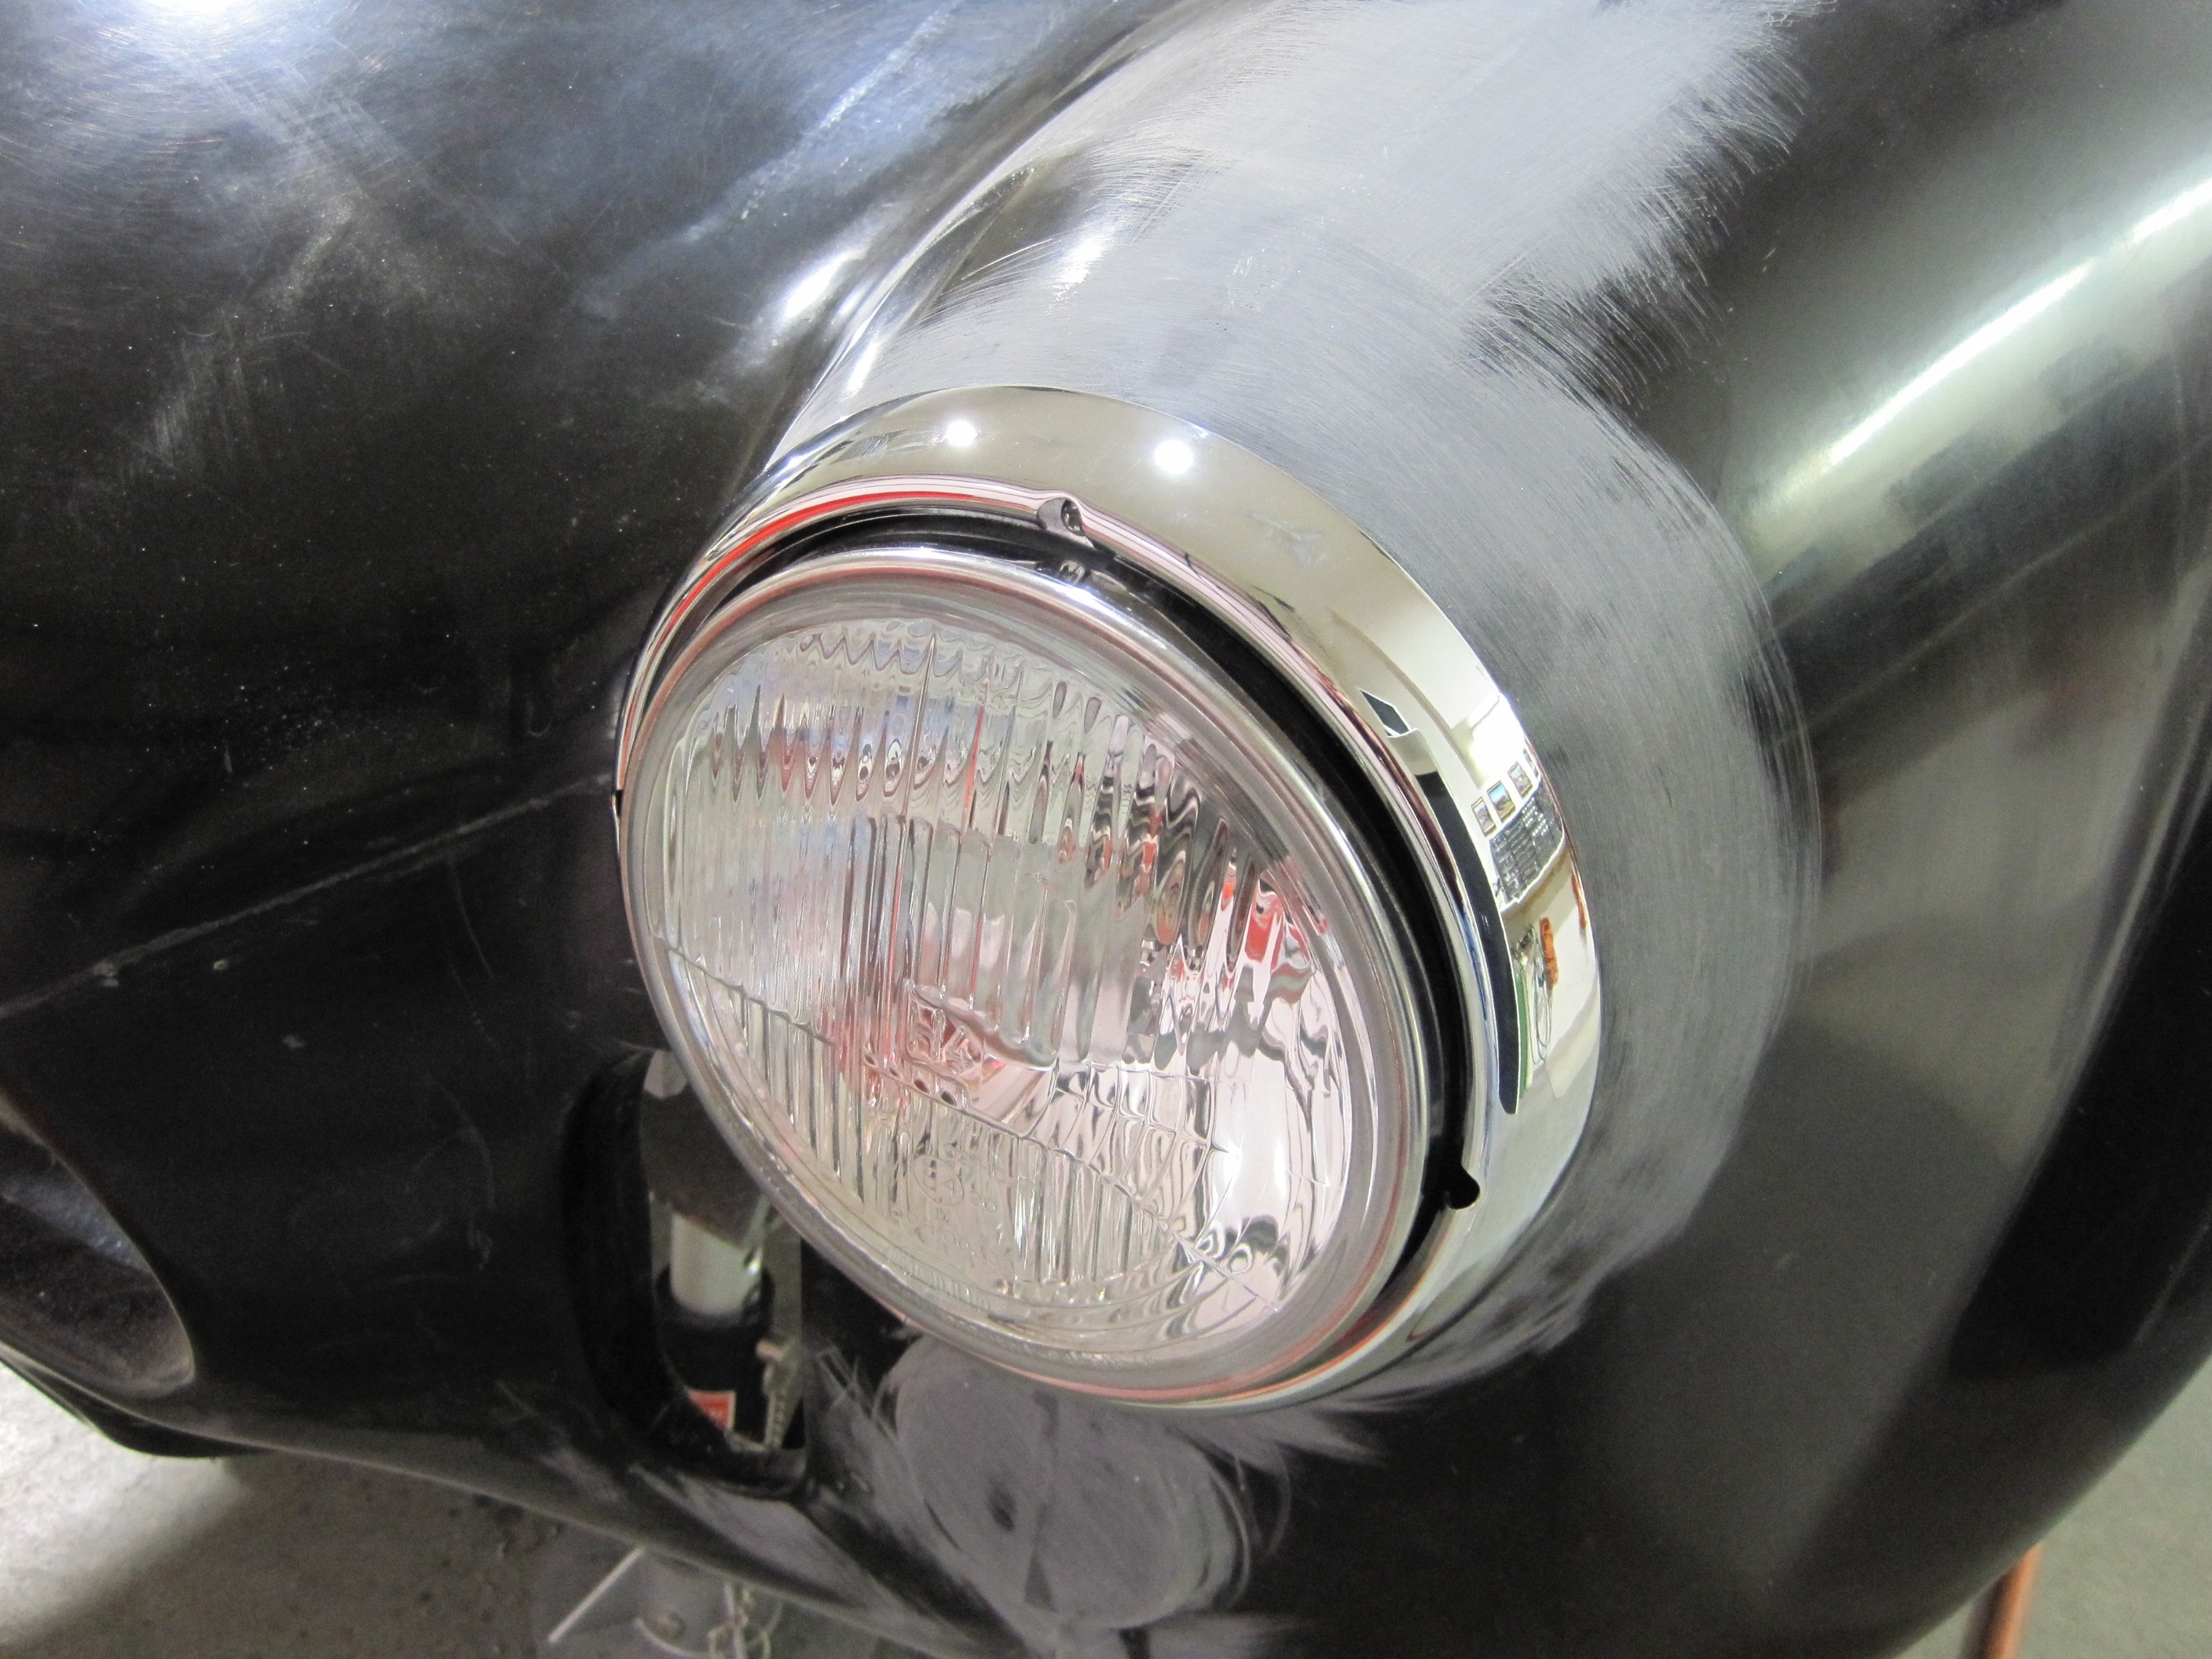
The light fixture fit
right in. It it held on with self-tapping screws into the fiberglass.
Make sure to drill a pilot hole first otherwise the screw will crack the
fiberglass as it goes in. Also, I only installed three of the eight
screws for now and will wait until final assembly to install all of them.
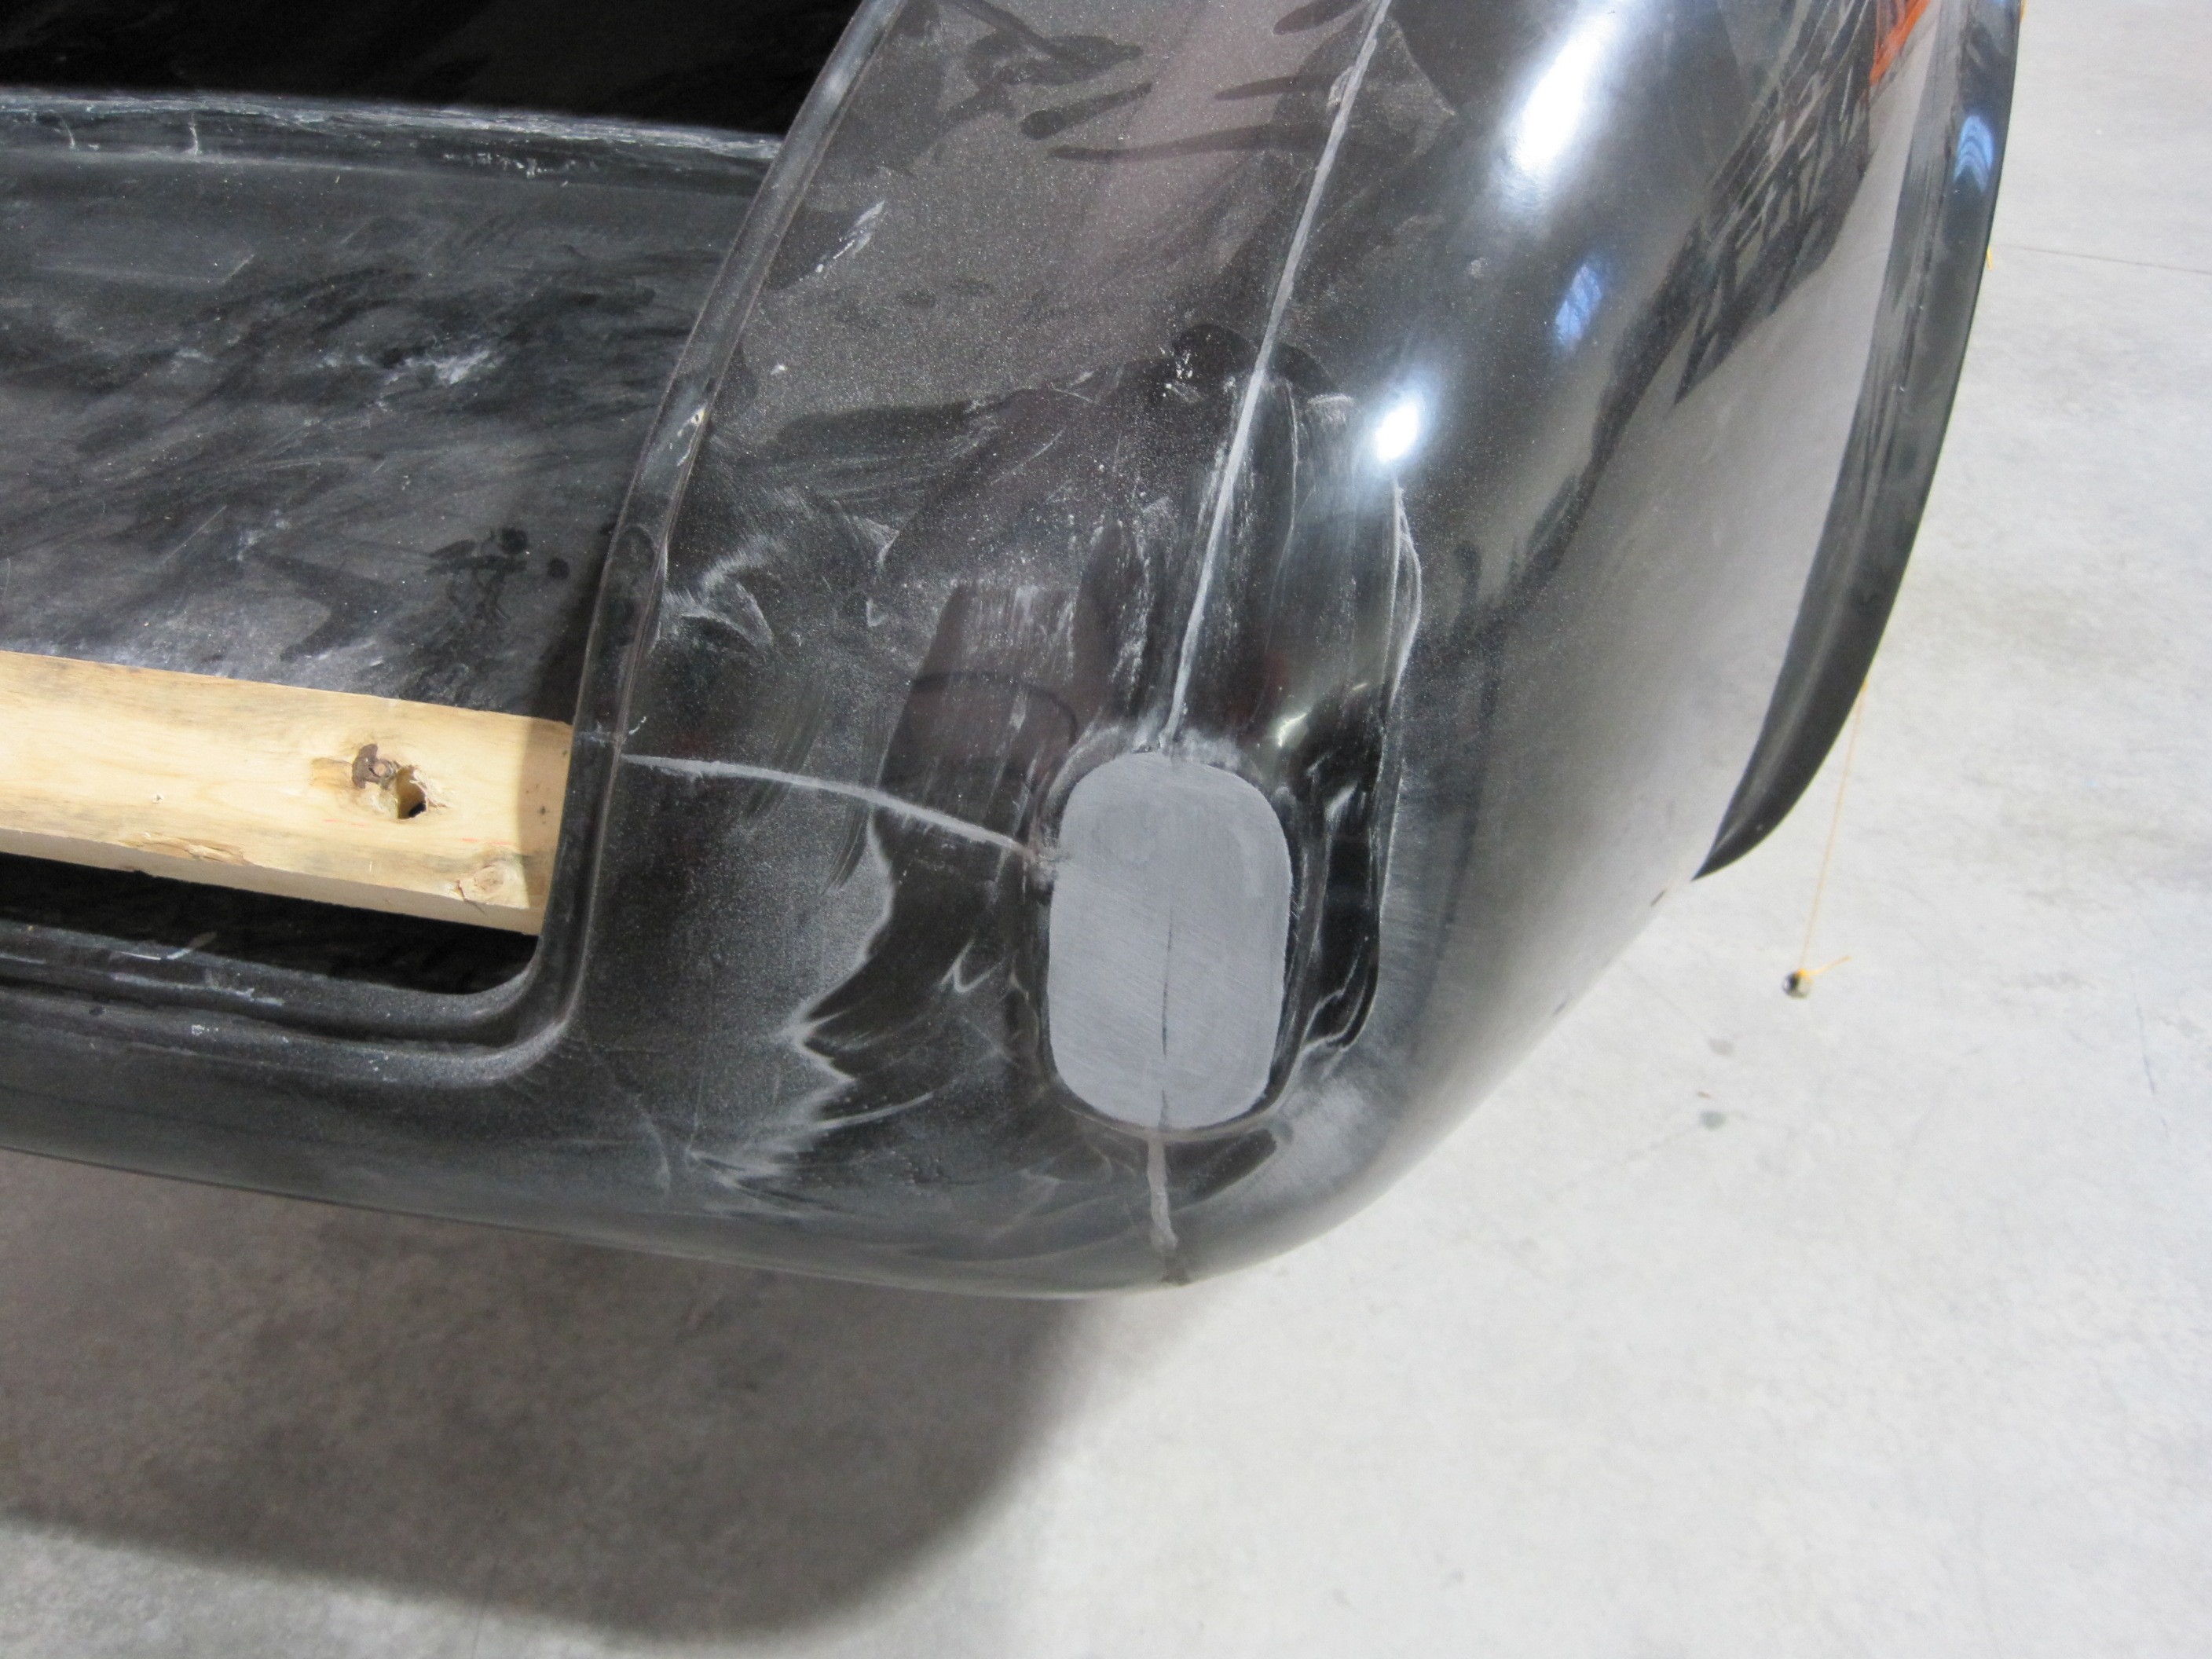
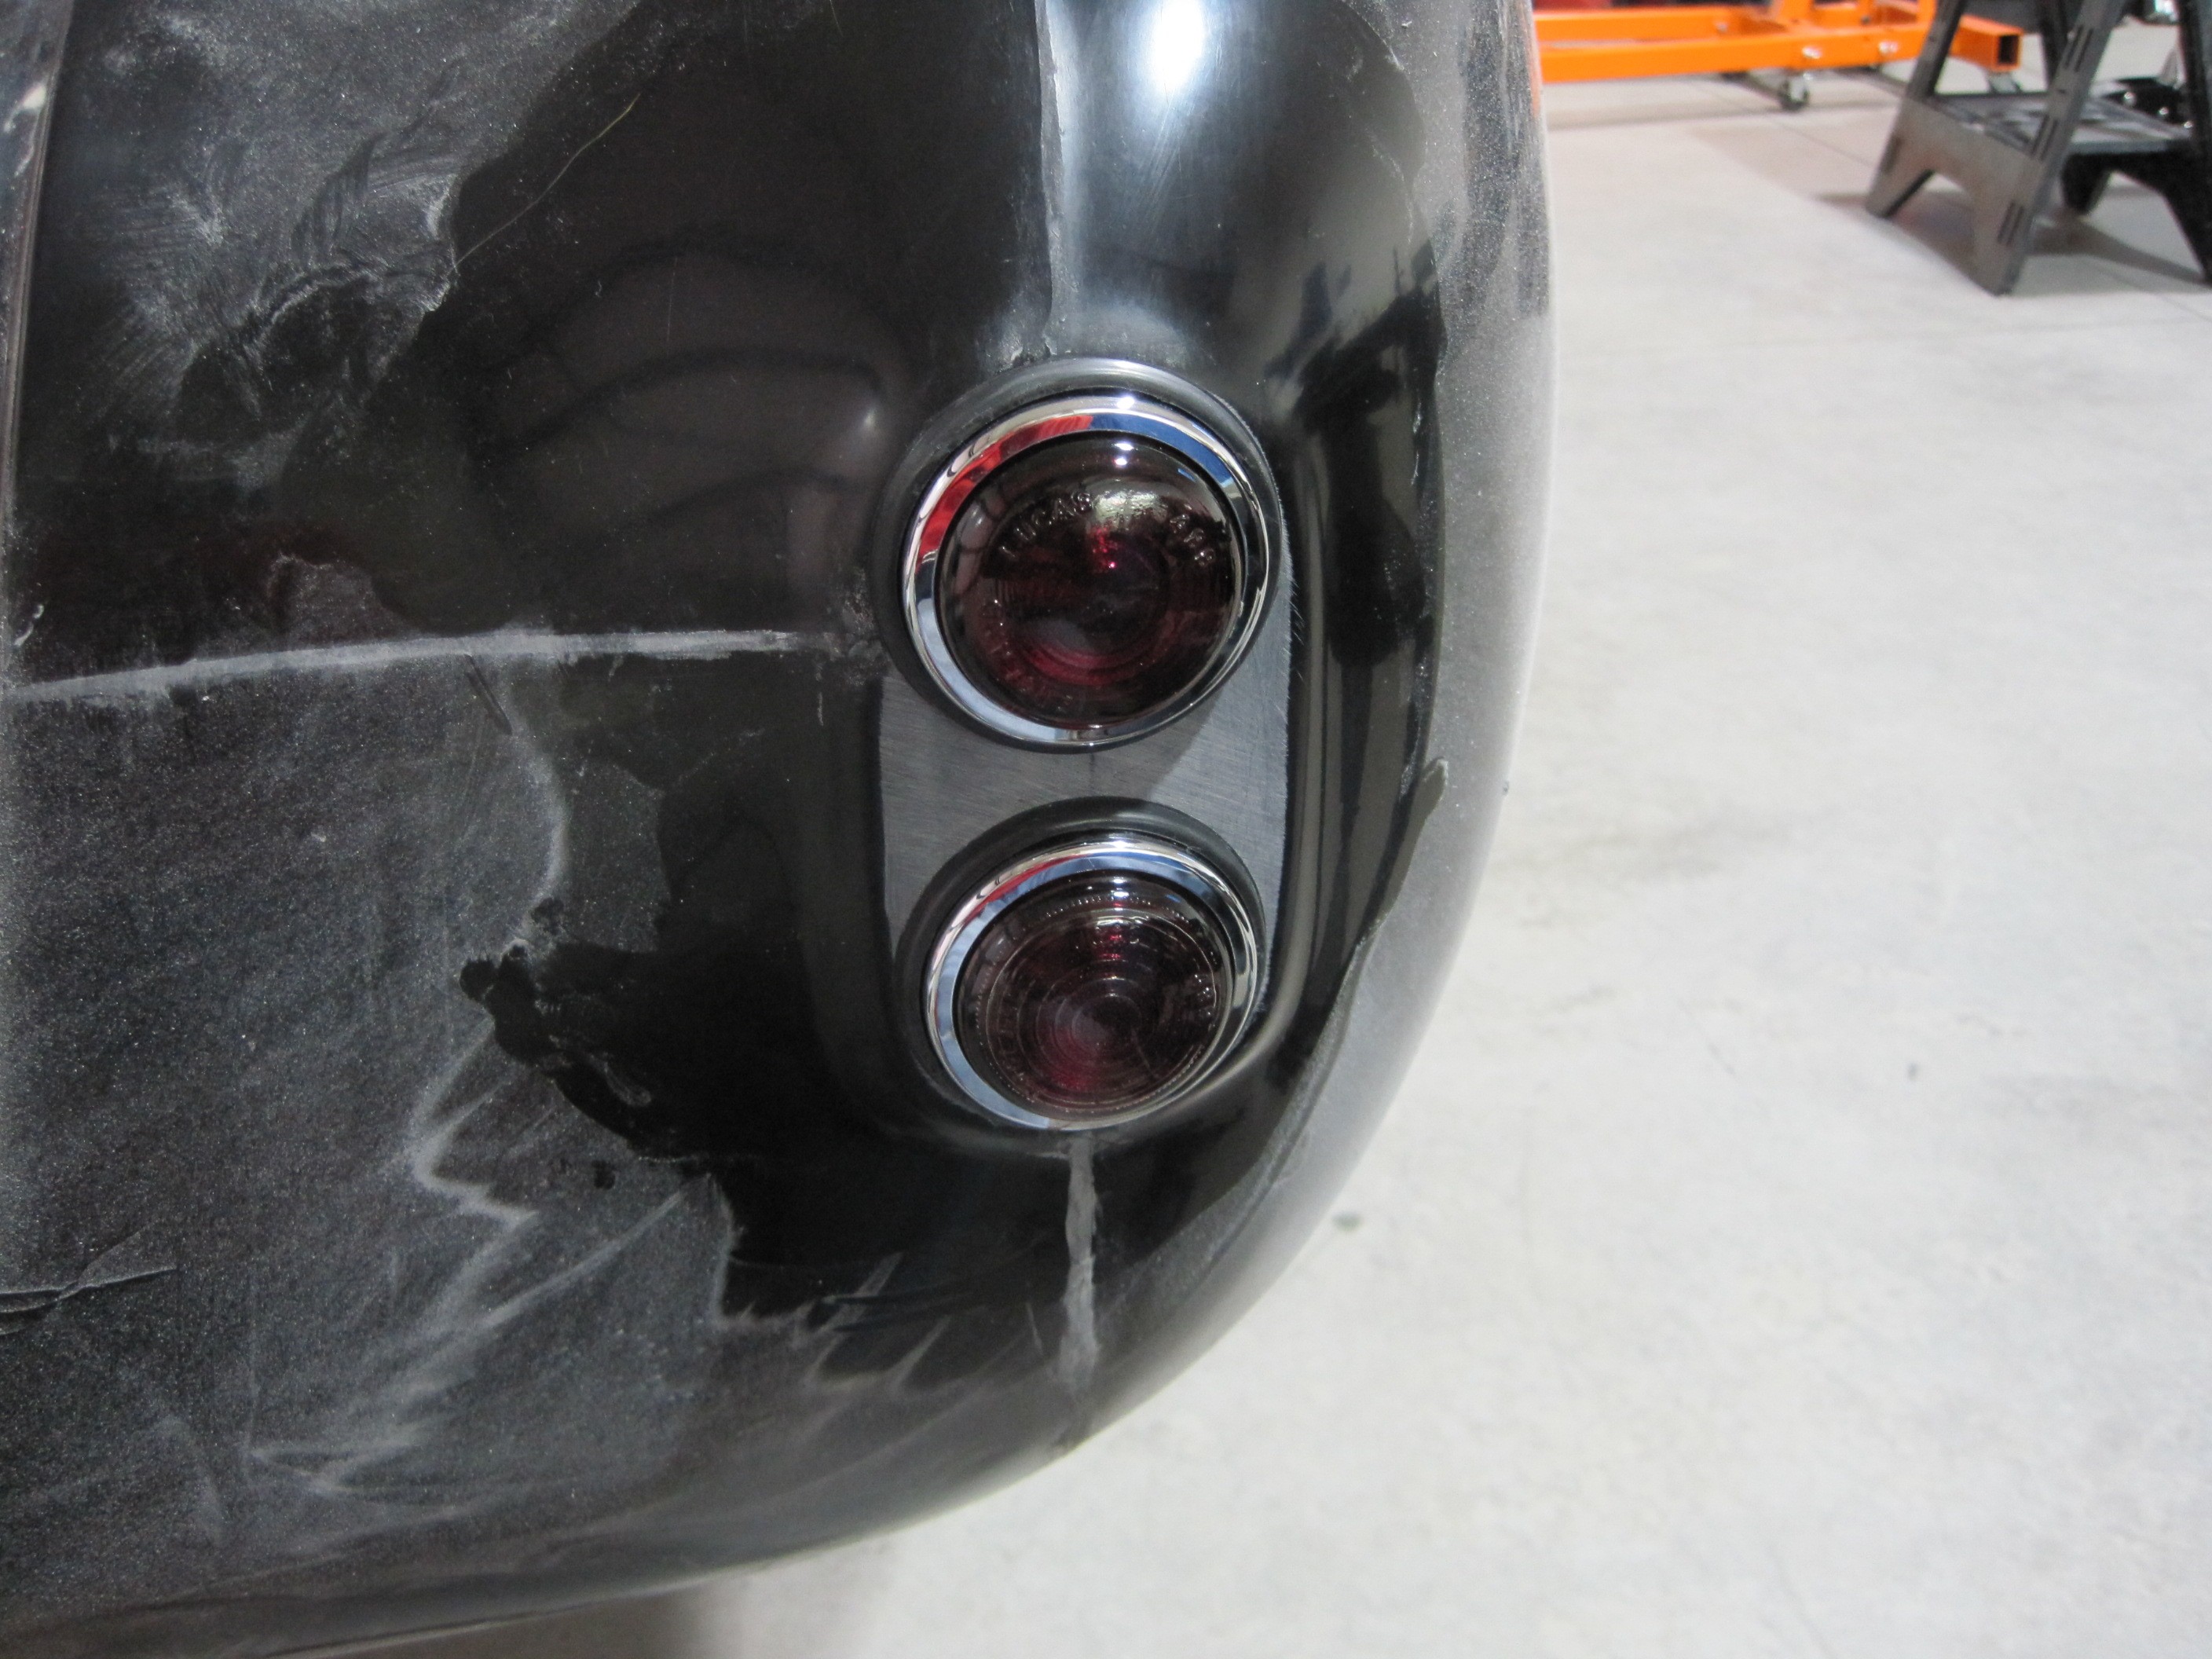
Running Lights
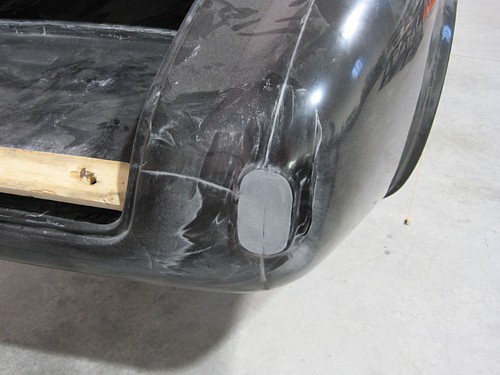
To get the tail lights
centered in their opening, I first sanded the area flat. I laid out a
circle the approximate size of the light fixture and used it to find the
location of the center hole.
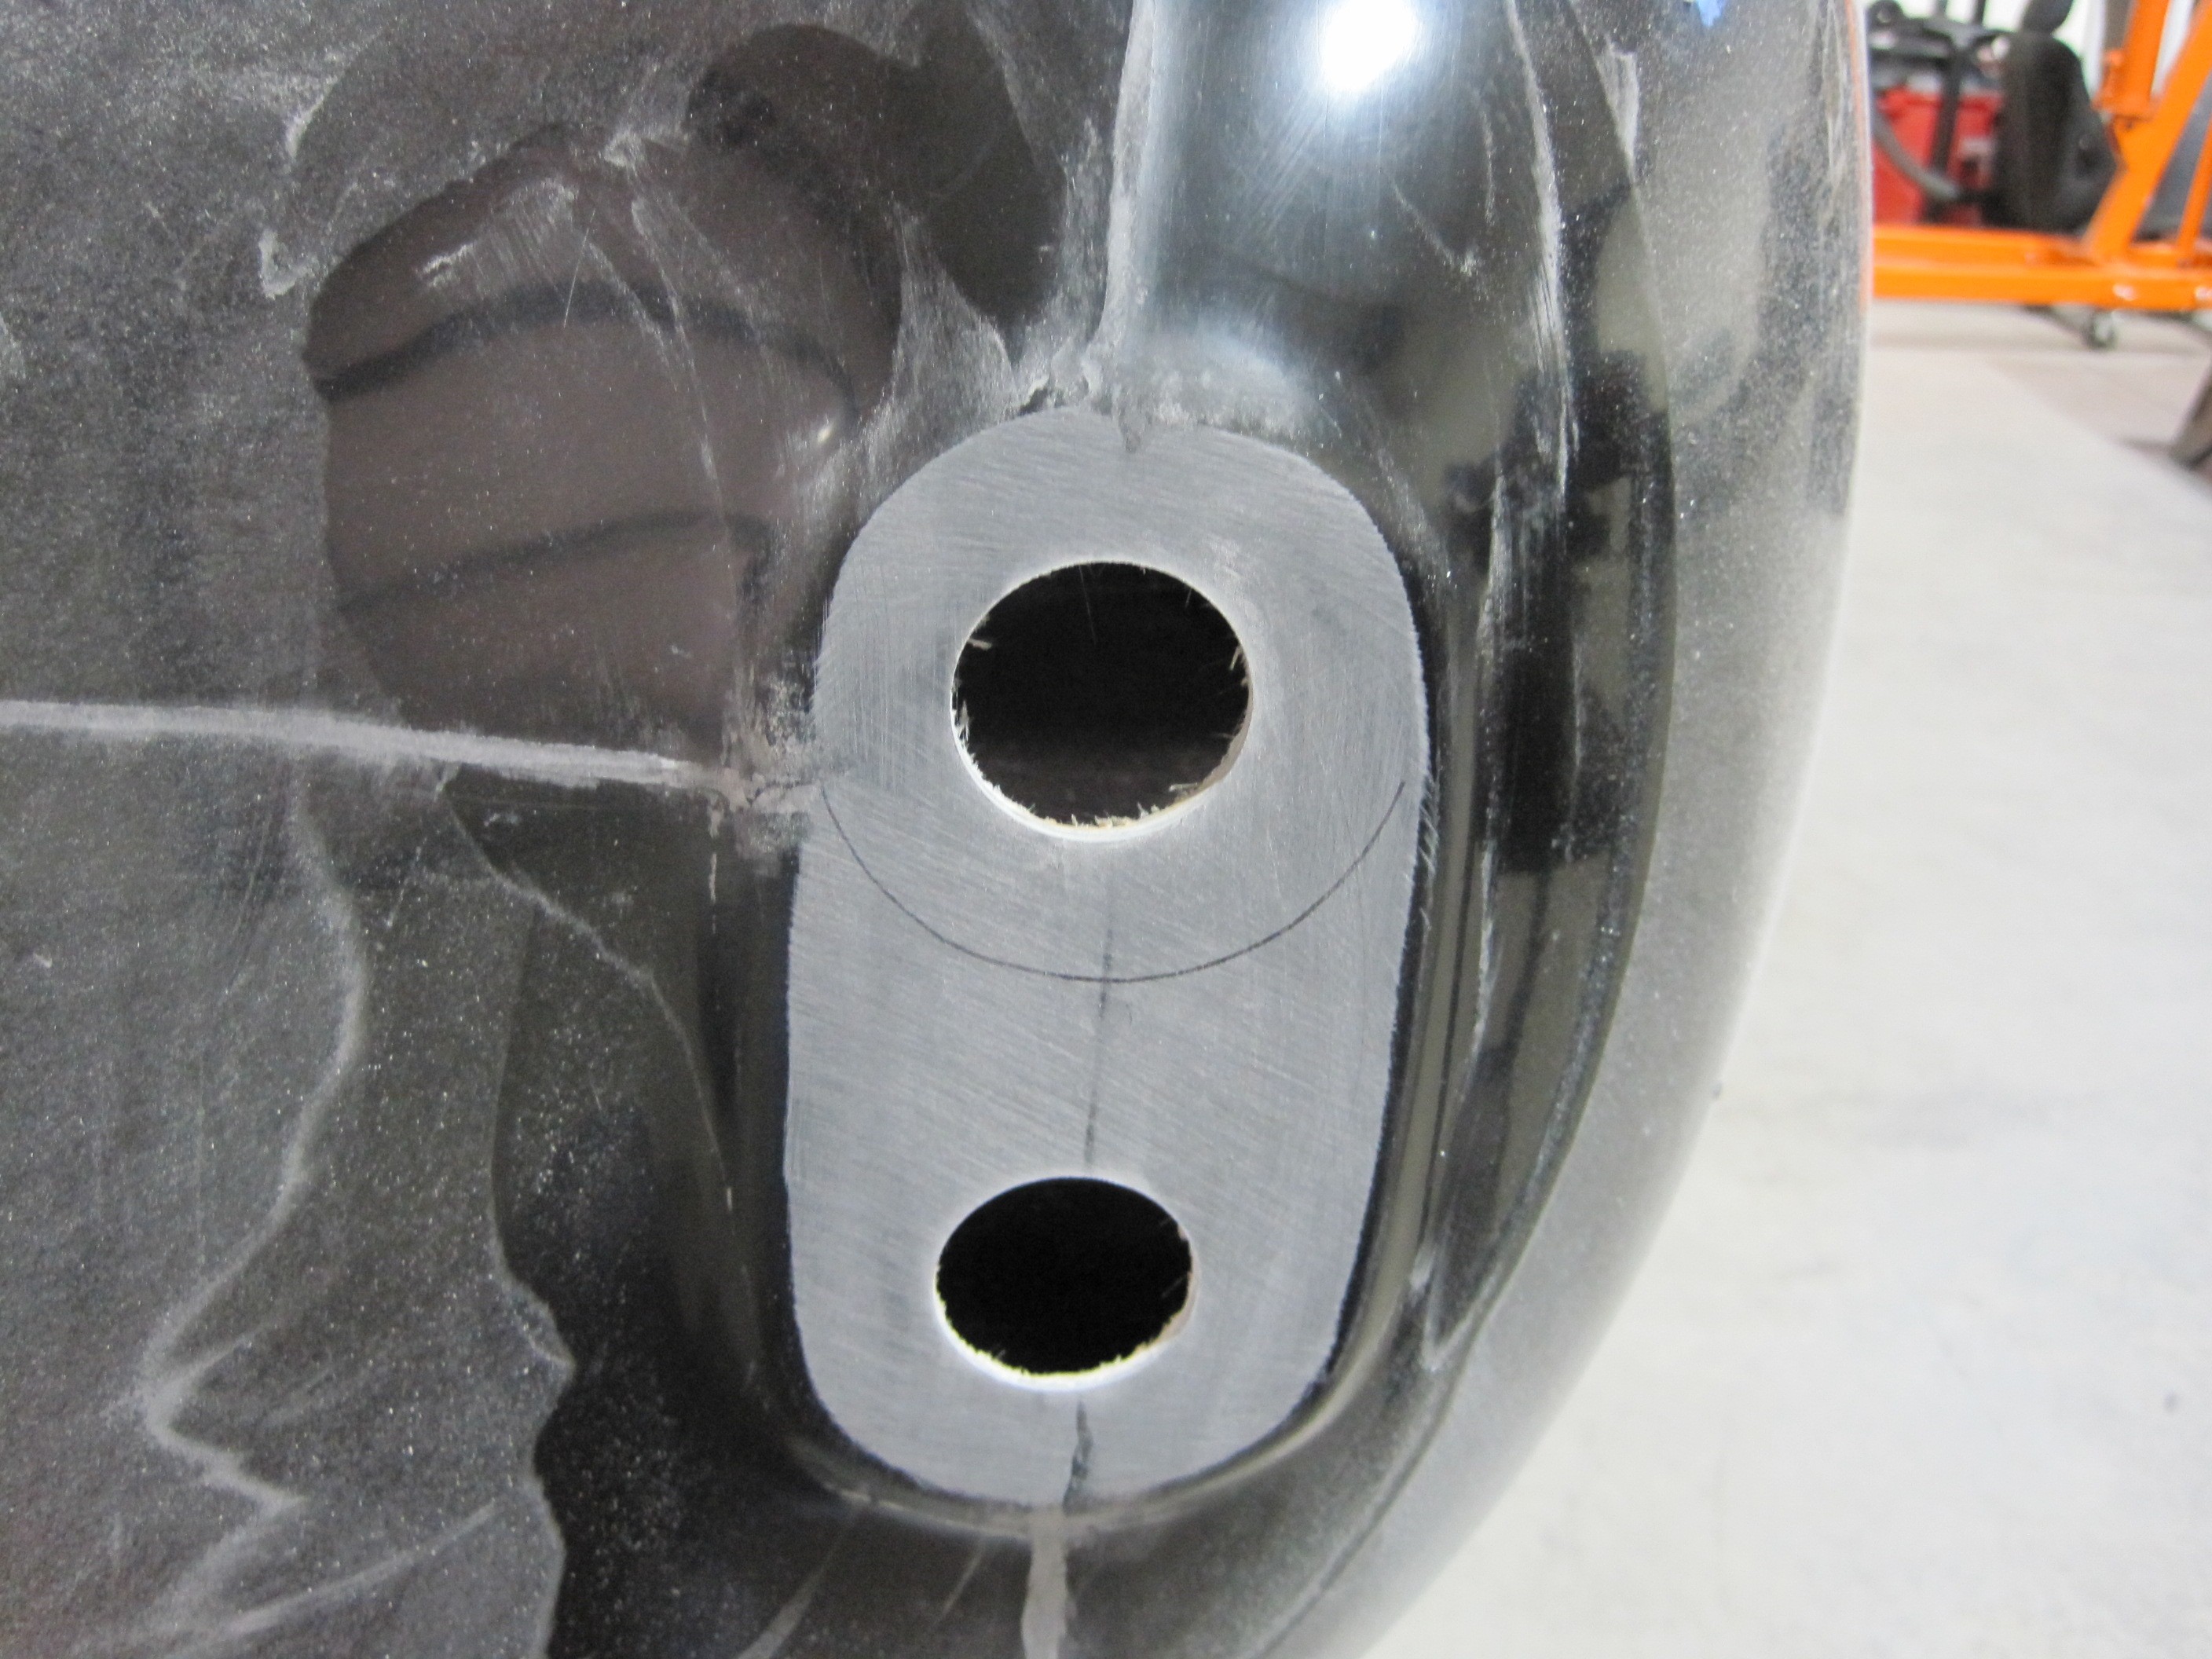
Using a hole saw, I
drilled out the opening for the fixture itself.
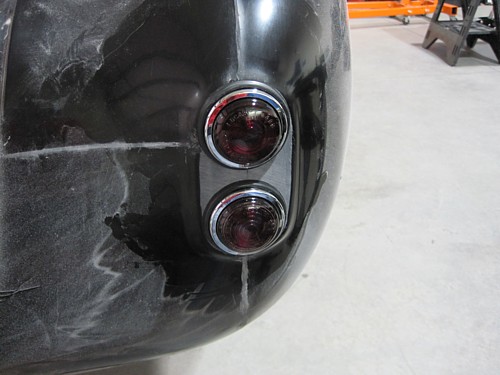
From there it is a
simple process of mounting the fixtures using self tapping screws and
re-attaching the lenses using the rubber mounting flanges. The front
lights are mounted in exactly the same manner.
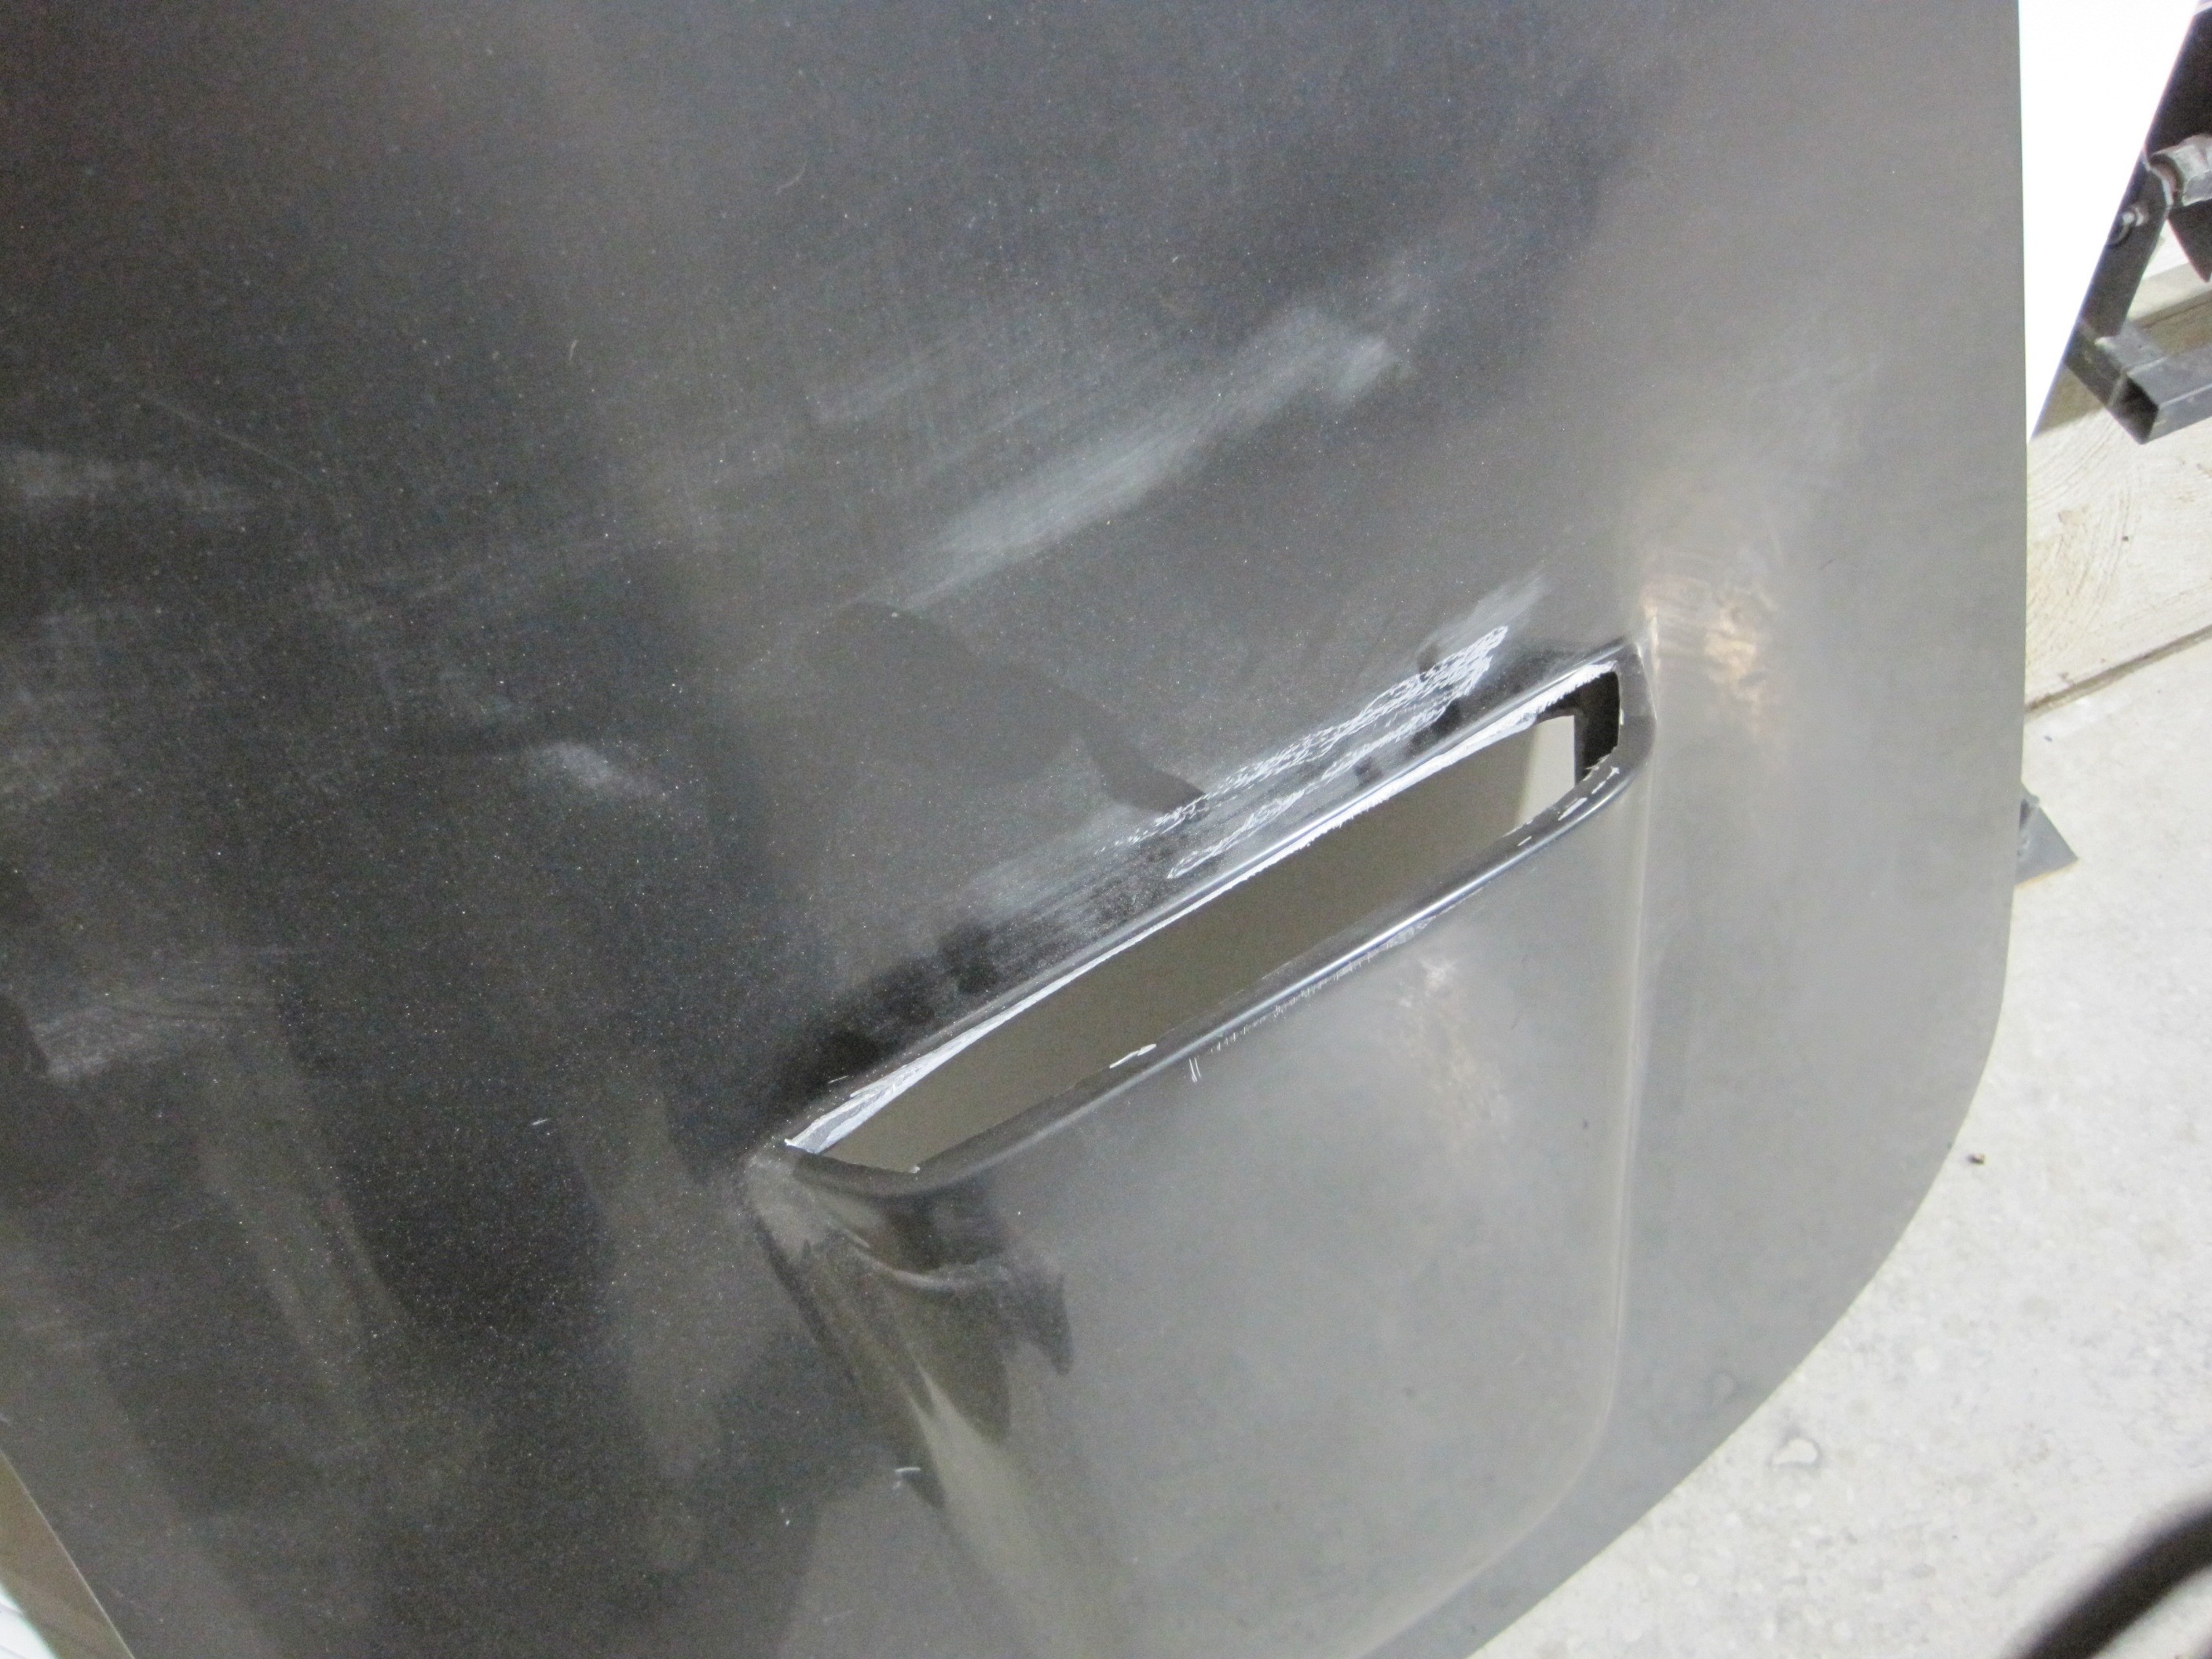
Hood Scoop

While fitting the body
and positioning the radiator, the scoop was fitted. I cut the front
opening roughly and used it to see inside to position the hood.
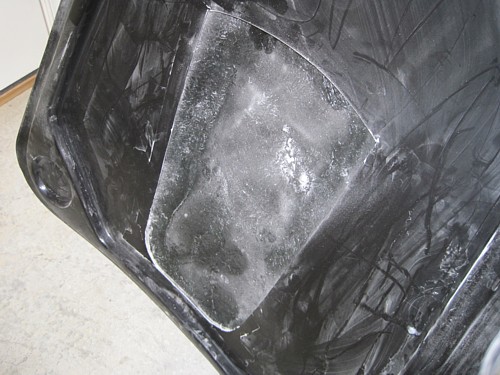
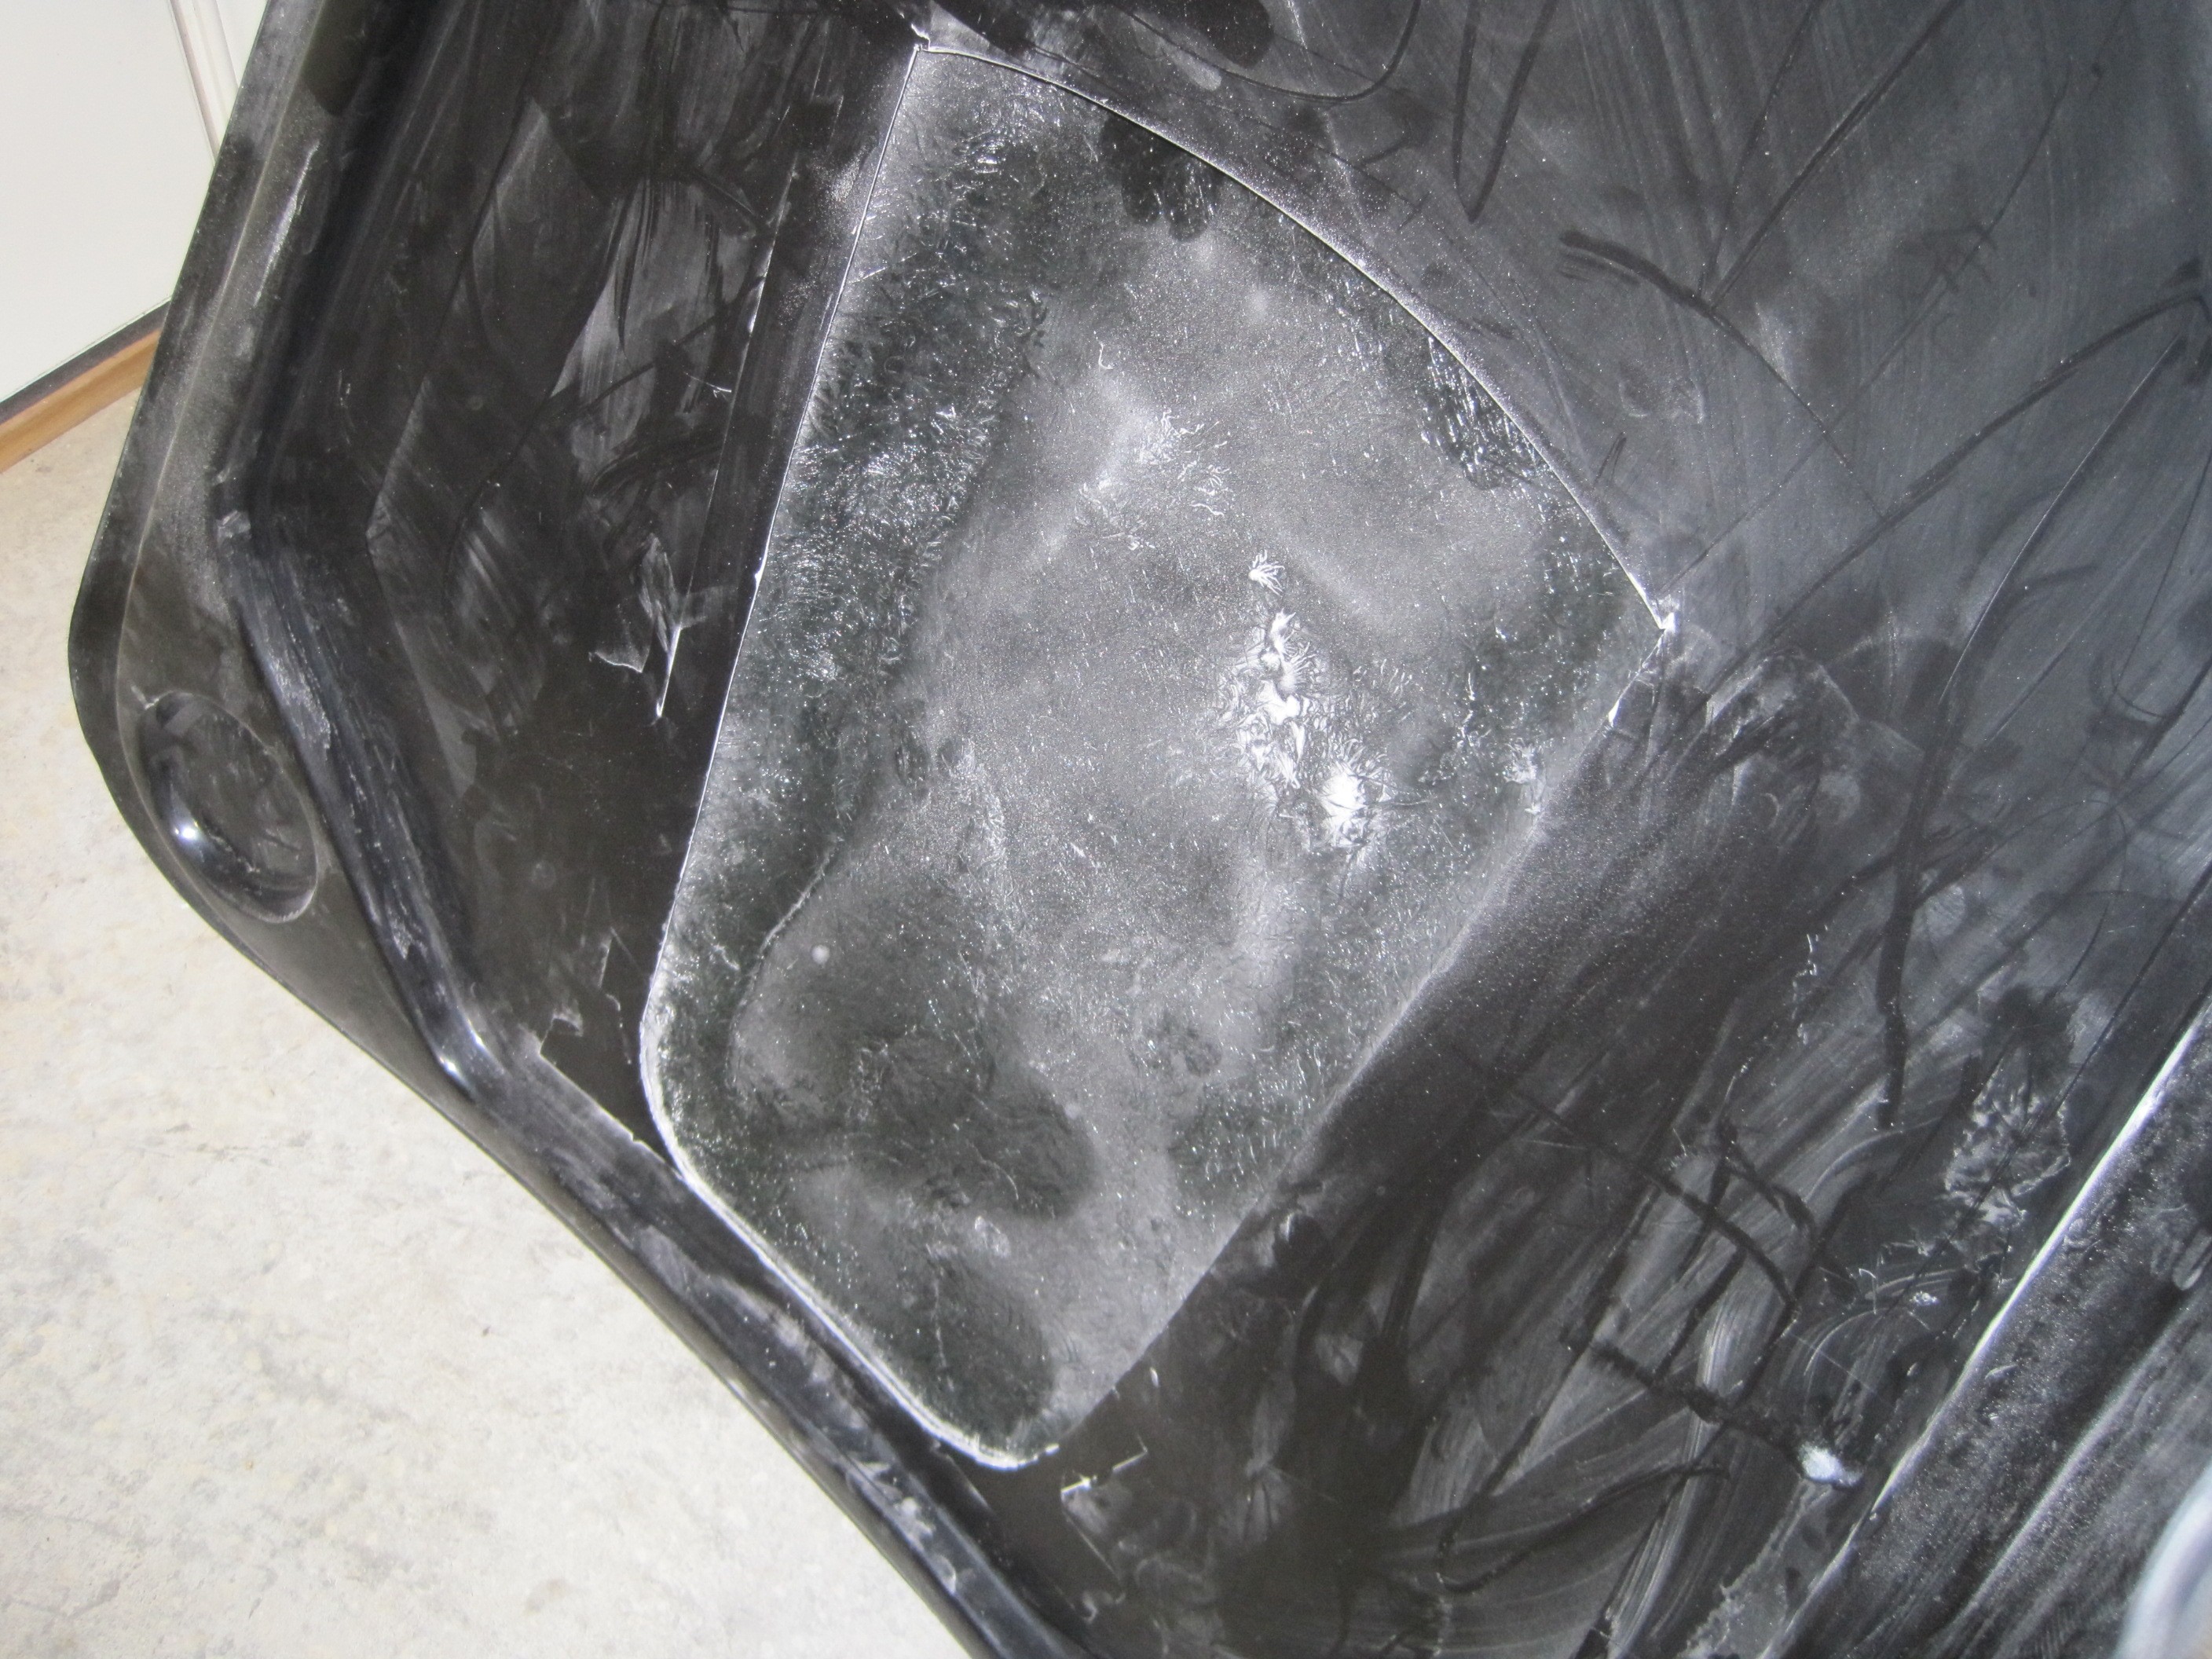
I determined that my
engine sits too high and that the inner liner of the hood interferes with
the air filter. I cut the inner liner out from around the scoop area
to get an initial fit.
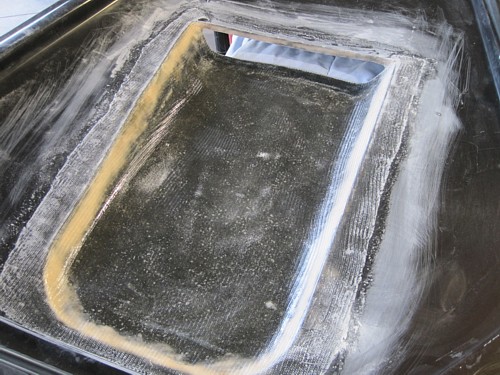
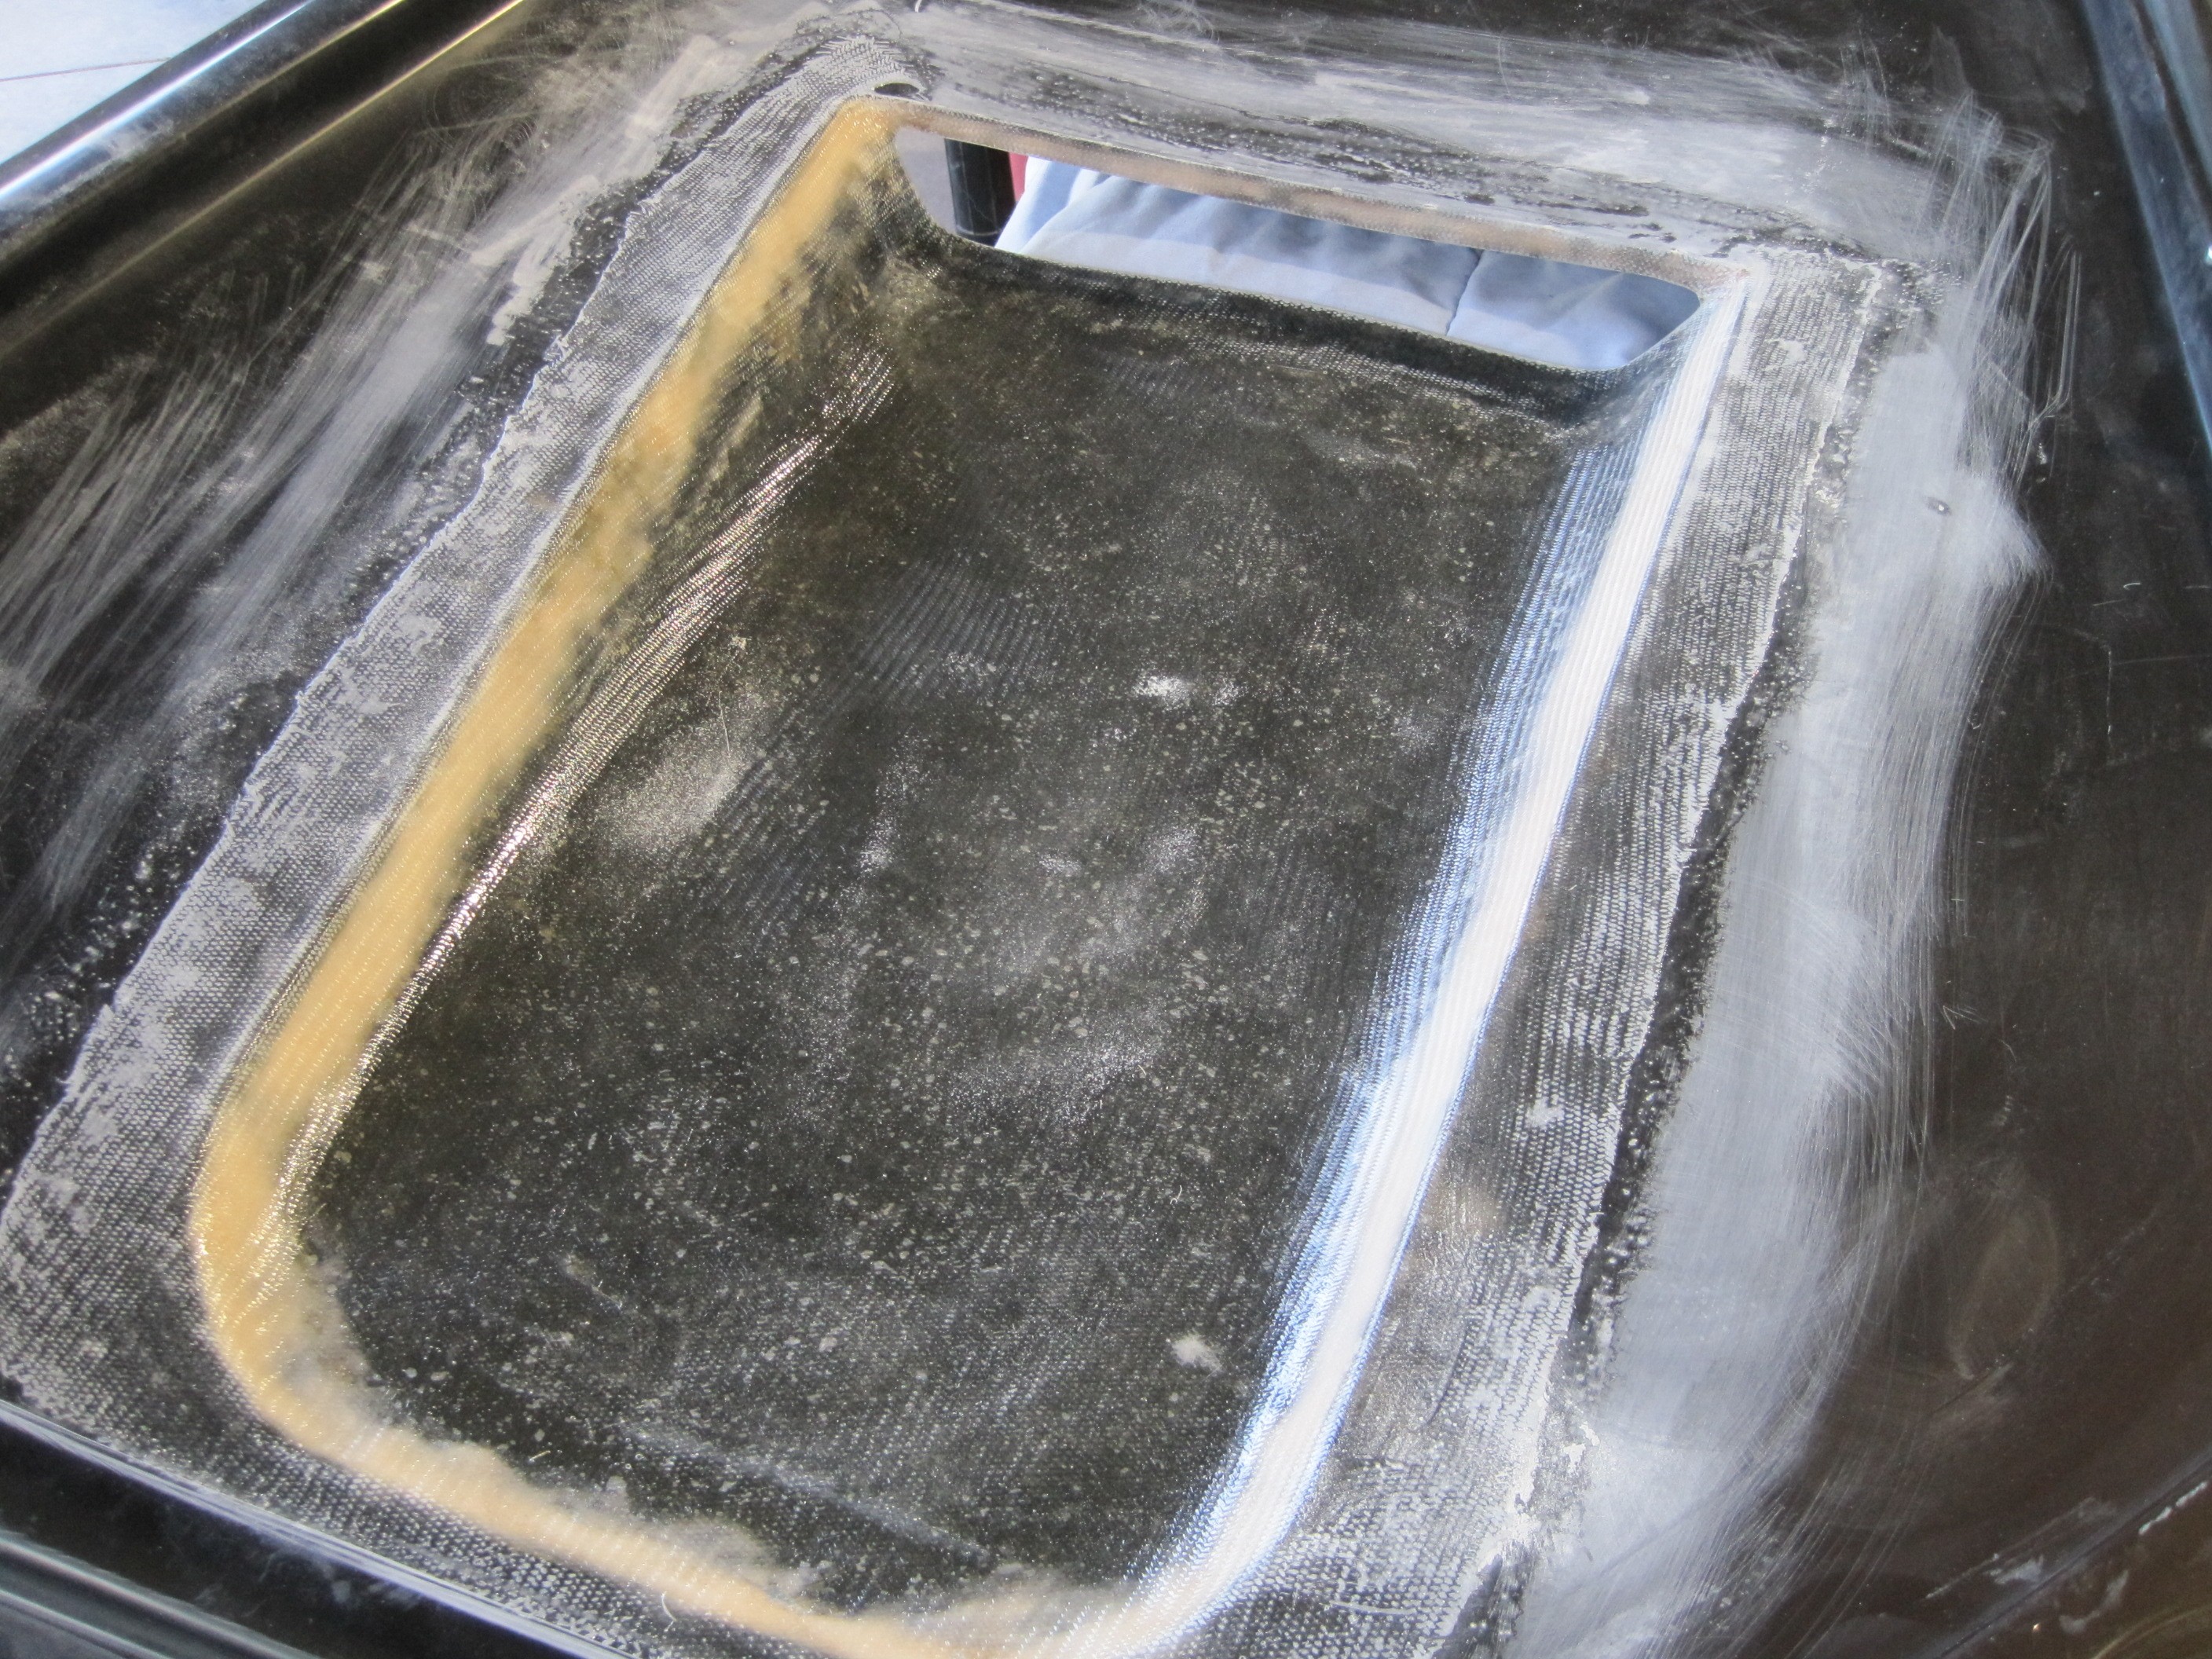
I filled the corners
with micro-filler and applied one layer of fiberglass cloth to the scoop to
hold the inner and outer liners together. The body guy will finish
this up during the paint process.
Next step is to
install the floor pans into the cockpit area of the body. That work
begins on the next page.
|