|
|
| Home-->F1 Rocket Project-->Rig/Final Assembly Page 5 |
|
SITE CONTENTS
Please send your comments and suggestions to:
Copyright © 2002-2005 by
|
Links
on this page: Throttle Cable Bracket Center Tunnel Support Angles Cockpit Lighting Finish Interior |
|
|
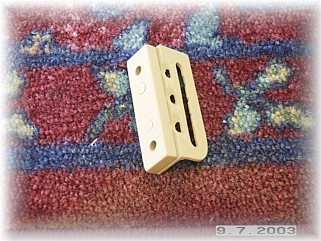
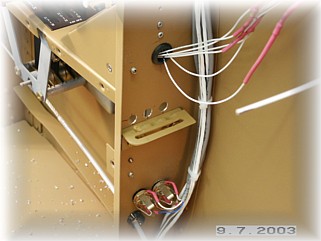
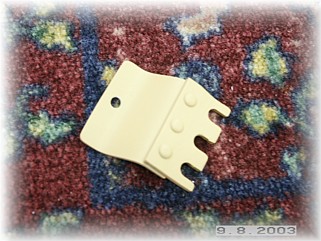
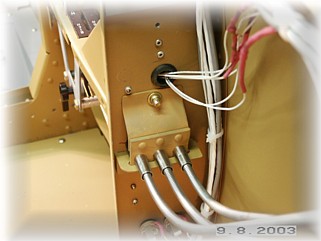
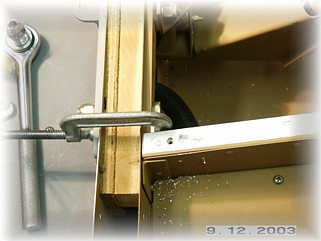
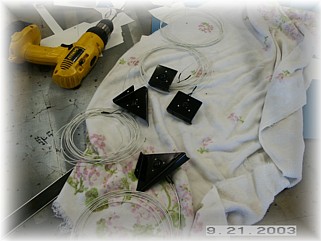
After looking at several different options for holding the engine control cables in place, I decided to make a couple of simple brackets to do the job. The first bracket is an angle and a spacer. This allows the bracket to fit up against the rubber grommet on the control cable. I used a milling bit in my Dremel to cut three shallow indentations for the grommets. On the DJM throttle bracket, the cables are only .6" apart.
The second part of the bracket is one that slips down over the cable housing and into a slot cut in the first bracket. One bolt is all that is needed to secure this bracket. Normally, I would have made this out of one piece of scrap, but I didn't have a thick piece large enough. The thick piece is the same thickness as the slot that is cut into the cable housing. So I just used some other scrap to complete the bracket.
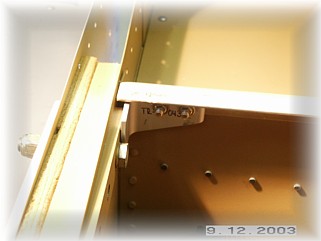
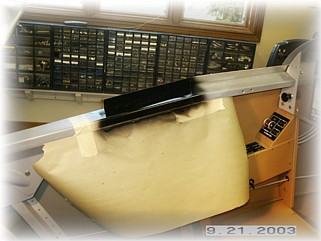
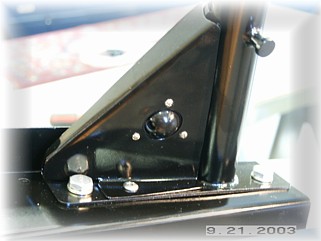
The plans very specifically state to not mount these two angle support for the center tunnel until you have the wings mounted. However, I couldn't see a problem with mounting them just to the tunnel angles now. I did not drill the hole for the spar bolt. I will wait until the wings are on to so that, but I did mount them to the tunnel angles. Again, it is much easier to do this now, rather than wait because of the difficulty in getting drills and drill bits in this tight space.
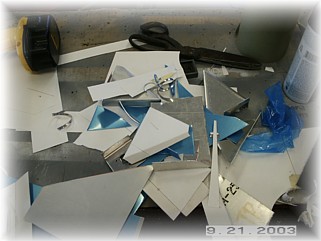
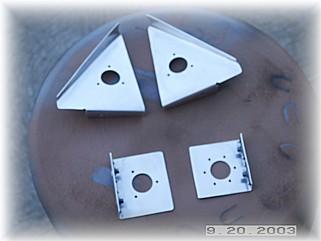
I intend to make my instrument panel/cockpit lighting very simple. I went to a lot of work installing a bunch of post lights and instrument lights in my RV-6. While they looked nice and worked well, I thought it was a lot of complexity given the few times they were used. This time, I'm using five little controllable spot lights to do the job. The first step, was to fabricate some brackets to locate the lights in the triangle of the windshield bow. I made about six or seven pieces before I got one to turn out the way I wanted it to look. I made a lot of scrape trying to get the bracket to look nice yet leave enough room for the wires and the light fixture behind it. I also made a couple of brackets to go underneath each canopy rail to shine down on the throttle and switch panels.
Once they were painted, I installed the fixtures and wired them up. I also removed the windshield bow and painted it and the canopy rail black. My overall interior scheme is to paint the canopy rails and instrument panel black.
This is what the upper lights look like installed. I have one of these on each side and they shine on the instrument panel. They provide a nice soft light that makes everything on the panel readable. It's a couple of months later and I'm back to finishing the interior. I've already changed my color scheme to limit the black a little more.
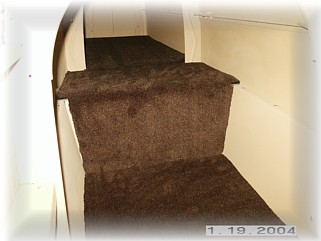
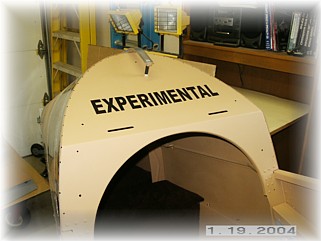
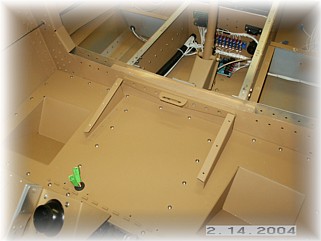
I'm at the point where I'm ready to install the windshield, but before I do, I must finish the interior. My first step is to install carpeting in the baggage area. I also reverse painted my experimental placard on the rear deck.
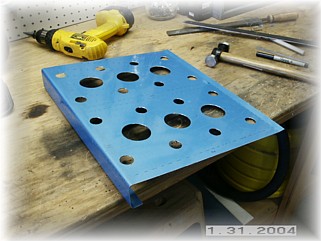
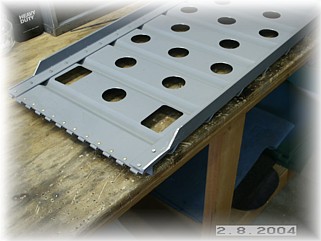
In order to get the proper fit in the butt for the rear passenger, the forward edge of the seat cushion needs to be raised about 2". I built a seat pan and three ribs out of scrap aluminum and fit them in place. I made the seat pan top removable with screws to the ribs.
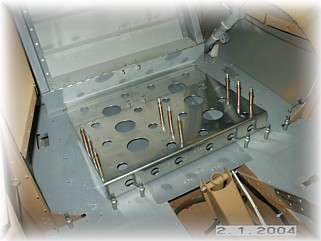
Here you can see that I riveted the ribs to the floor panels prior to installation. Once it was all painted, I installed the cushions and plugged in the seat heaters. Looks great. The only thing I have left to do to finish the rear seating area is install the side panels. I'm waiting for my harness assembly to arrive before cutting into the side panels.
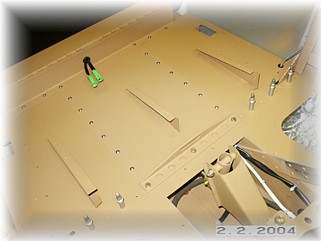
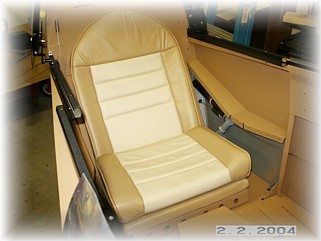
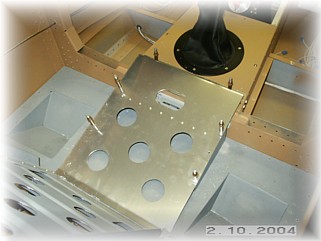
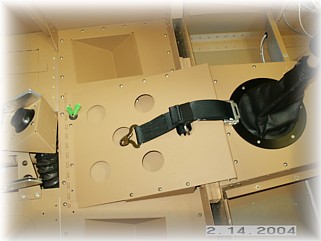
To fit the front cushions, I had to modify the front seat back to allow the bottom cushions to rest up against the back. I also drilled some lightening holes in the back to save a few ounces. I installed a seat pan to go up over the spar. On the front of the seat pan, I installed an angle, which is screwed to the forward stick bay cover.
Here you can see the two ribs that I made and riveted to the floor. With the seat pan installed, I went ahead and began mounting the restraint system. That work continues on the next page. |
||
|
|
||
|
"You haven't seen a tree until you've seen its shadow from the sky." - Amelia Earhart |