|
|
| Home-->F1 Rocket Project-->Canopy Page 3 |
|
SITE CONTENTS
Please send your comments and suggestions to: Copyright
© 2008 by |
Links
on this page: Side Skirts Rear Skirts |
|
|
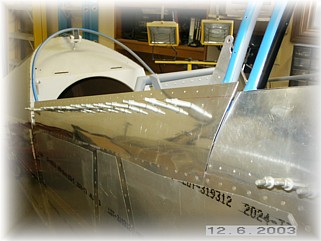
I gathered up the side skirt parts and began by fitting the upper hold down skin to the frame. Each end was trimmed per the plans.
I started work on the side skins and realized that I didn't have the proper flaring tool to bend the side of the skins to meet the Plexiglas. So, I ordered the tool and did as much as I could, a little out of sequence. I trimmed the side skin to match the cut in the end of the Plexiglas. Then, I trimmed the forward fuselage skin to match.
I went ahead and rolled the skins without the Plexiglas in place. I worked to get the right amount of roll in the skin to match the forward fuselage skin. I also trimmed the side skin for the proper overhand of the fuselage sides and used my small edge roller to put a little roll to the bottom edge.
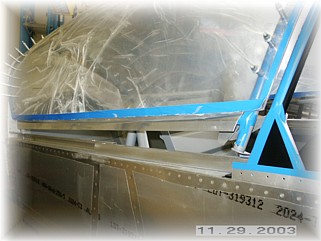
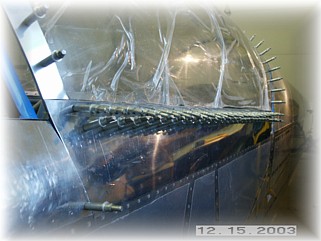
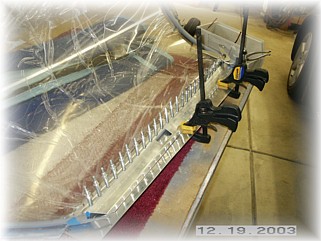
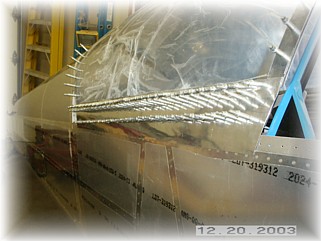
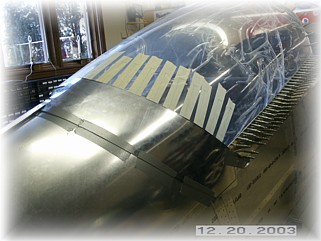
After I received my roller tool, I went ahead and rolled the top edge of the side skirt for the Plexiglas. One thing that I noted is that the inside piece that holds the back of the Plexiglas in place really effects the way the side skirt fits. I bent these pieces pretty aggressively to get them to conform to the shape of the Plexiglas. This helped to hold the side skin next to the Plexiglas. Before bending these inside pieces, the side skin would not fit up against the glass smoothly and was pressing very hard against the fuselage skin. I also deviated from the plans at this point to add a doubler across the front edge of the canopy. I did this on my RV-6 as well. I do not like riveting the Plexiglas to the frame directly, even the soft pop rivets. So I cut two pieces of aluminum and back drilled them to fit. This will give the forward edge of the canopy a nice finished look. The width of the strips is the same as the tube underneath it so no real visibility is lost. When I glass the windshield on, the glass strips will line up with these aluminum strips for a perfect fit.
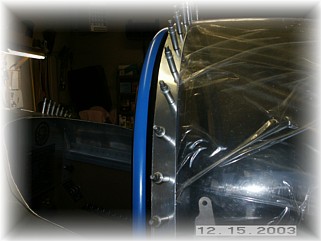
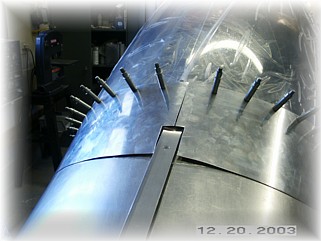
Next, I fabricated and pre-drilled the side skirt brace. This brace needs to be twisted rather significantly in order to hold the side skin in the proper place. I had to twist it and then re-bend the lower flange to sit flat against the skirt. Take your time here because this side brace is probably the most important part of the whole canopy install. When I had it fitting properly, I sat inside the airplane and drilled about four of the mounting holes into the canopy frame. I marked the lower edge of the brace on the skin, then removed the canopy to drill the tubing holes over on my bench. The drill bit wants to wander if you are not exactly in the center of the small tube so I found it easier to drill these on the bench.
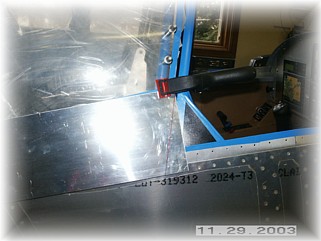
I then climbed inside and drilled the lower edge of the brace to the skirt with the canopy closed. My helper on the outside inserted clecos in each hole as I progressed. At this point, I made a few final adjustments to the side skirts by bending them in or out so that they just come into contact with the fuselage side as the canopy is closing. That's good enough for now. More adjustments will be needed once the holes are drilled to final size.
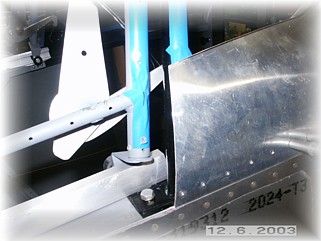
As Mark says in the plans, the rear skirts are the most visible parts of the canopy install. The fit of these parts is going to depend a great deal on the fit of the rear canopy bow in relation to the fuselage. First thing I did was to cut the skirt out along the front edge and smoothed the edge carefully. I also marked the rear mounting holes per the plans.
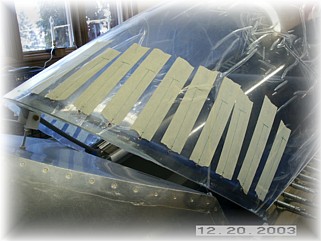
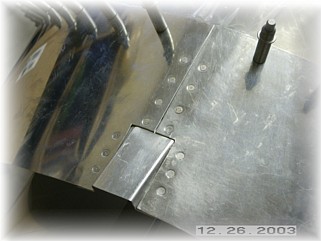
Over on the bench, I rolled the rear braces to get them in the right shape. I found that you can get the rear edge to lay flat if you put in a lot of diagonal roll into the bend. I rolled and rolled the skin across a 4" pipe to get the right fit until the skins fit WITHOUT being held in place with tape. Once I had them in place, I taped them down and drilled the holes per the plans. The result is a very tight fit without gaps. At the top, I trimmed the skins for a butt joint. When the track cover is riveted in place, it will hold the skins flat against the fuselage near the tracks.
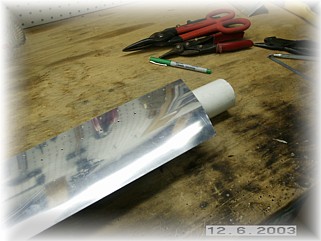
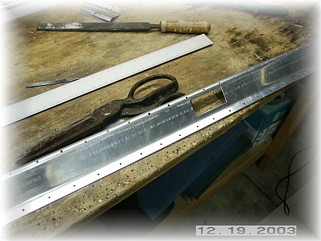
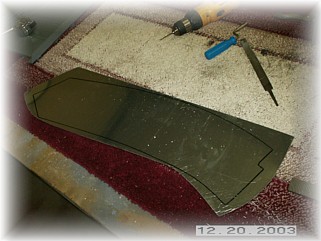
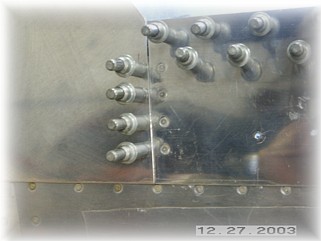
I made a track cover from some thin aluminum sheet. I had to make this part five times before I got one that was even and fit the way I wanted. Took me a blasted week to get this done. The final fitting of the rear skirts is the butt joint with the side skins. I went ahead and riveted the doubler plate to the side skirt for now. I will finish rivet this joint on final assembly. Next step is to install the rear latch. That work begins on the next page. |
||
|
"I
ask people who don't fly, "How can you not fly when you live in a time in
history when you can fly?" |