Hood

Prior to fitting the
hood, I mounted about 8 pieces of the rubber molding around the perimeter so
that I could take that into account while aligning things.
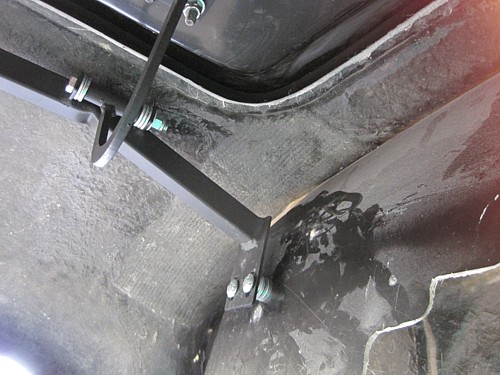
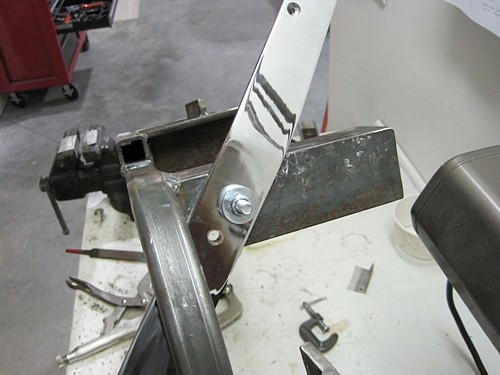
I then bolted the
hinges to the hood brace and the hinges to the hood. In this picture,
the hood brace is installed backwards. It actually goes on the outside
of the hinges. Also, the round hinges are the ones for the hood, and
the shorter bar is the one that goes with the hood. I was prepared to
heat and bend parts in order to get the proper alignment since these parts
are not welded with much precision. In my case, they aligned fairly
well.
UPDATE:
I trimmed the hinges to match those in the
trunk. I rounded the edges and I welded in scraps to close out the
open slots.
I fit the hood to the
body using some pieces to cardboard to hold it in place. I then taped
the hood down so it wouldn't move. Then, I climbed underneath the car
and drilled the holes for the cross brace. I used spacers to fill the
gaps. This gives me some left to right adjustment to get the hood gaps
set.
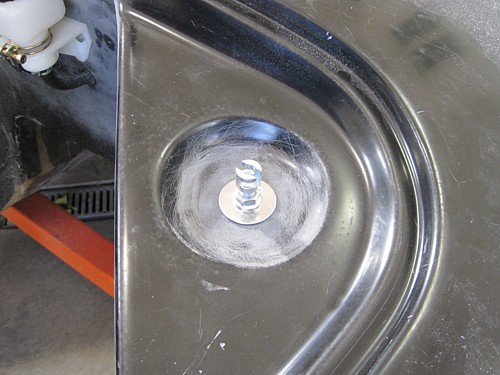
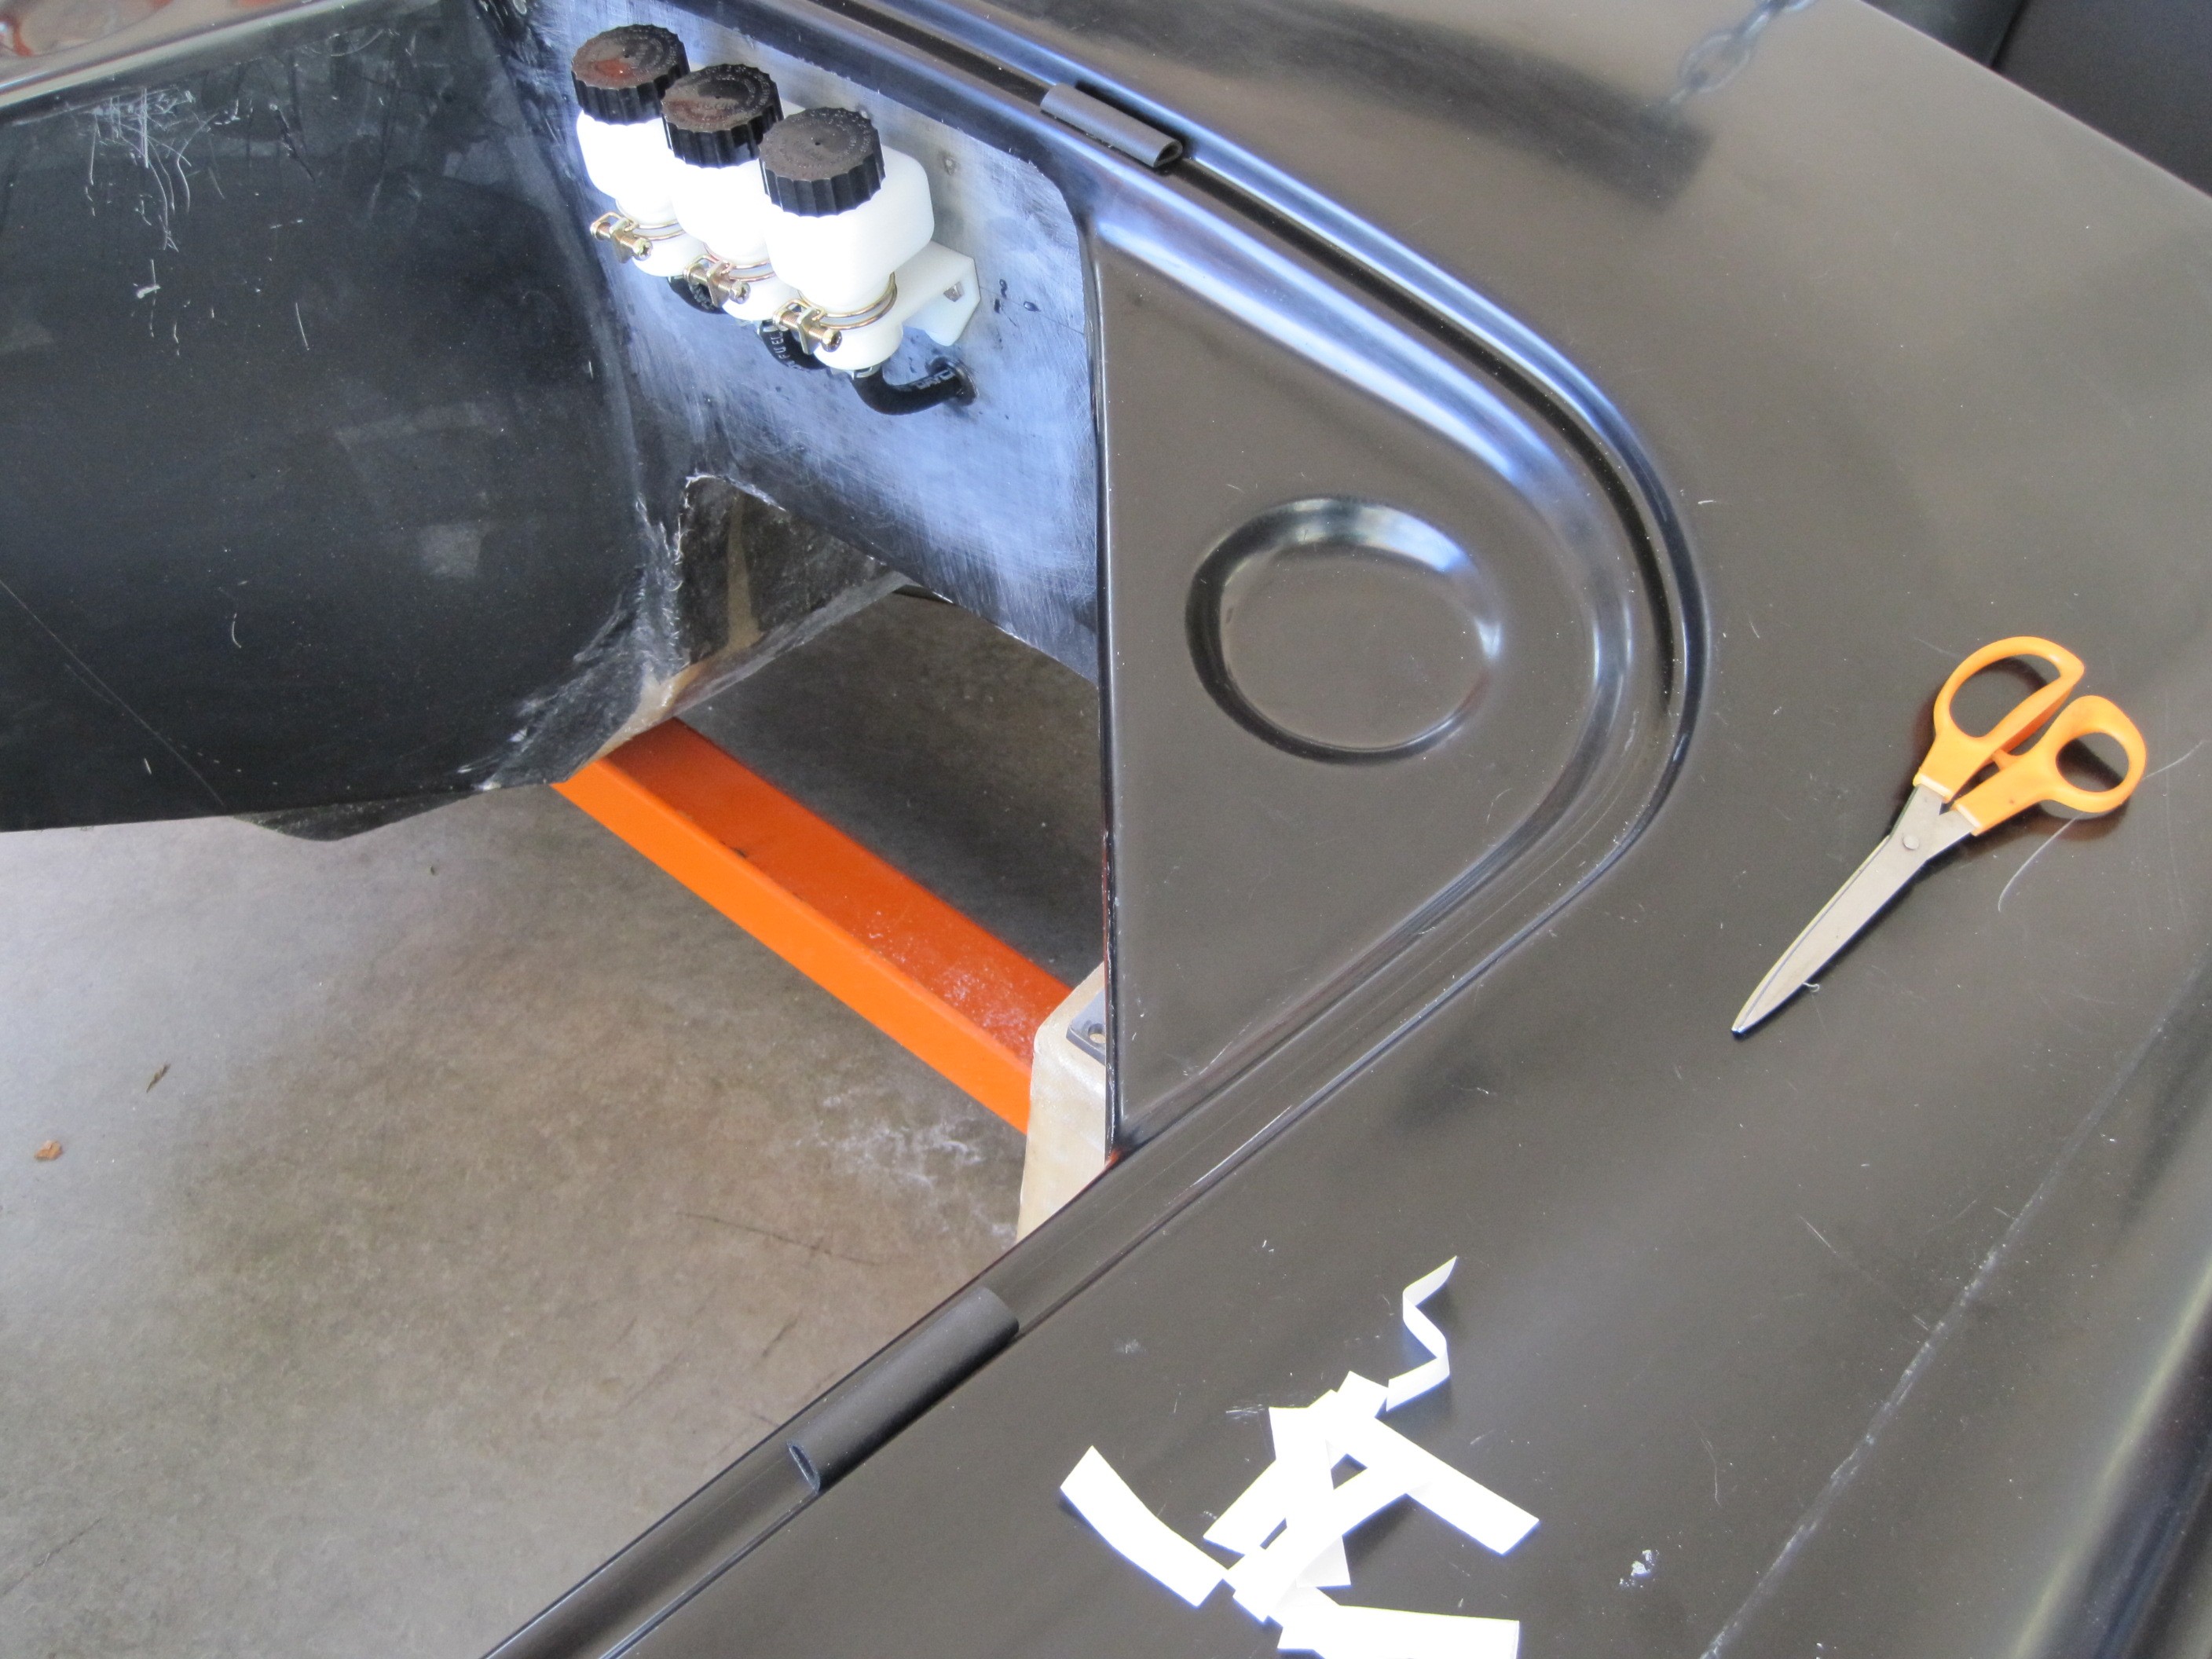
To mount the hood
locking pins, I measured their location with the hood open, then I closed
the hood and transferred the measurements to the hood. I then drilled
through both at the same time to get the proper alignment. I drilled
out the hole and mounted the pin. I has some interference under the
pin with the firewall. I had to drill the firewall out to provide
enough room for the bolt head. Later, I will glass in a bubble around
the nut so I can still get to it.
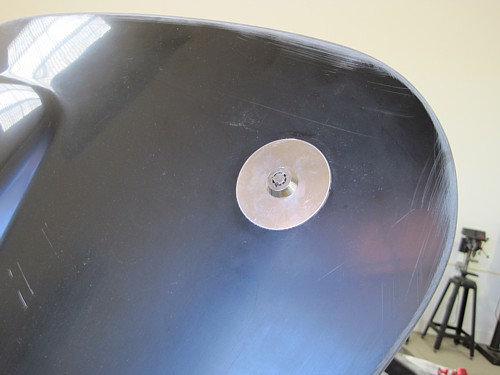
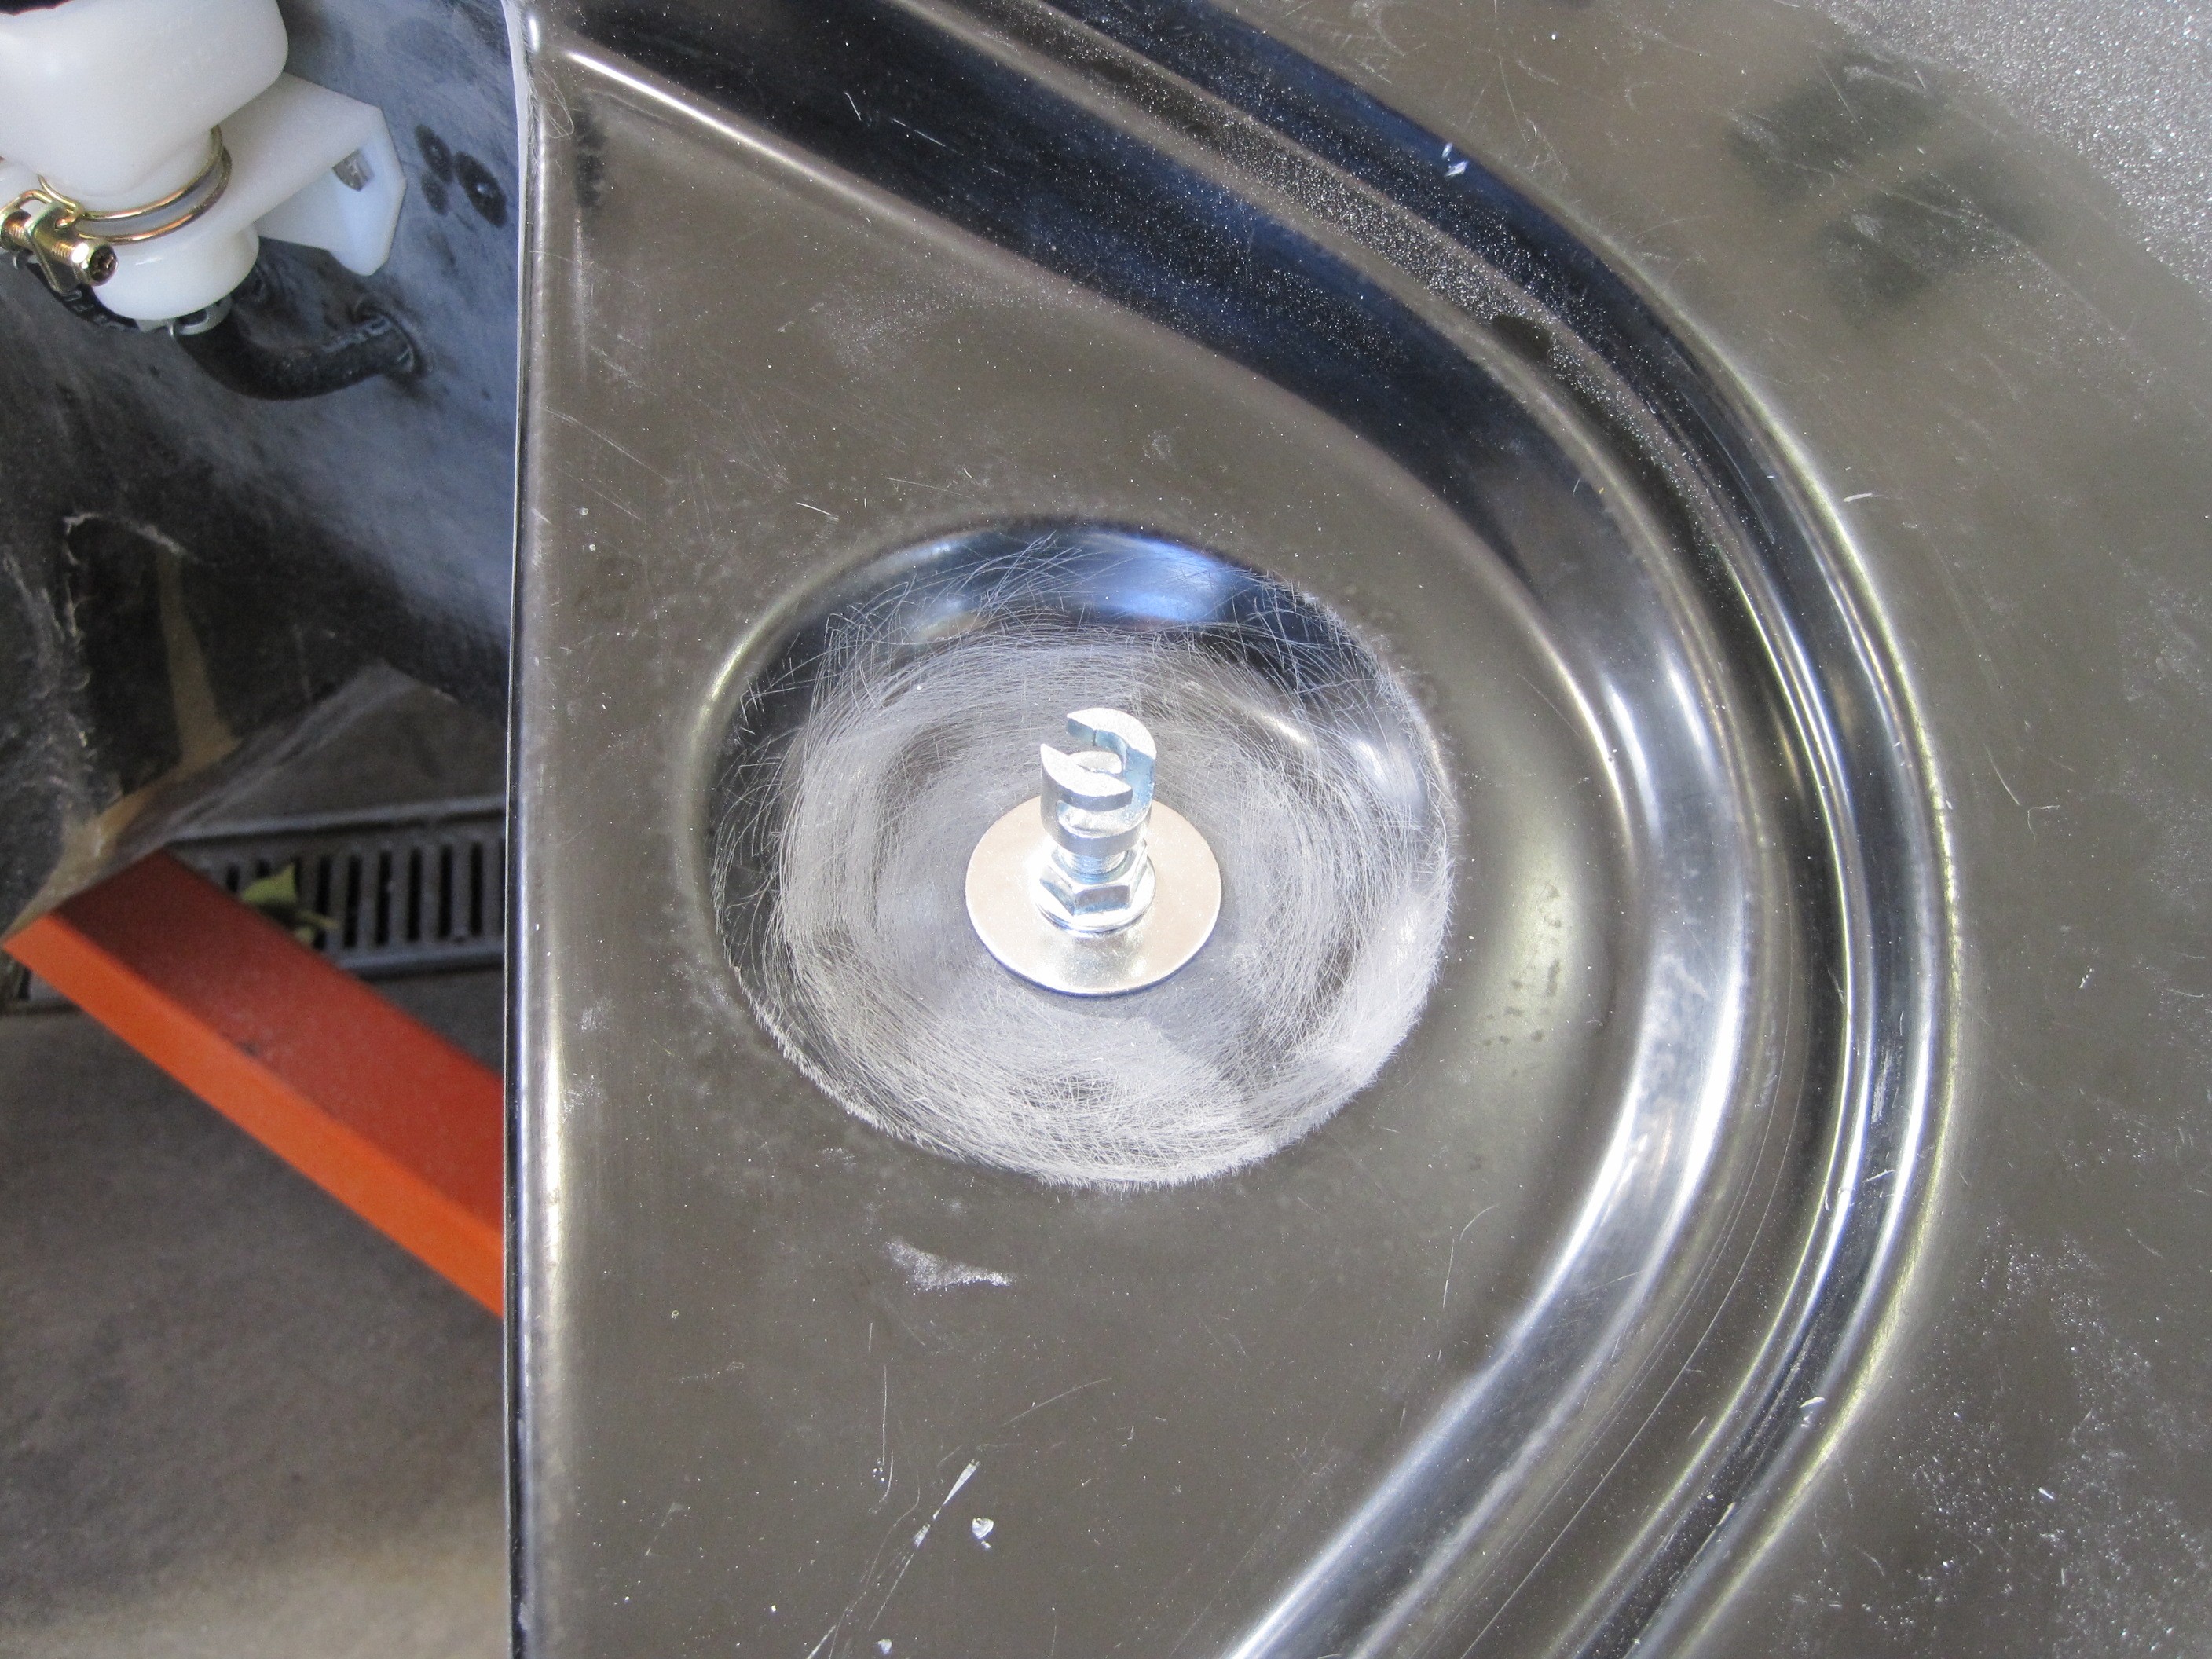
On top, the hood locks
simply screw in from underneath. I did not peel off the glue paper on
the bottom side of the ring yet. I'll do that after paint.
On the bottom side, I
contemplated various ways to finish the opening. In the end, I just
decided to leave it alone and paint everything. I don't think most
people will see the gap between the inner and outer panels.
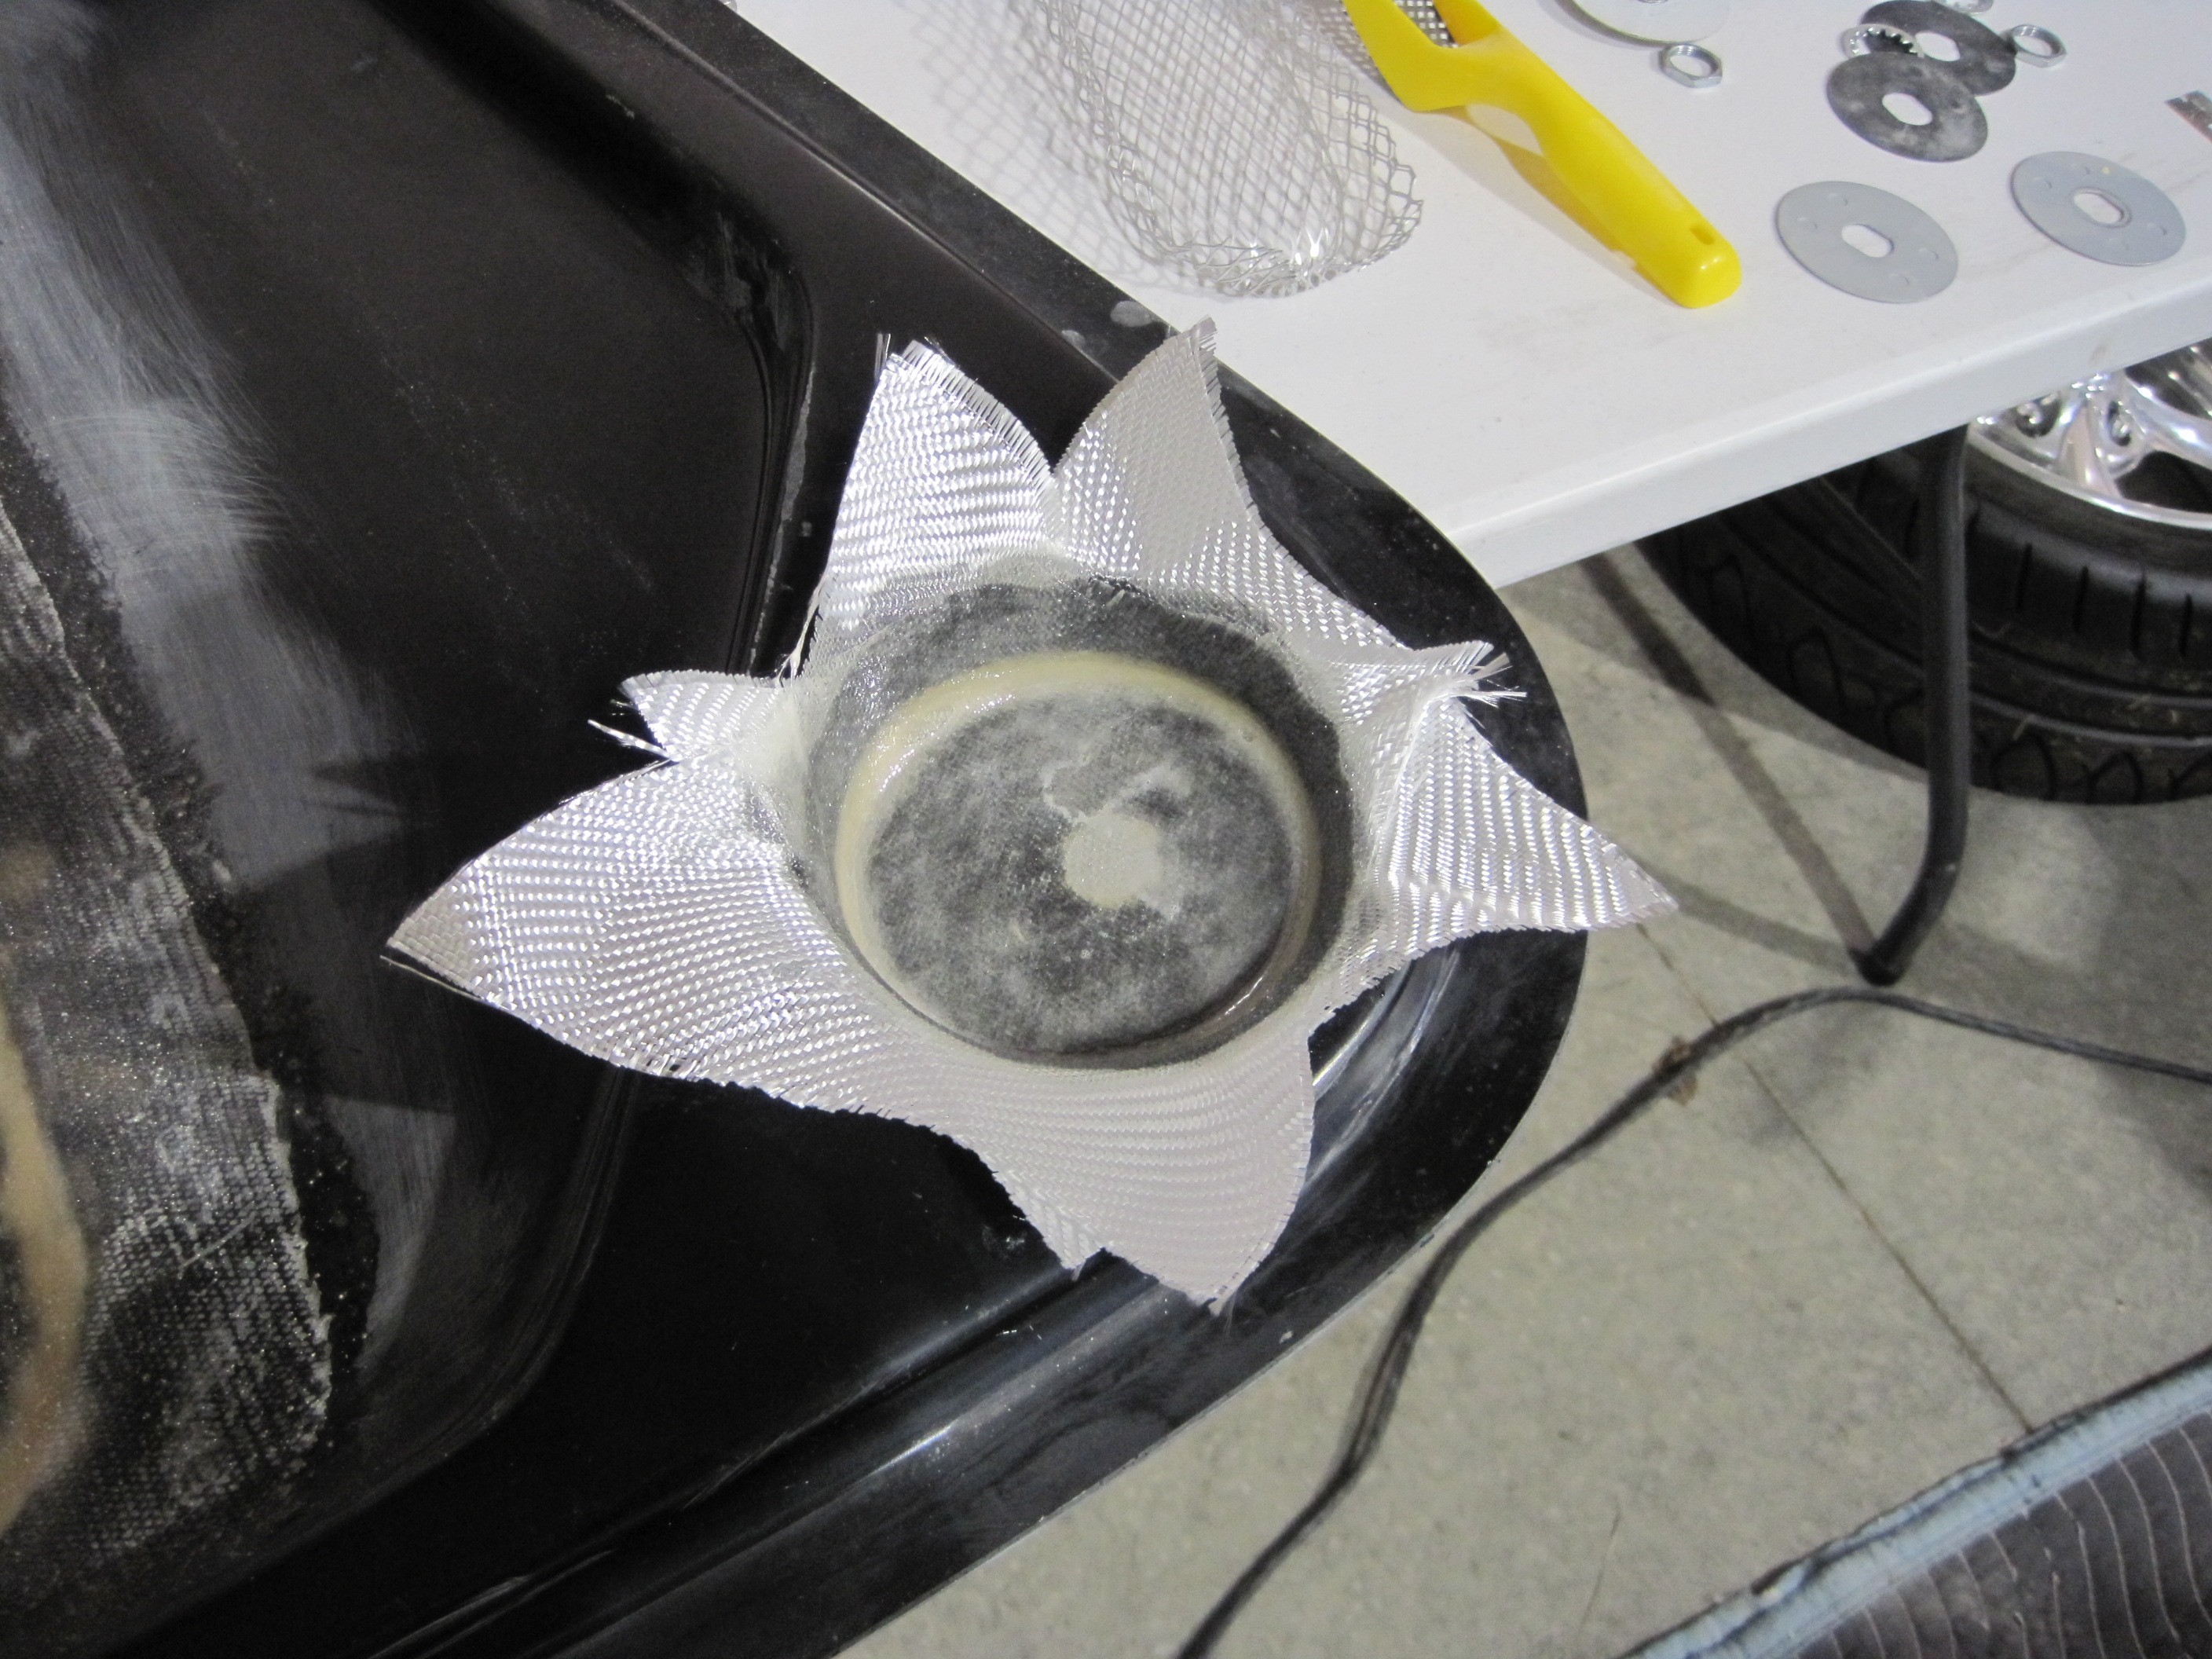
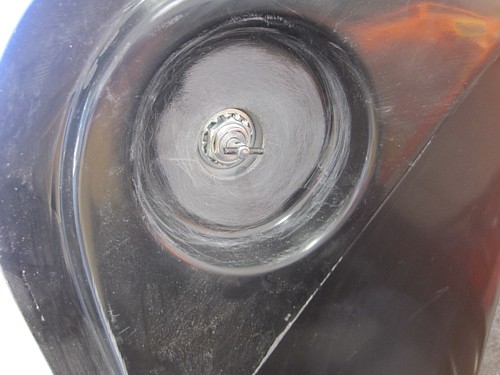
UPDATE:
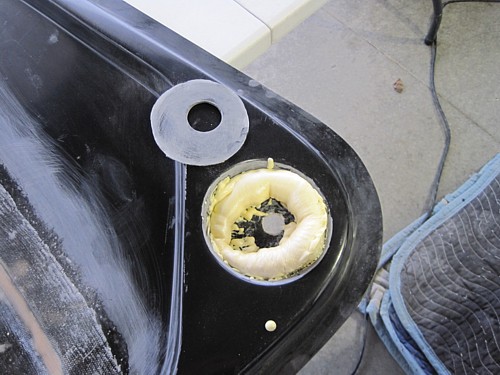
I decided to remove
the inner liner so that the mounting plate can rest flat on the hood.
Above, you can see that I've removed the inner liner around the entire
depression in the hood and poured in some 2 part foam.

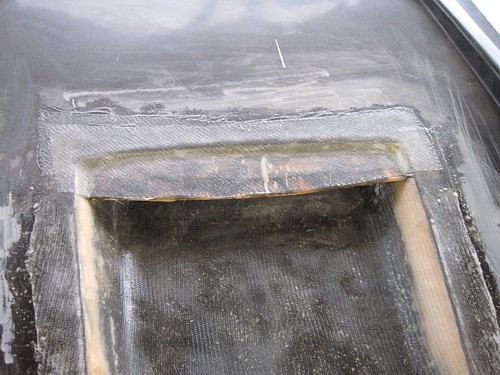
After I sanded the
foam down to the edges, I glassed in two plies of 9 ounce cloth. These
were later trimmed and the edge sanded to make a smooth transition.

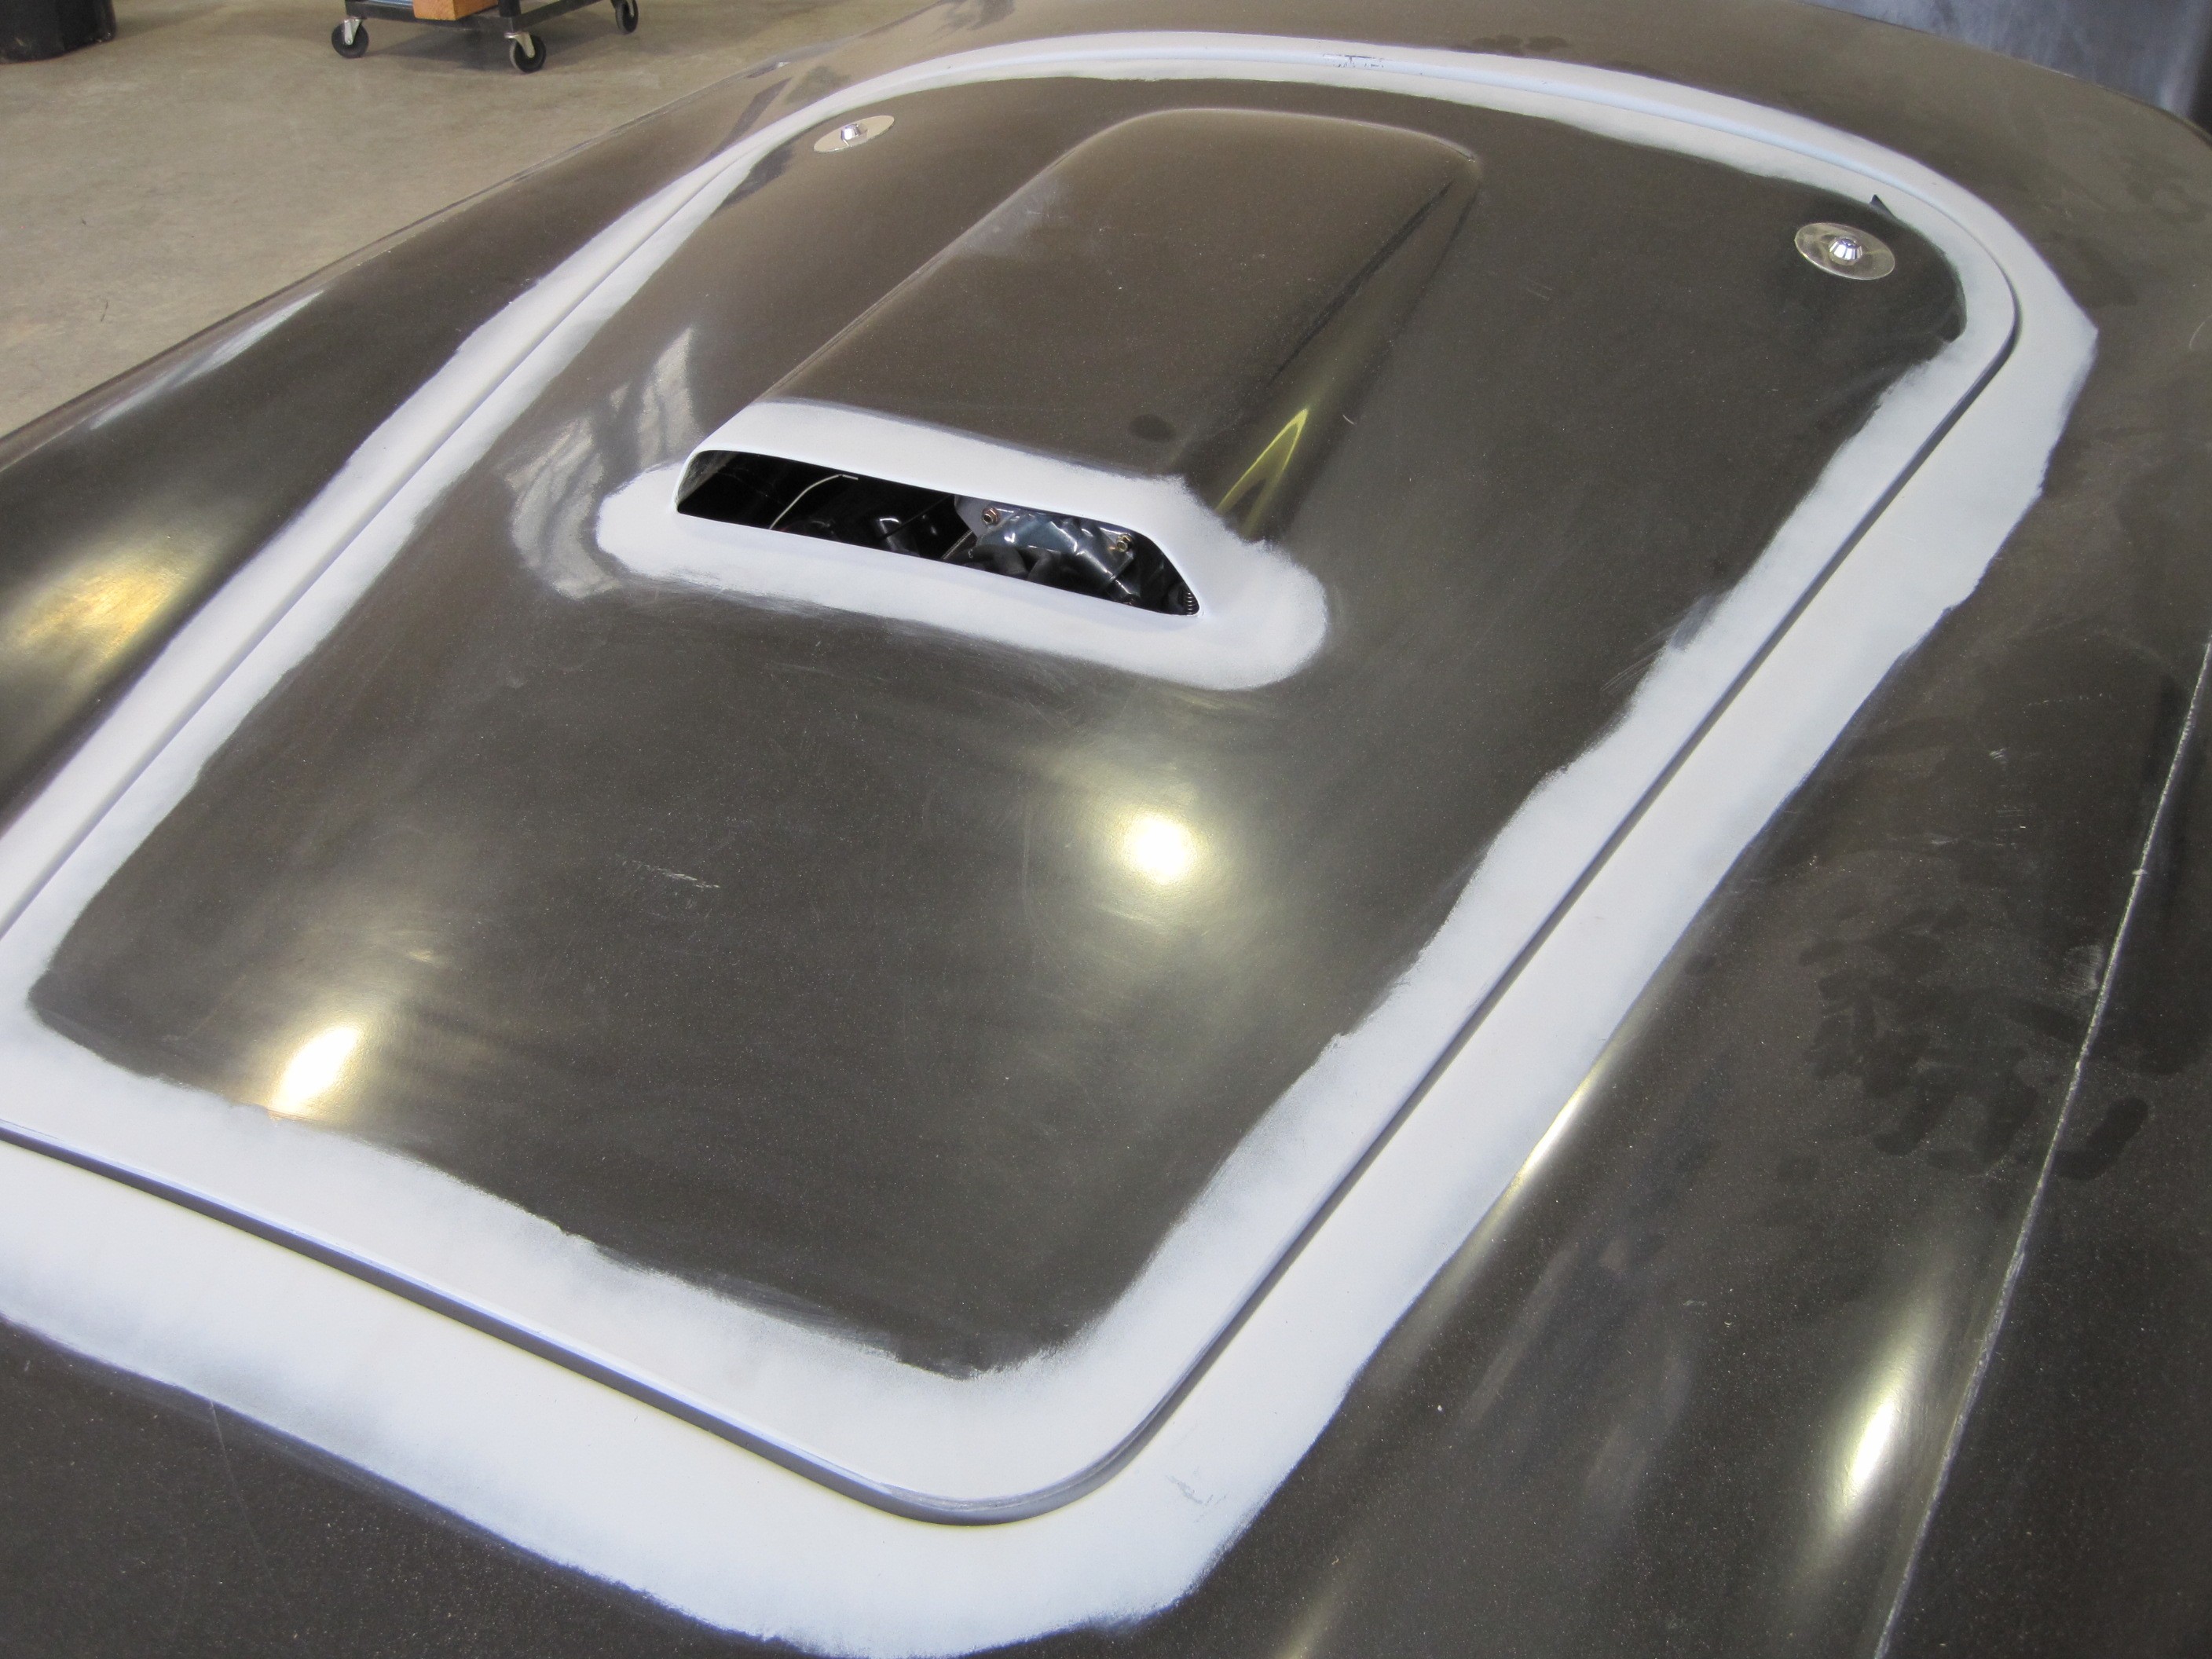
With the hood attached
in its final position, I then "gapped" the hood. I first painted some
primer around the edges and then used my protractor to draw and even gap all
the way around the hood. Using my belt sander, I sanded the edges down
to the line.
UPDATE:
After experimenting
with some different air filter options, I found one that fit under the hood
nicely. However, that left me room at the front of the scoop for a
lip, which looks better. So I bonded in a lip from a scrap piece of
glass. I heated it to match the contour of the opening and then
glassed it in place.
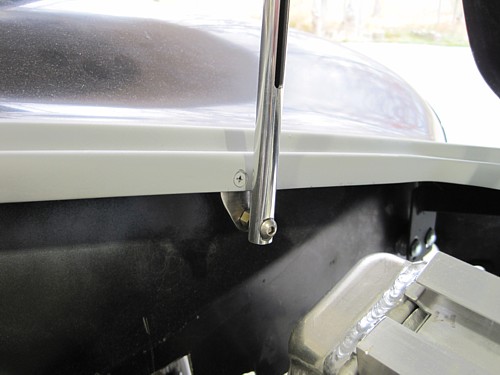
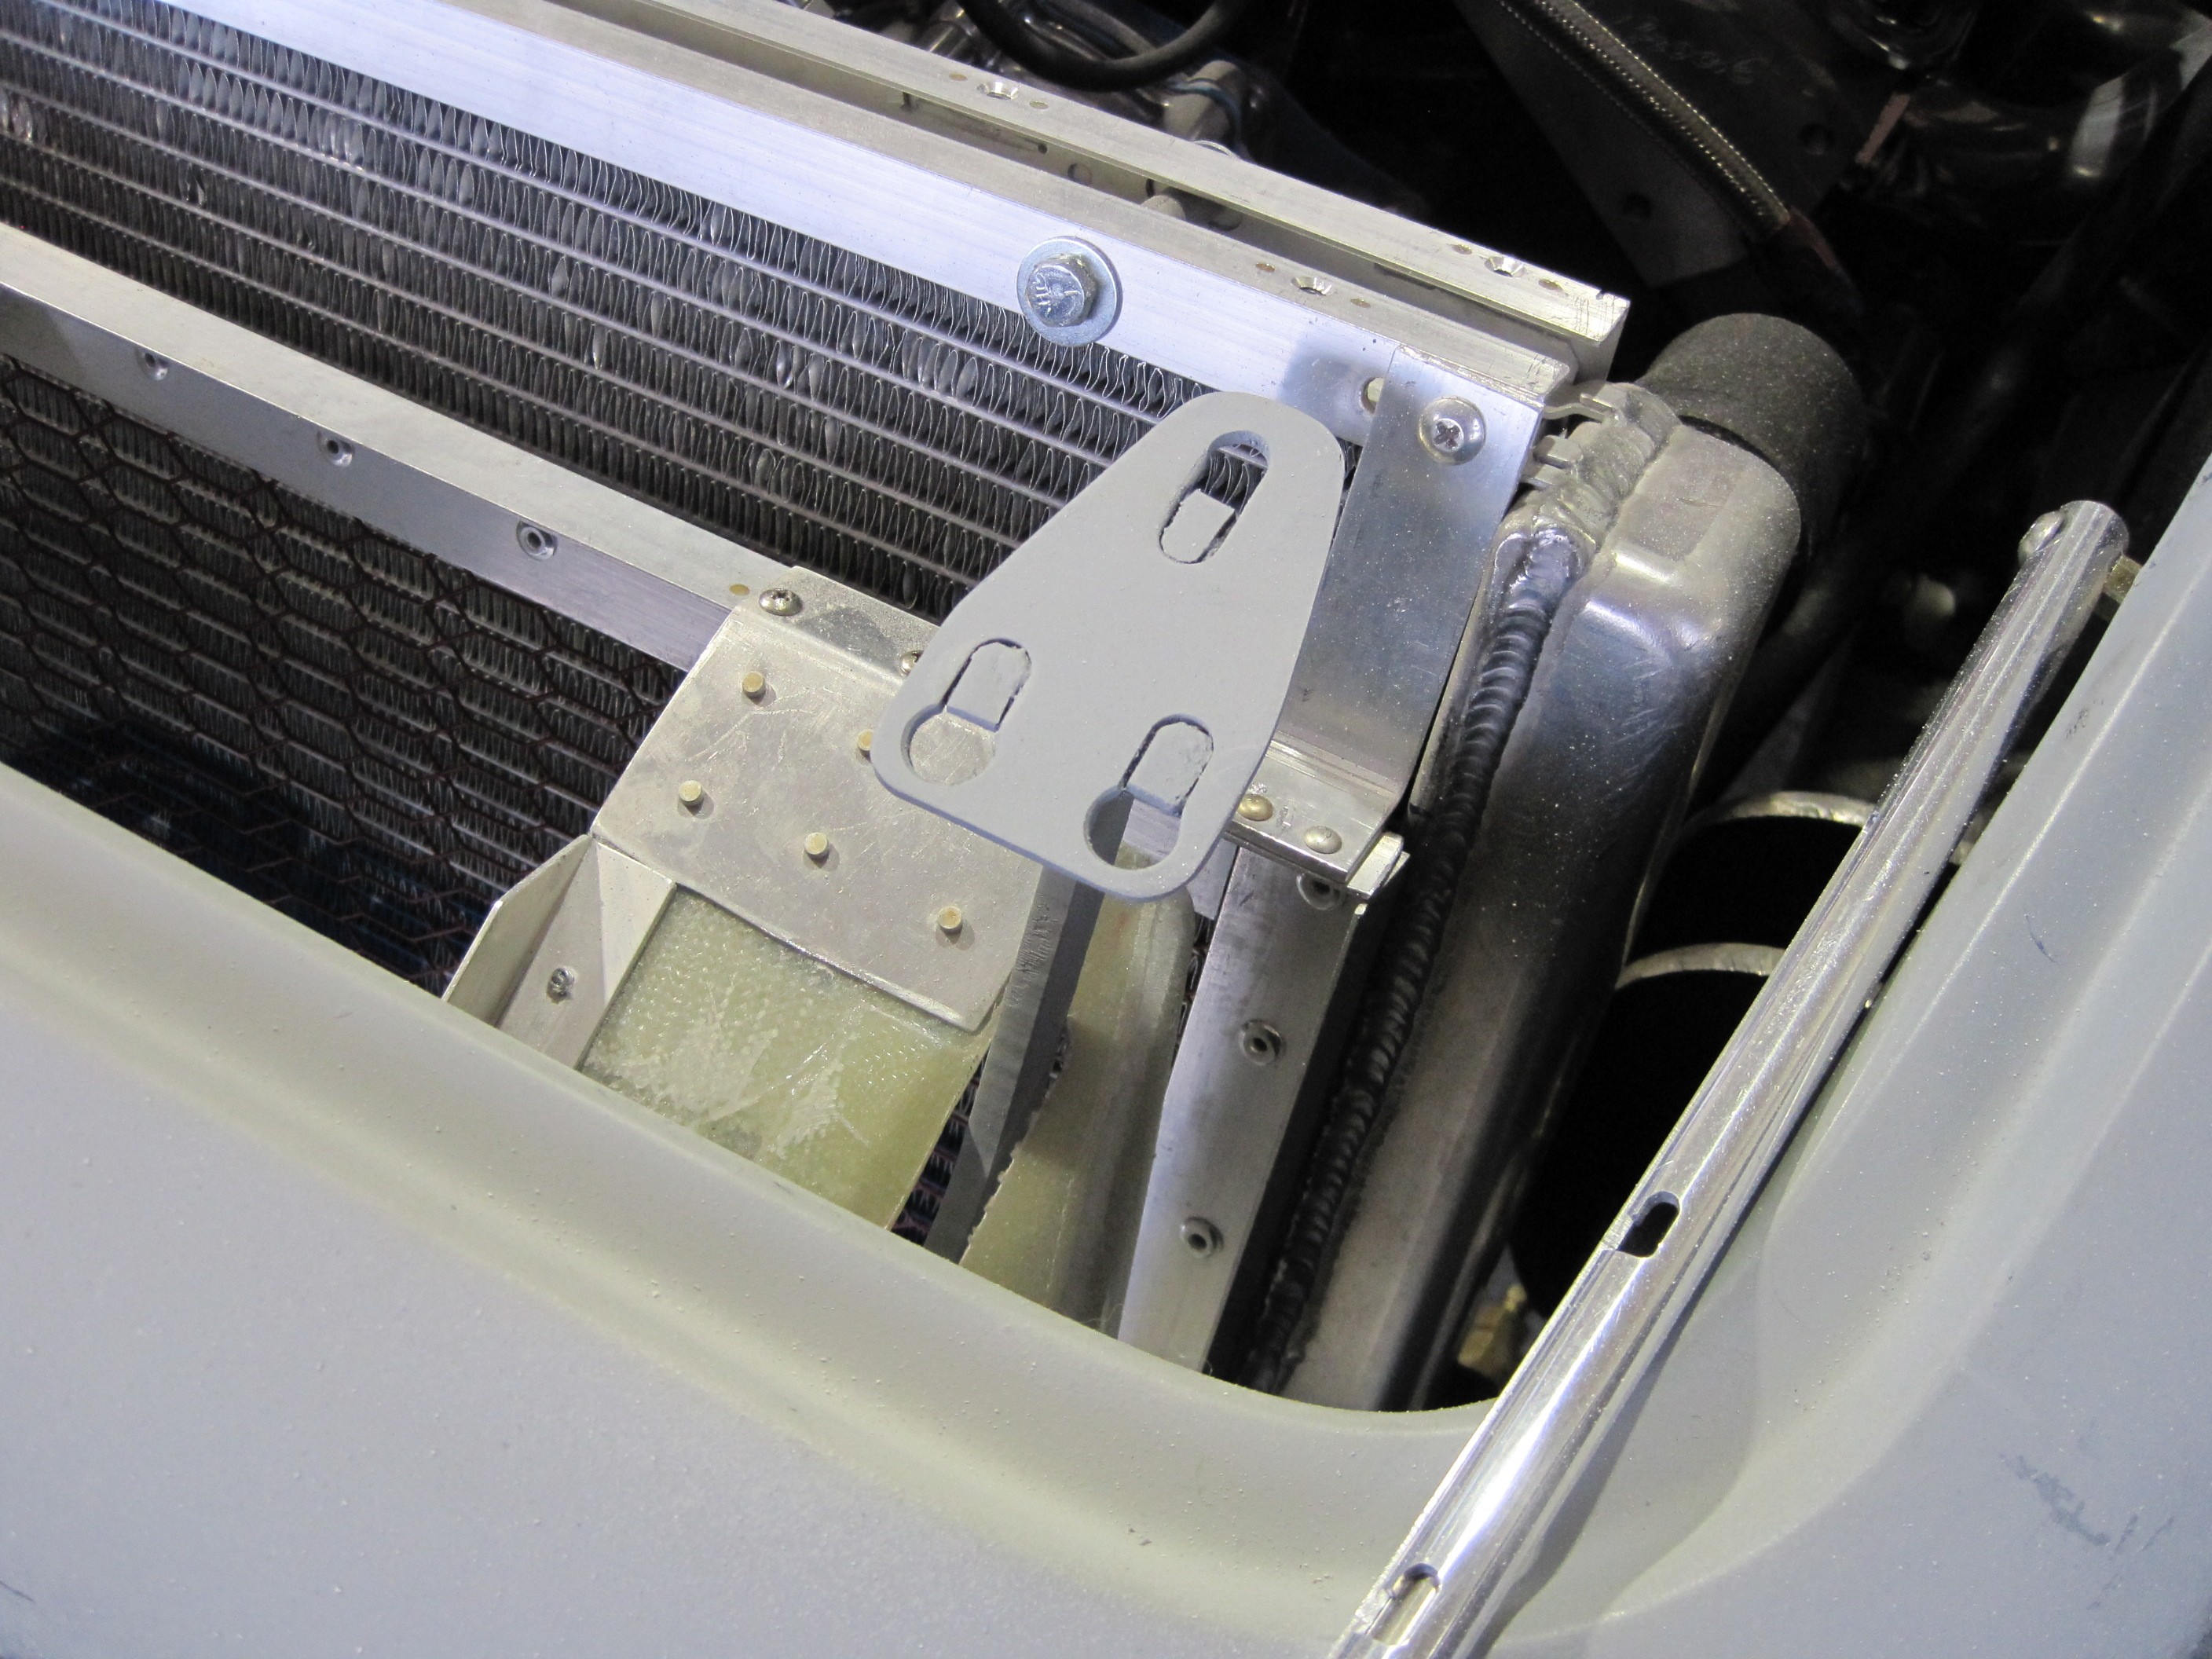
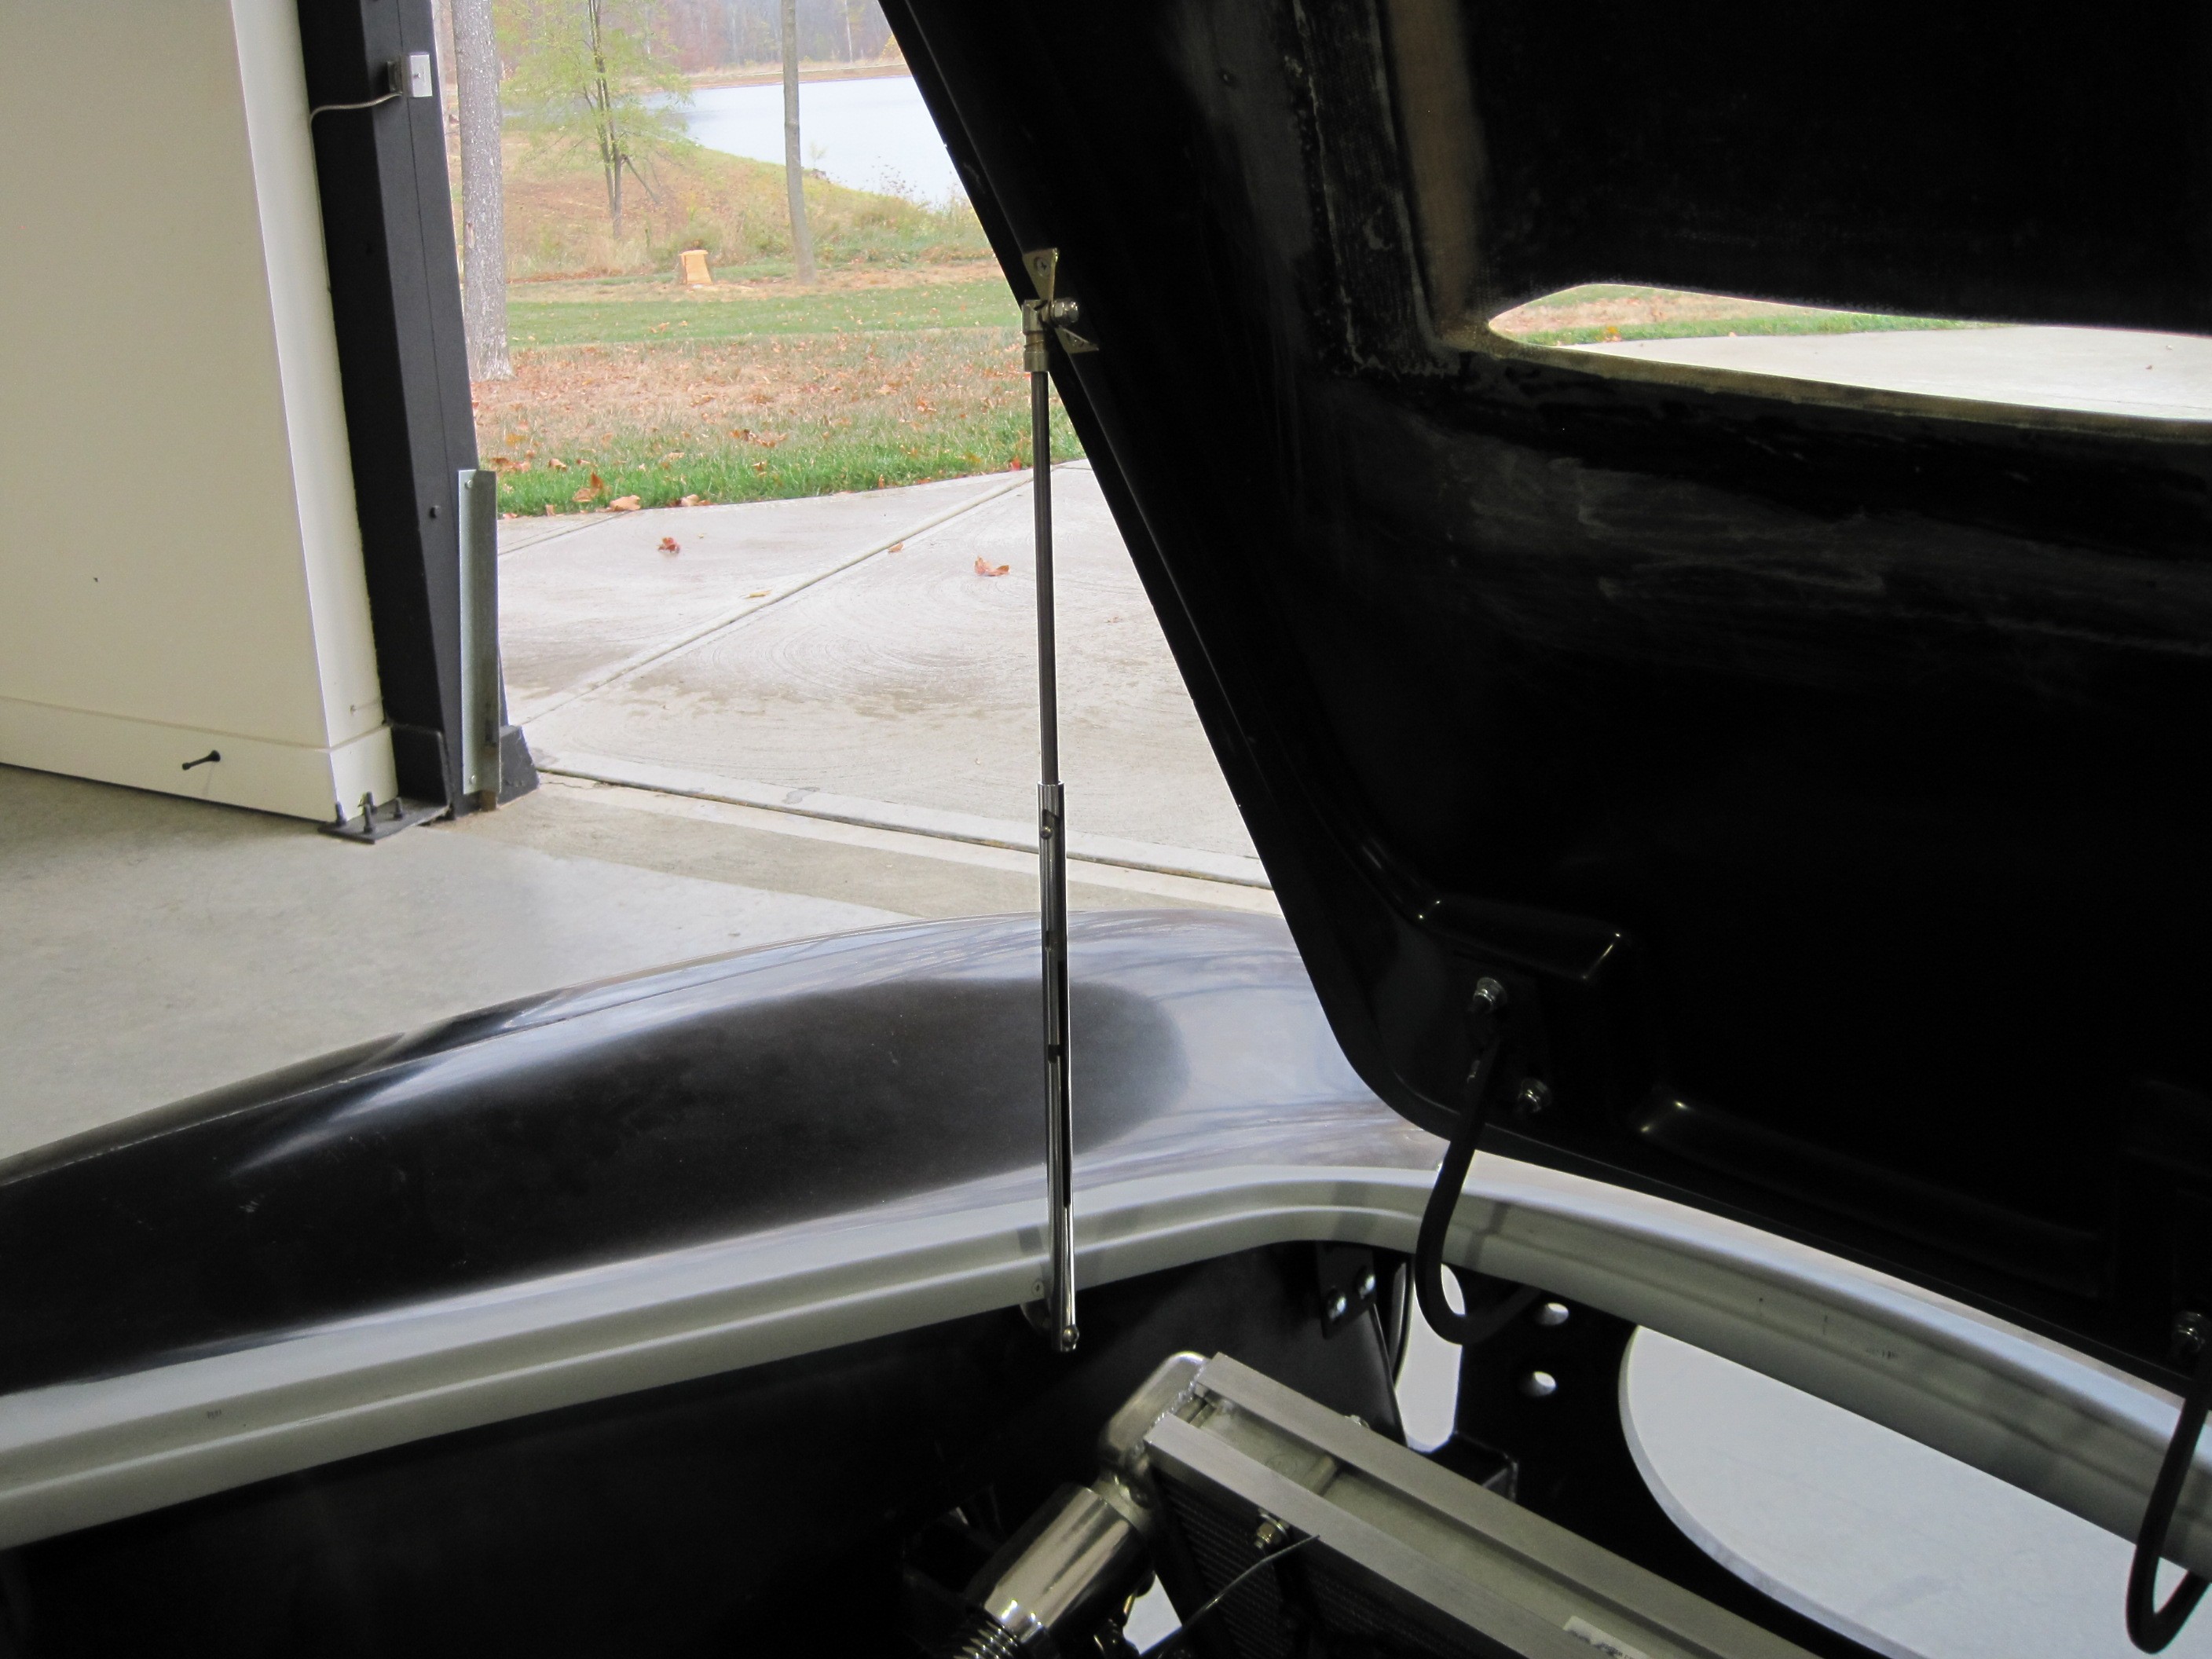
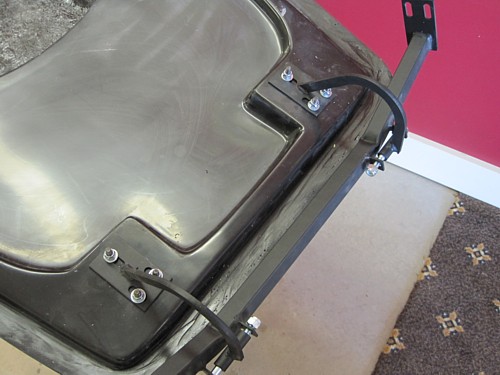
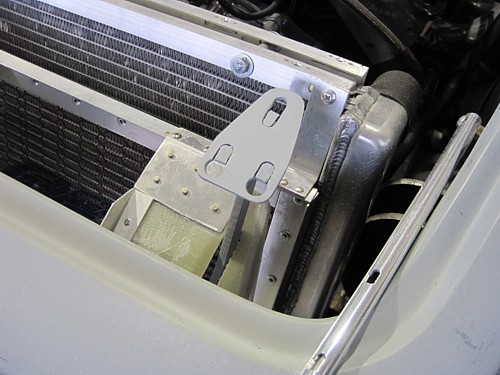
The trick in attaching
the hood rod is establishing the proper geometry. I first made a clip
out of 1/8" steel. The part you can't see is the top part of the clip
that follows the inside contour of the body to provide extra support.
This is pretty solid although there is a little body bending if you really
push on the hood. I think it's solid enough.
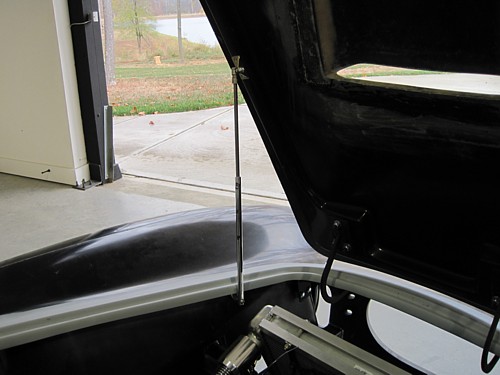
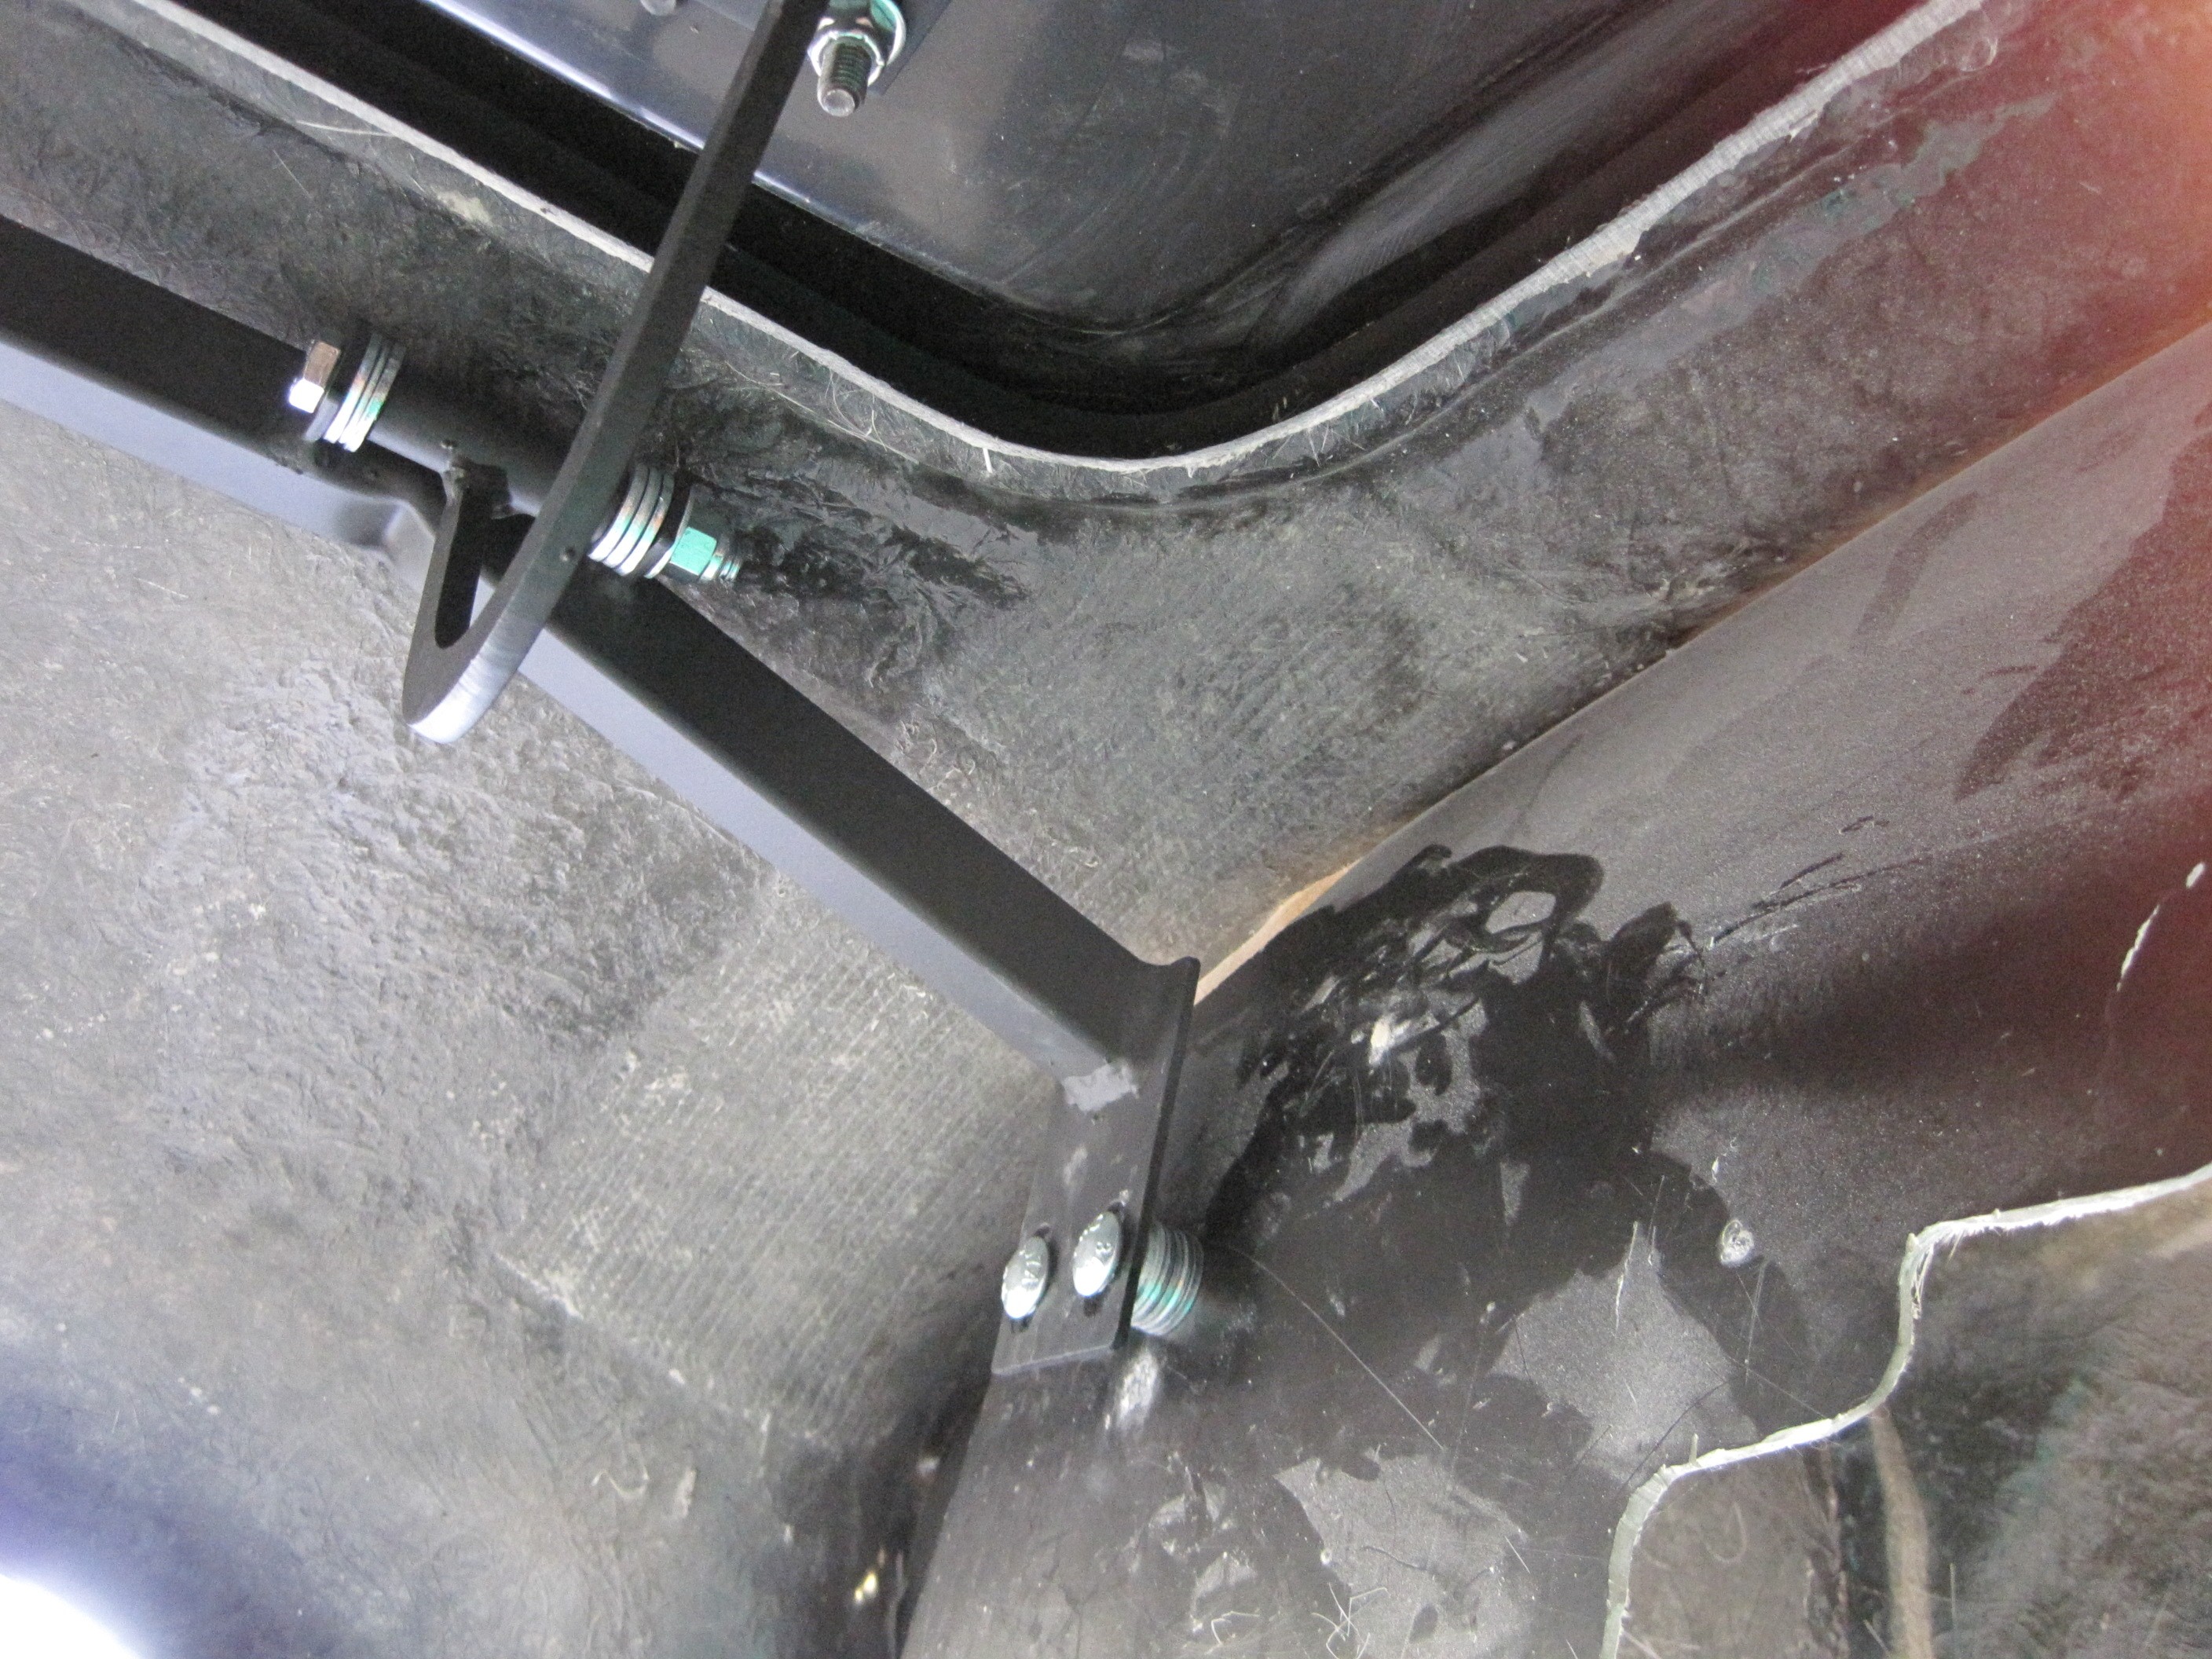
This overall view
gives you an idea of where I mounted both ends of the prop rod.
Windshield
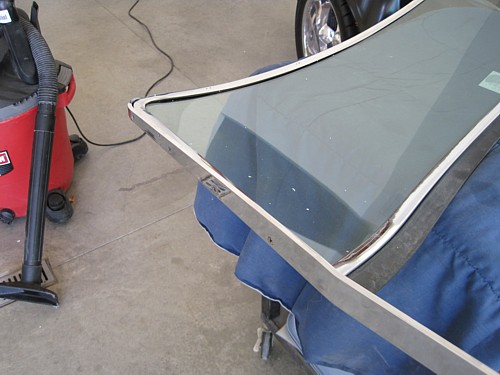
The first step is to
assemble the windshield frame. The sides screw to the side of the
frame. You have to be careful to not strip out these screws since the
brass is fairly soft. I also bent the tops a little to get them to
conform to the shape of the glass a little better.
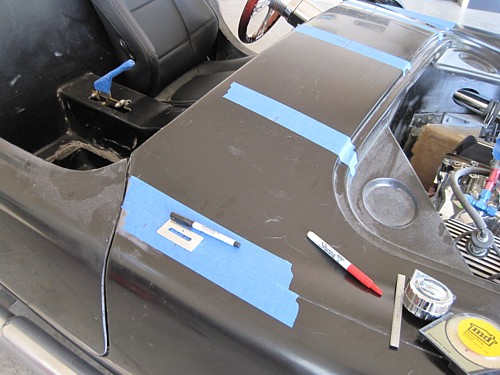
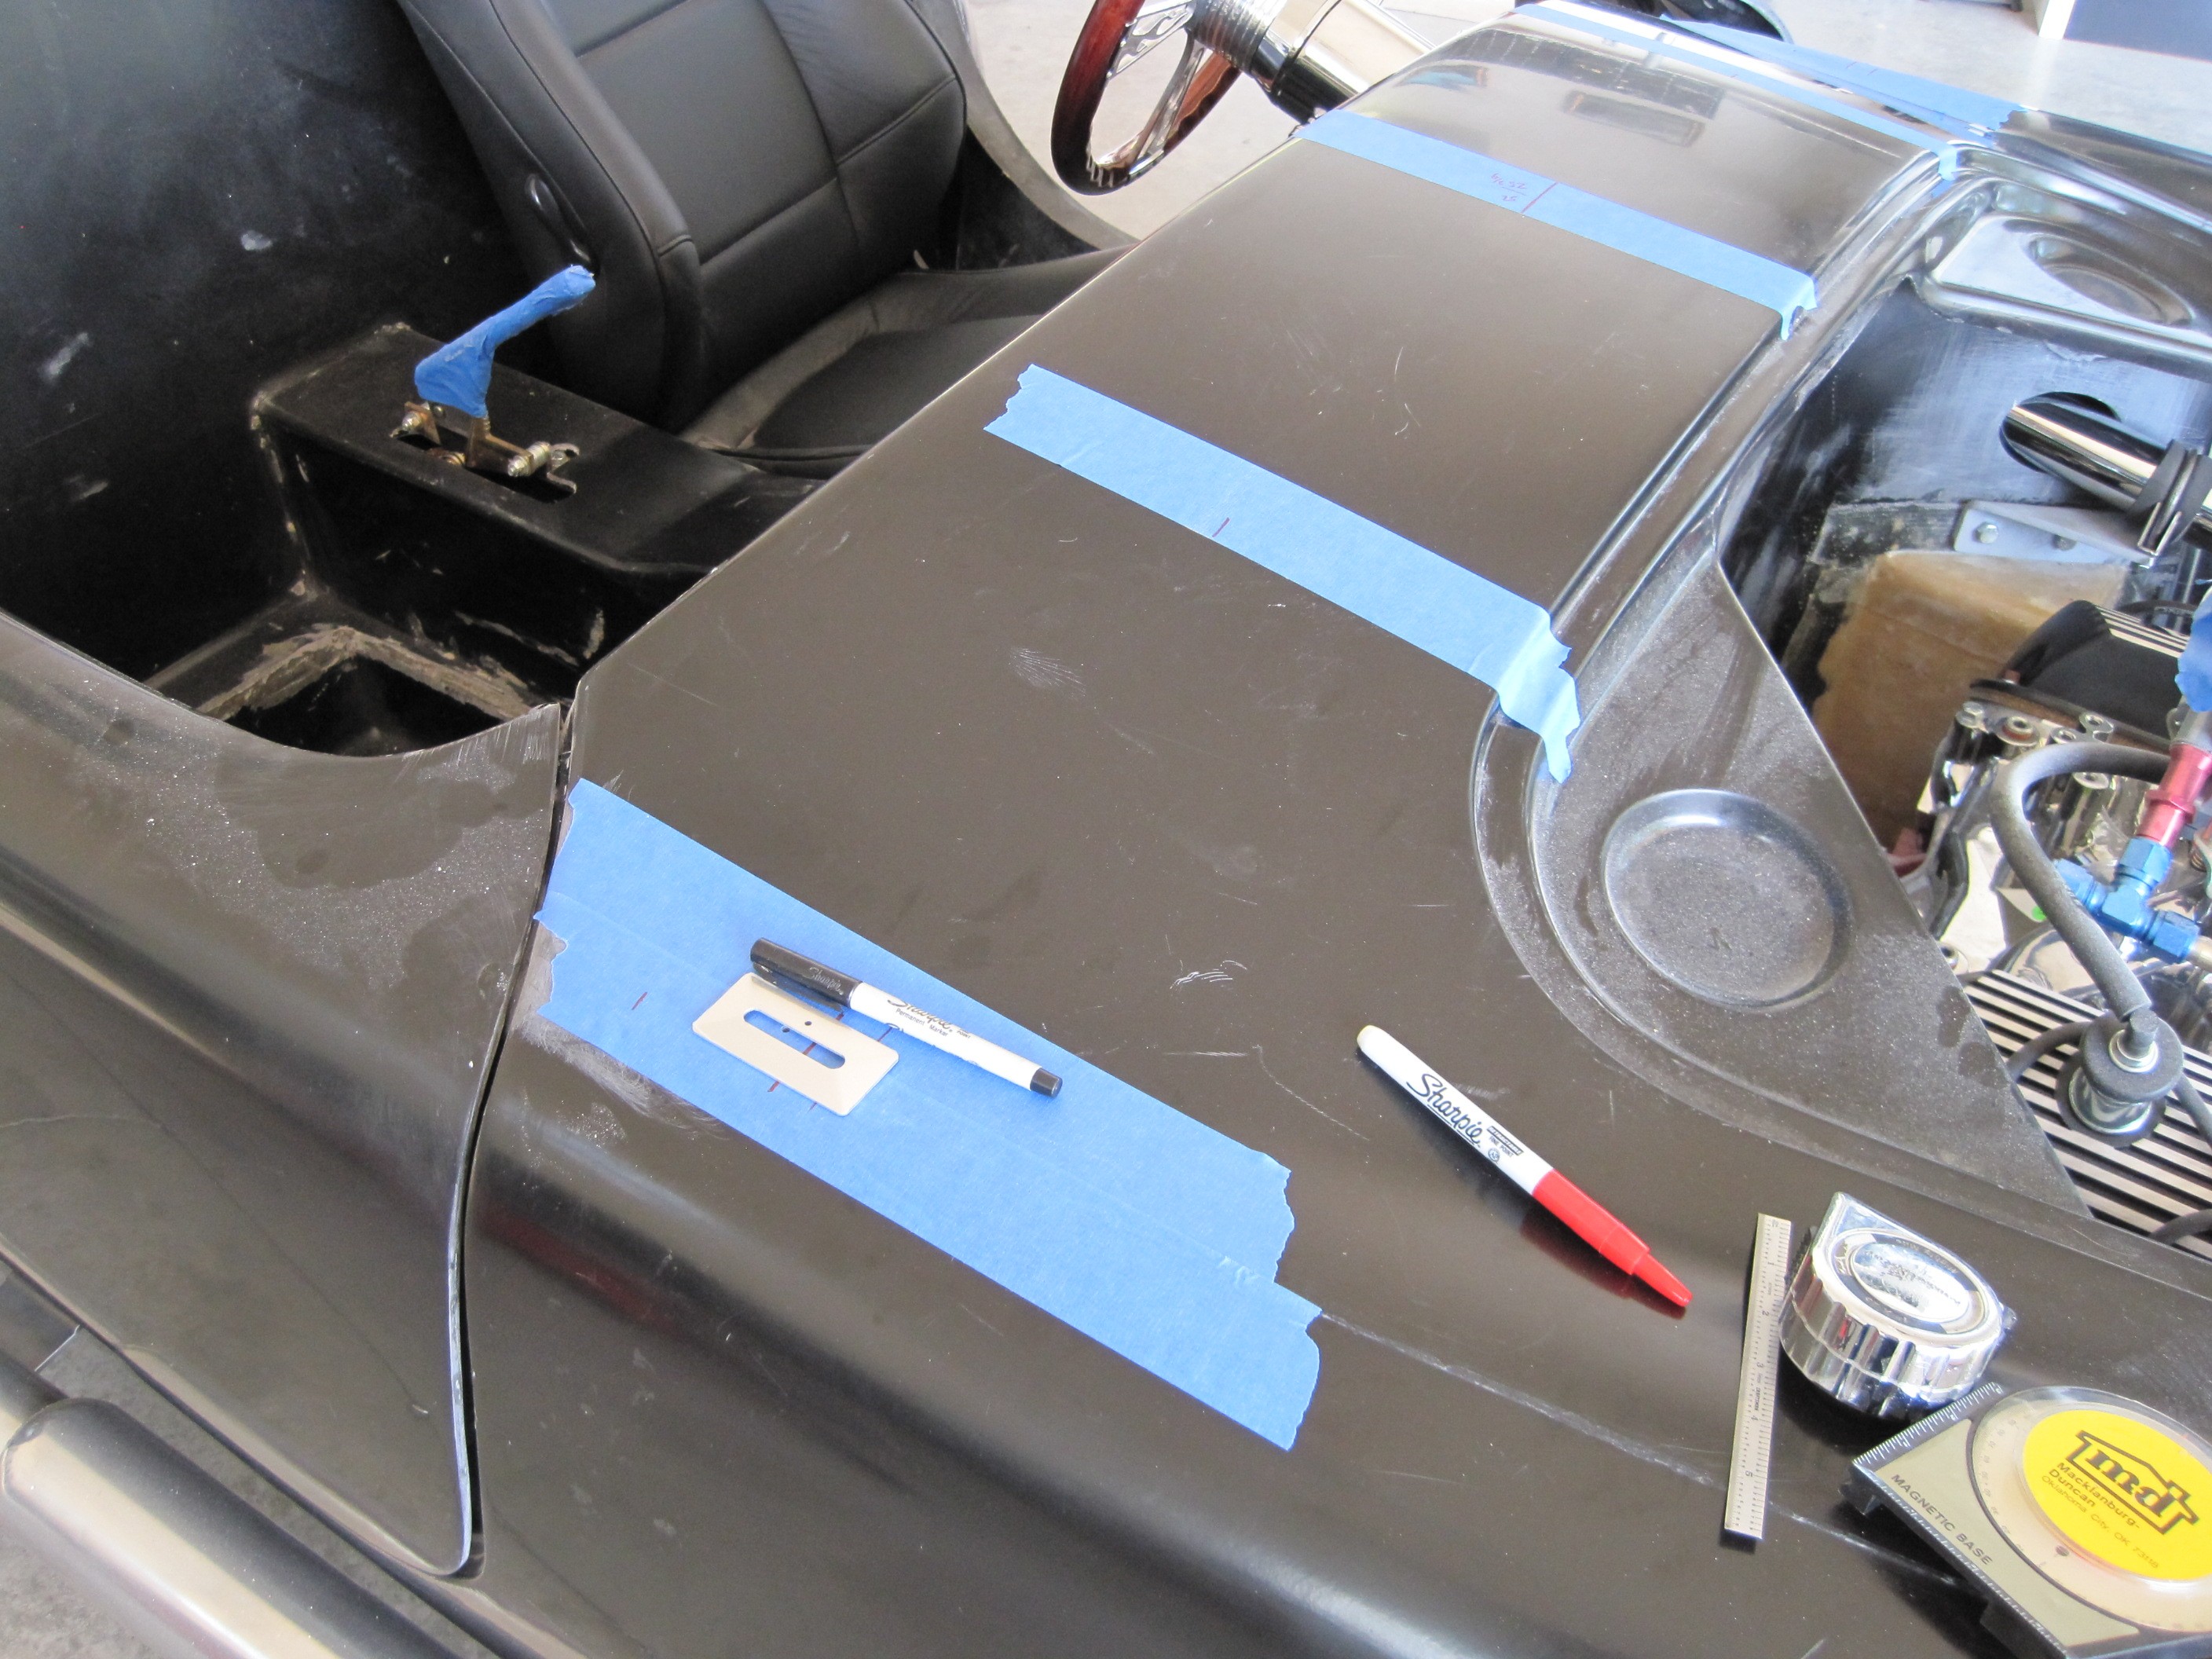
I laid out the
location of the slots carefully. After looking at a ton of pictures, I
decided to align the posts in the center (forward and back) between the
engine compartment and the instrument panel. I also shot a center line
on the body so I could get the windshield centered side to side.
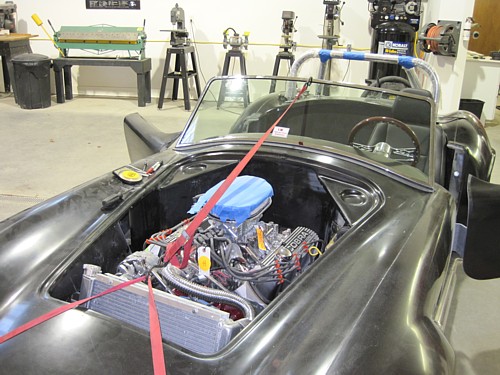
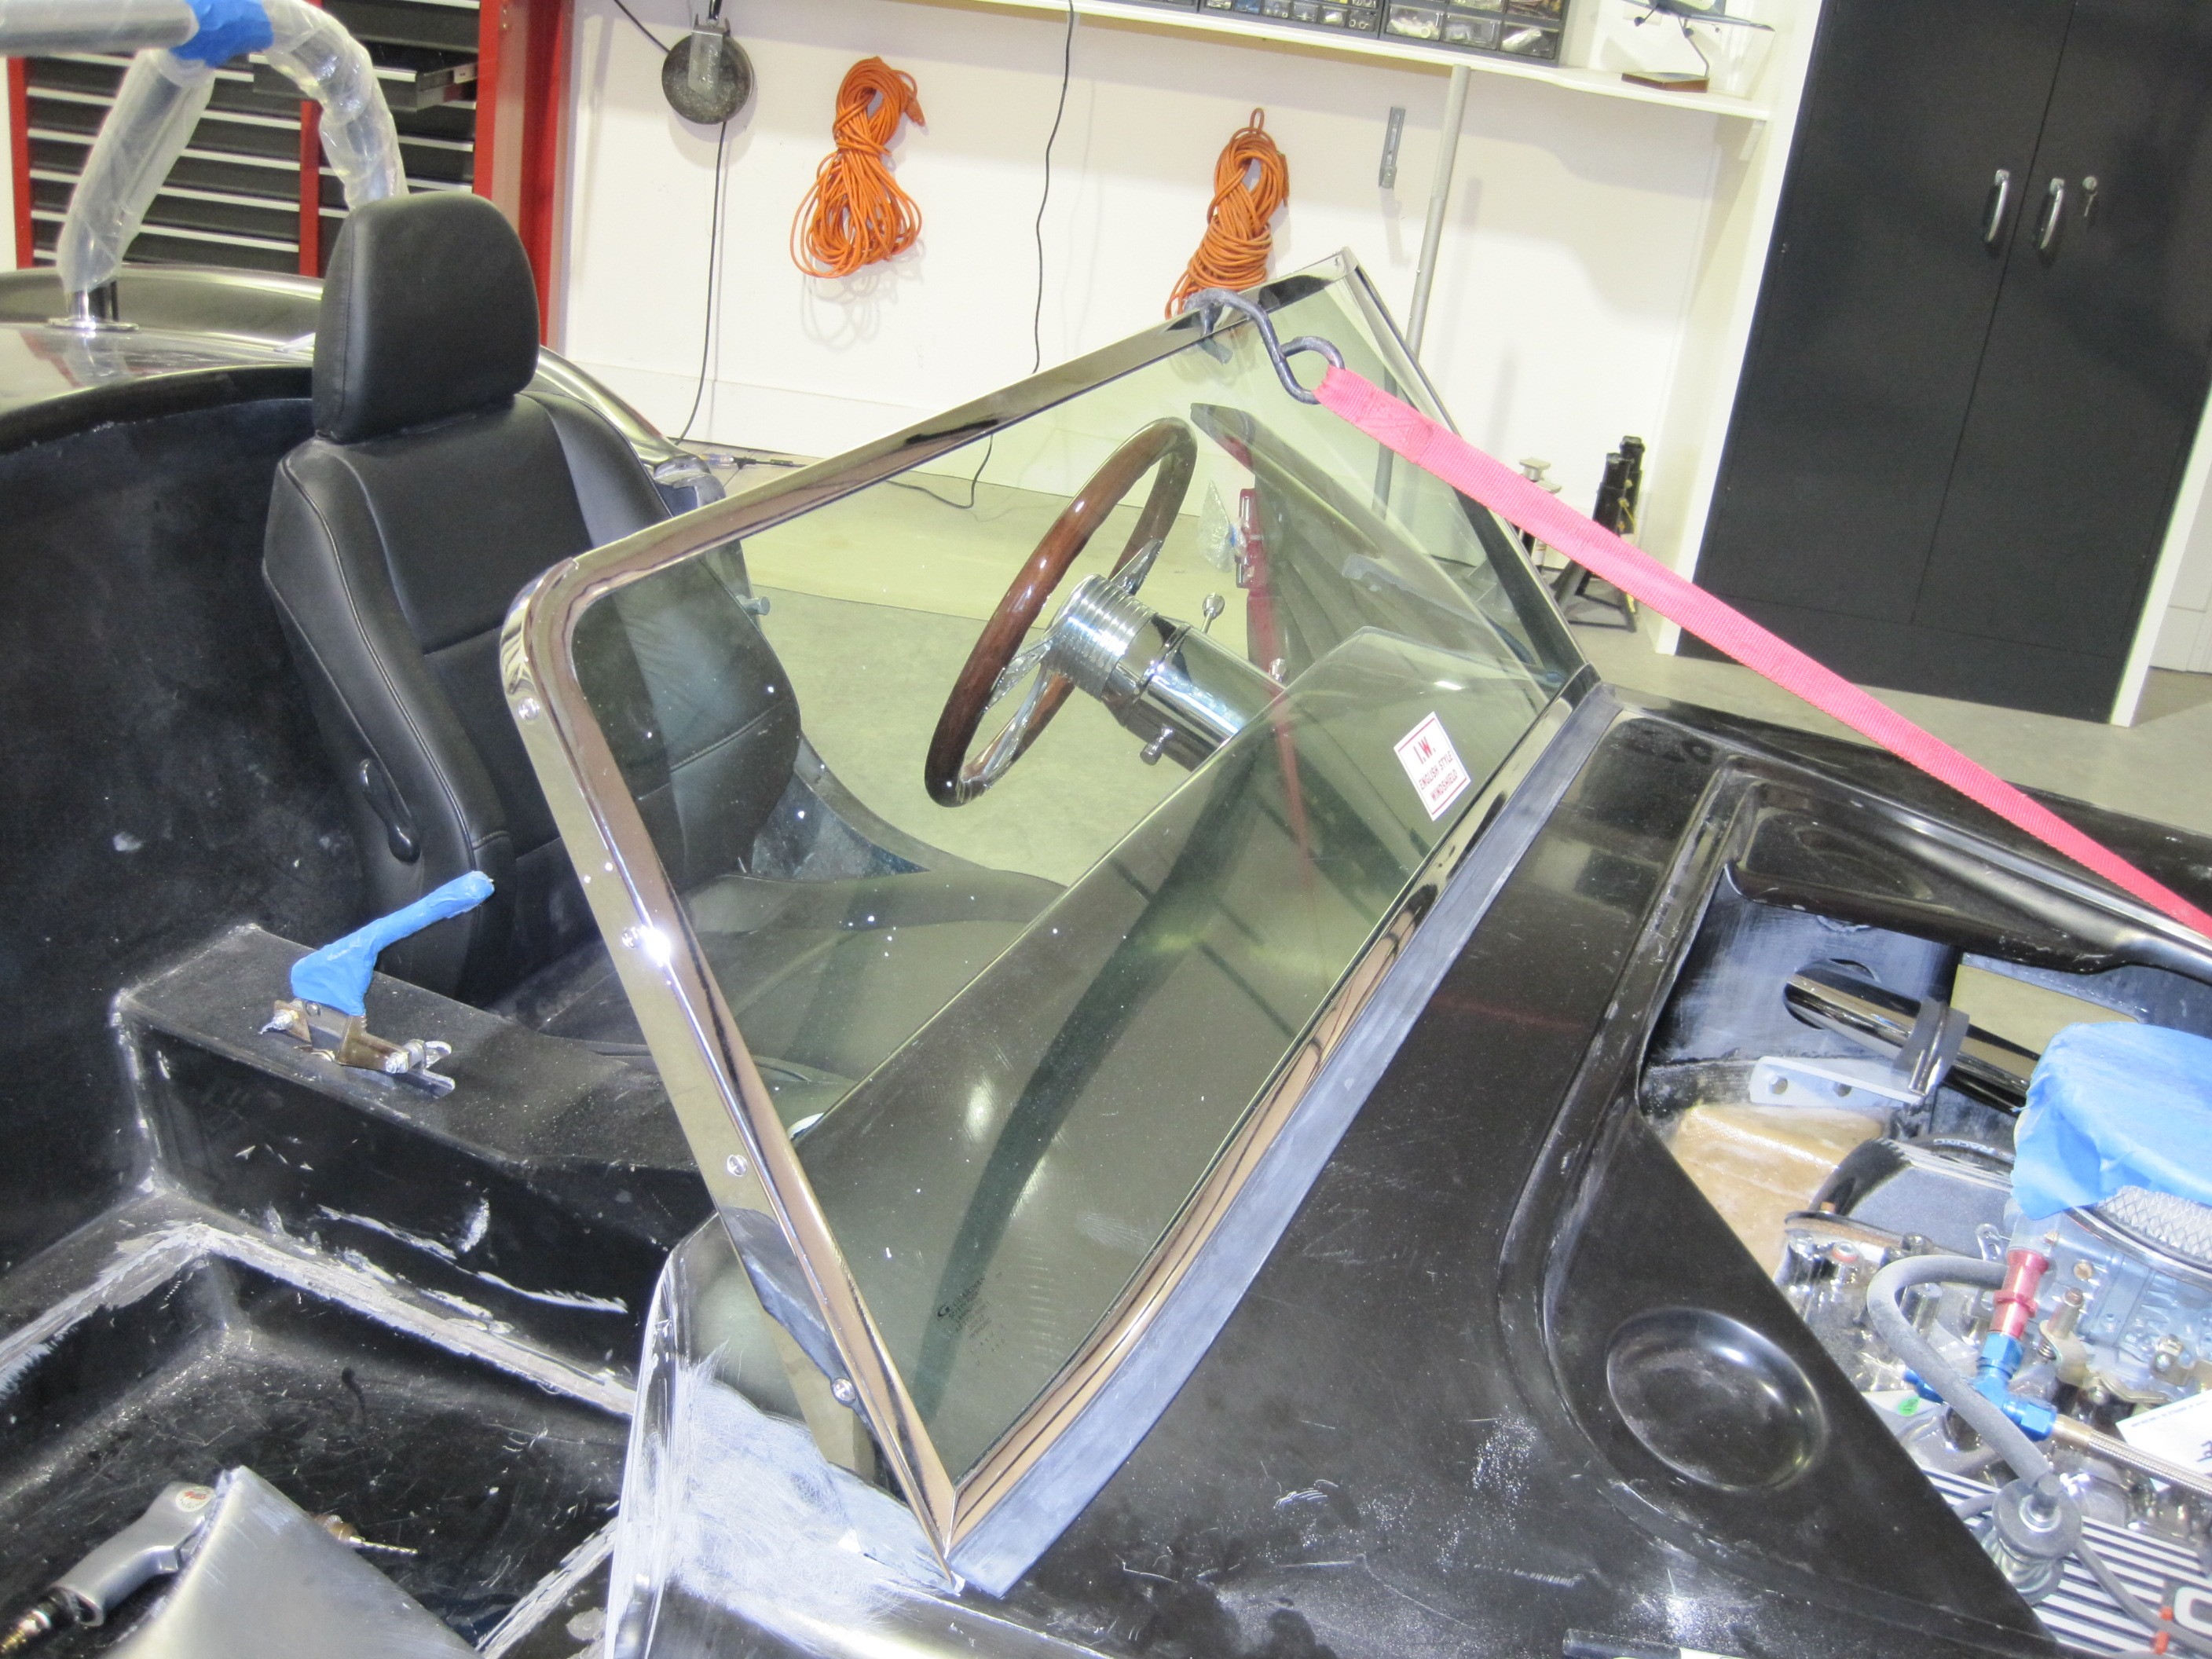
After cutting some
preliminary slots, I used my straps to hold the windshield in the proper
rake angle. I played with this a little bit to experiment with
multiple angles. I think the plans say to use 45 degrees. I
found that to be a little too low. I sat in the car and my eyes and
top of my head was above the windshield. Not good. After
researching the rake of the original Cobras, I found that they were set at
42 degrees so that is what I used.
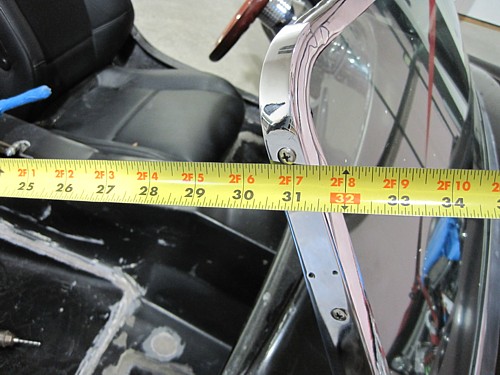
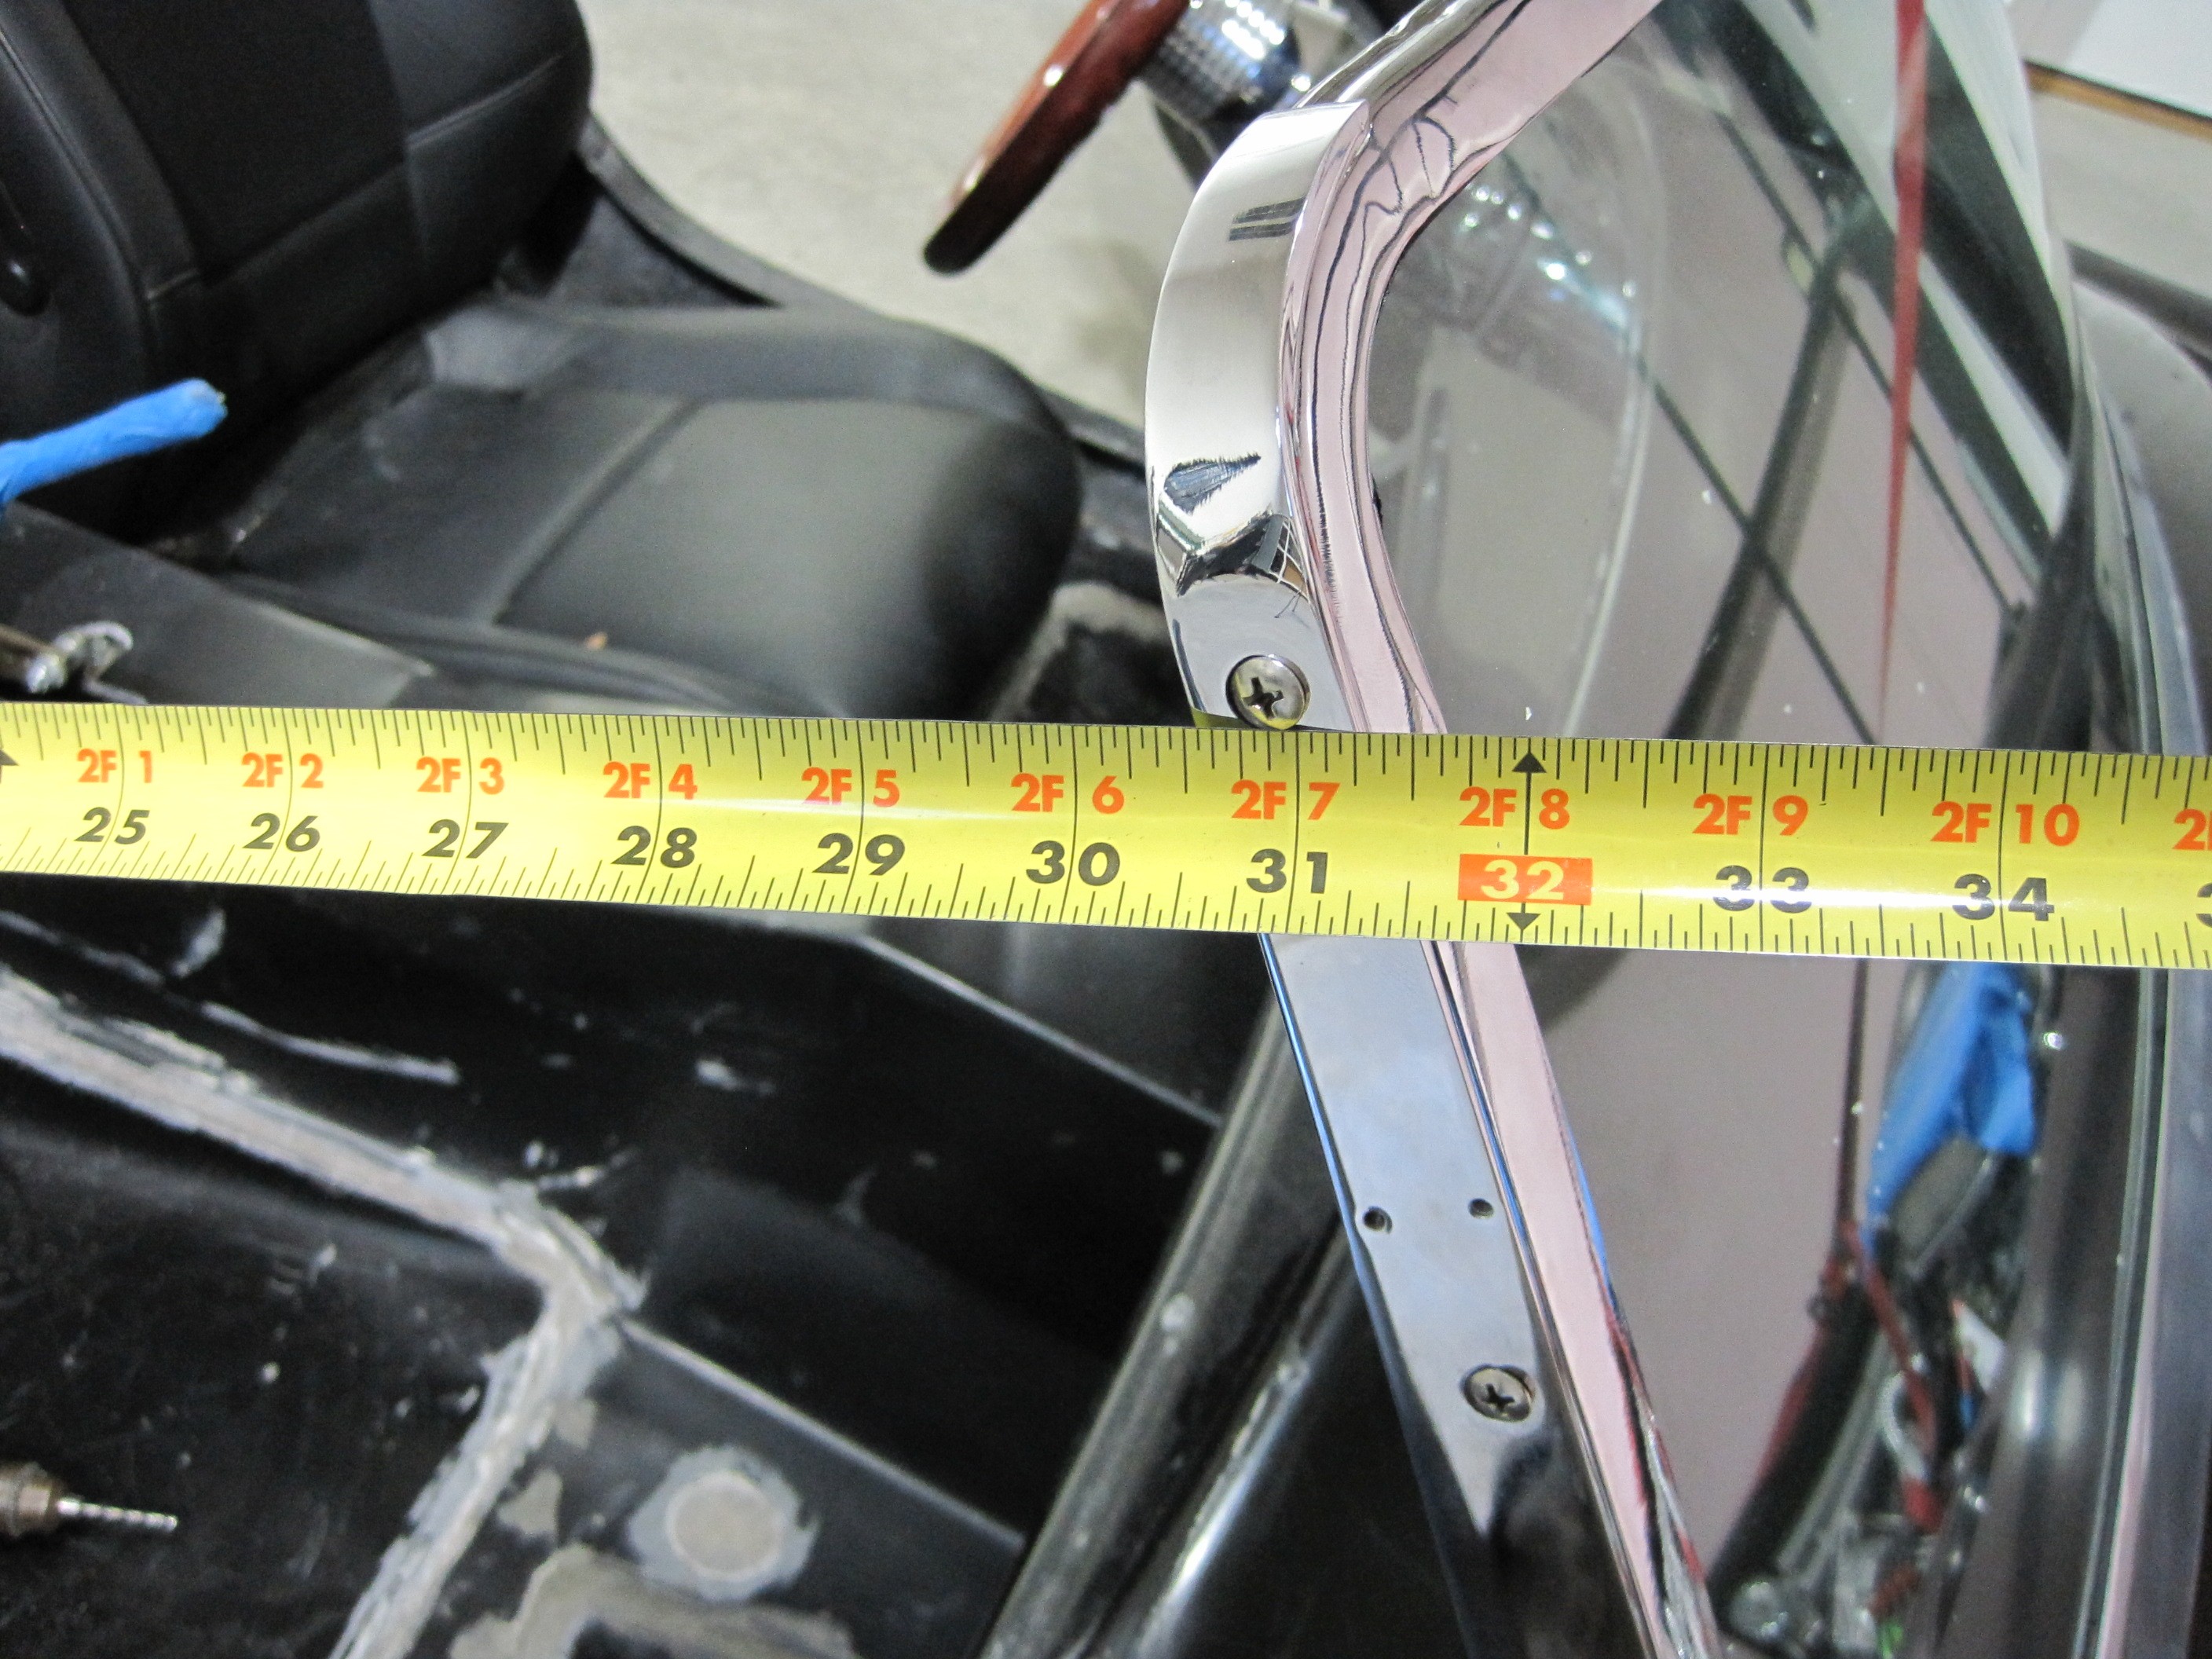
The windshield can
slide a little front and back. The critical measurement is 31
inches from the screw to the door jamb.
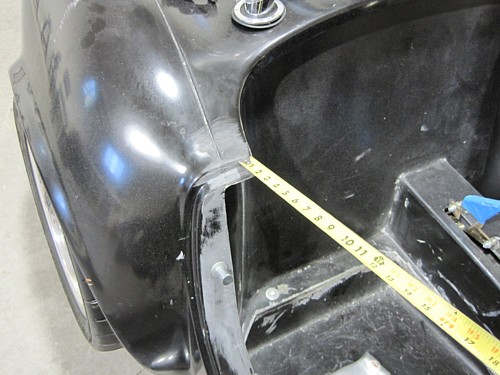
Here's a shot of the
jamb location for the measurement. 31 inches gets the post out of the
way so you won't hit your head on it getting in and out of the car. It
will also properly locate the wind wings and side mirrors.

Here's a shot of the
final location. While it was held in this position, I drilled two
pilot holes in each arm to the cowl bar. This must be done very
carefully in order for everything to go back together properly.
I then removed the
cowl bar and the windshield and drilled the assembly on my bench using an
under sized drill bit and a reamer. I want a tight fit on these bolts
so my windshield is solid when bolted up.
Next step is to
install the trunk lid. That work will begin on the next page, once I
get around to writing it. I should have it soon so hang in there.
|